
Related Manuals for MiiCraft Hyper Series


Summary of Contents for MiiCraft Hyper Series
- Page 1 MIICRAFT 3D Production System > A small step in making a better world Hyper / Prime Series Installation Guide Version 1.1...
-
Page 2: Table Of Contents
MIICRAFT 3D Production System > A small step in making a better world Contents 1.0 Unpacking & Inspecting the Printer ____________________________________________ Page No 3 Inspection _____________________________________________________________ Page No 3 Unpacking _____________________________________________________________ Page No 4 1.1 Package Contents ___________________________________________________________ Page No 4 ... -
Page 3: Unpacking & Inspecting The Printer
If the printer is damaged — • Photograph the damage • Contact the regional MiiCraft distributor office with details of the damage. If the damage to the printer might prevent the printer from working safely or efficiently, stop and wait for instructions from the regional MiiCraft office... -
Page 4: Package Contents
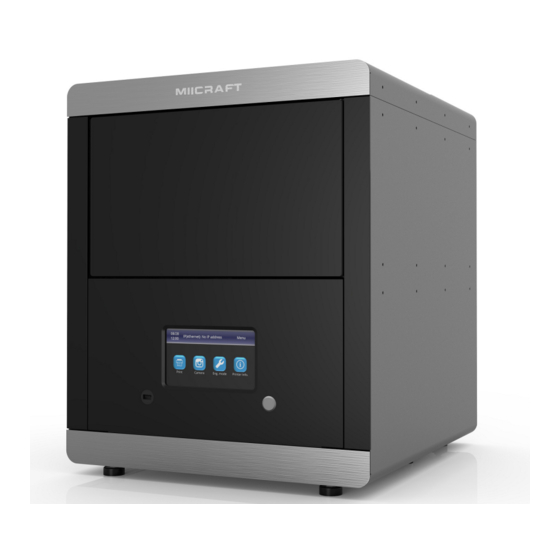
MIICRAFT 3D Production System > A small step in making a better world 1.1 Package Contents 1) Printer... - Page 5 MIICRAFT 3D Production System > A small step in making a better world Check the model name of printer at rear end sticker as shown in the image Open the front door & small EPE foam sheet under the tilt tray mechanism ...
-
Page 6: Accessory Box
MIICRAFT 3D Production System > A small step in making a better world 2) Accessory box 1) RJ 45 cable 2) Cord 3) Adapter 4) Picker 5) Putty Knife 6) Tray for resin tank 7) Scraper 8) Tweezer 9) Side cutter... -
Page 7: Power & Network Connection
MIICRAFT 3D Production System > A small step in making a better world 2.0 Power & Network connection Take out cord & adapter from accessory box & plug into 110v power supply Add other end of the power cord to the printer power supply slot ... - Page 8 MIICRAFT 3D Production System > A small step in making a better world Start the printer by pressing the power button – Process will take about 2 minutes & perform tilt tray calibration by itself _ Please keep your hands out of printer’s tilt tray module to avoid serious injury ...
-
Page 9: Motor & Projector Operations
MIICRAFT 3D Production System > A small step in making a better world 3.0 Motor & Projector Operations For testing internal machine components, use of touch panel should be done This setting can also be used using the computer by inserting IP address in your computer browser &... -
Page 10: Tilt Motor Movement
MIICRAFT 3D Production System > A small step in making a better world 3.1 Tilt Motor movement Open Eng. Mode menu using touch panel Open Motor Control... - Page 11 MIICRAFT 3D Production System > A small step in making a better world Touch on Cartridge down arrow Motor will move downwards Again press Cartridge up arrow Motor will move till upward & stop its movement at stopper...
-
Page 12: Z Axis Motor Movement
MIICRAFT 3D Production System > A small step in making a better world 3.2 Z axis motor movement Open Eng. Mode menu using touch panel Open Motor Control Touch on Z motor down arrow... - Page 13 MIICRAFT 3D Production System > A small step in making a better world Motor will move downwards & at bottom section tilt tray will go downward & relocate at its original position after Z motor appeared at lower limit sensor ...
-
Page 14: Projector Functions
MIICRAFT 3D Production System > A small step in making a better world 3.3 Projector Functions Open Eng. Mode menu using touch panel Open Clean Tank function Touch on Set Time... - Page 15 MIICRAFT 3D Production System > A small step in making a better world Insert the Time in between 5 to 15 seconds to project the UV light on the platform & touch enter Projector will project UV light on all platform & light will be stopped after 15 seconds automatically...
-
Page 16: Test Print
Ultra Sonic Cleaning & Post Curing machines won’t be provided by MiiCraft MiiCraft distributors can suggest the ultrasonic cleaner & post curing machines to the end user or clients can easily find both of them for their specific post processing purpose in an open market... -
Page 17: Installation Checklist
Check Z axis motor movement Check if projector is working fine Test Print using client’s or distributors model Explain contents & training to the end user or operator Fill out the installation form Fill out service details Thanks for reading carefully, Team MiiCraft...
Need help?
Do you have a question about the Hyper Series and is the answer not in the manual?
Questions and answers