
Related Manuals for Zigmund & Shtain EN 118.511 S


Summary of Contents for Zigmund & Shtain EN 118.511 S
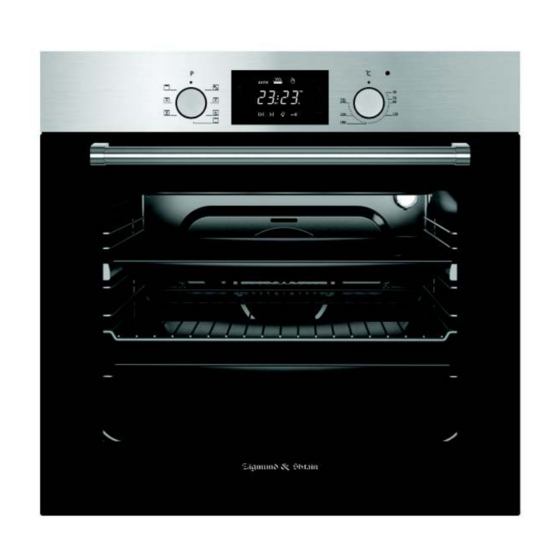
- Page 1 EN 118.511 S, EN 118.511 W, EN 118.511 B, EN 115.622 S, EN 115.622 W, EN 115.622 B USER MANUAL...
- Page 2 Dear Customer, Thank you for relying on this product. ment-friendly product produced in our modern facilities under precise conditions with respect to sense of quality in total. NOTE: This Operating Manual is prepared for multiple models. Your appliance The product images are schematic. Products marked with (*) are optional.
-
Page 3: Table Of Contents
CONTENTS Important Warnings Introducing The Appliance Installation Of Appliance Important Warnings Control Panel Program Types Cooking Recommendations Maintenance And Cleaning Steam Cleaning Accessories Package Information... -
Page 4: Important Warnings
IMPORTANT WARNINGS 1. WARNING: To avoid electric shock, ensure that the appliance circuit is open before changing the lamp. 2. WARNING: All supply circuit connections must be disconnected before accessing terminals. 3. WARNING: The accessible parts may be hot during use of grid. - Page 5 14. Ensure that door is fully closed after food is placed. challenges or people with lack of experience or knowl- edge; as long as control is ensured or information is tion with an external time or a separate remote control system.
-
Page 6: Introducing The Appliance
INTRODUCING THE APPLIANCE 9. Standard Tray... -
Page 7: Installation Of Appliance
TECHNICAL SPECIFICATIONS SPECIFICATIONS 60 cm Built-In Oven Thermostat 40-240 / Max °C 1200W Upper Heater 1000W 1800W 1000W 2000W Supply Voltage product quality. product. INSTALLATION OF APPLIANCE WARNING: WARNING: during product installation. WARNING: danger for your safety. - Page 8 Important Warnings for Installation: Cooling fan shall take extra steam out cooking. Cooling fan shall continue operation automatically stop after cooling is com- pleted. Right Place For Installation • sistant. (minimum 100°C). • • WARNING: WARNING:...
- Page 9 60 cm Built-In Oven Installation and Mounting Installation Under Counter Installation In An Elevated Cabinet Installation Requirements 60 kg. Placing and Securing the Oven uniformly.
- Page 10 Electrical Connection lation. al electrical requirements. the product to network until its mounting is completed. Mounting...
-
Page 13: Important Warnings
IMPORTANT WARNINGS Electrical Connection and Safety non-earthed sockets to appliance. installation. power... -
Page 14: Control Panel
supply compliant and requires a 16 Amp fuse. If your power network electrical connection is made as follows: • • • CONTROL PANEL Mechanical Panel Visual... - Page 15 Thermostat Button: Helps to set cooking temperature related to cooking temperatures of different foods. *Mechanical Timer Button: Helps to set time for the the heaters when set time expires and warns you Program Button: Helps to set with which heaters the and thus program types of these heaters.
-
Page 16: Program Types
PROGRAM TYPES Heating program types in your appliance and important explanations your taste. Elements Multifunctional Cooking Upper Heating Element Steam Cleaning Lower heating element: Select this program towards end of cooking time Upper heating element: of foods. Lower and upper heating elements: Lower heating element and fan: Use mostly for cooking foods like fruit cake. -
Page 17: Cooking Recommendations
Multi Functional Cooking: COOKING RECOMMENDATIONS WARNING: food in it. COOKING TABLE Cooking Cooking Cooking Cooking Food Function Temperature (°C) Rack Time (min.) Cake 170-180 Small Cake 170-180 180-200 Pastry Static 180-190 Cookie Static 170-180 Apple Pie 180-190 Sponge cake Static 180-200 20-30 Static... - Page 18 USING THE OVEN Initial Use of Oven its necessary connections as per instructions: into the electrical socket. slight smoke and smell might occur and that's a normal situation. Normal Use of Oven cook the food to start cooking. cooking time expires in line with the information entered in the models with digital timer.
- Page 19 REPLACING OVEN LAMP WARNING: sure that appliance is cold. of appliance into electrical socket and complete CLEANING OVEN GLASS...
- Page 20 CLEANING AND MOUNTING OVEN DOOR Open the door fully Set the hinge lock to the widest angle door toward your- as in Figure 16.2. it comes close to self. Then perform in a position to unlock operation contact with hinge lock as in with two hands as hinge lock up- the same position.
-
Page 21: Maintenance And Cleaning
MAINTENANCE AND CLEANING 3. Rinse after wiping the parts at inner parts of the product with soapy 4. Clean glass surfaces with special glass cleaning material. product. You can perform cleaning with a soft textured cloth not to scratch STEAM CLEANING* 2.Pour a half litre of water into the tray 3. -
Page 22: Accessories
ACCESSORIES (Optional) Deep Tray * foods and meat dishes. Tray foods. Wire Grill Telescopic Rail* installed easily thanks to telescopic rails. In Tray Wire Grill * are placed on in tray grill. Thus contact of Wire Racks* You can place deep tray and tray on lower and upper wire racks while cooking. -
Page 23: Package Information
TROUBLESHOOTING If Oven Doesn't Work; • Safely check if there is power in the network. • Check the fuses. ENVIRONMENTALLY-FRIENDLY DISPOSAL manner. electronic appliances (waste electrical and electronic equipment - WEEE). The guideline determines the frame work for the return and recycling of used appliances as PACKAGE INFORMATION or other wastes. - Page 24 htain . AEEE."...
- Page 40 (°C)
Need help?
Do you have a question about the EN 118.511 S and is the answer not in the manual?
Questions and answers