Advertisement
Quick Links
Advertisement

Subscribe to Our Youtube Channel
Related Manuals for Kogan KASTMCLN2KA


Summary of Contents for Kogan KASTMCLN2KA
- Page 1 2000W STEAM CLEANER KASTMCLN2KA...
-
Page 3: Safety And Warnings
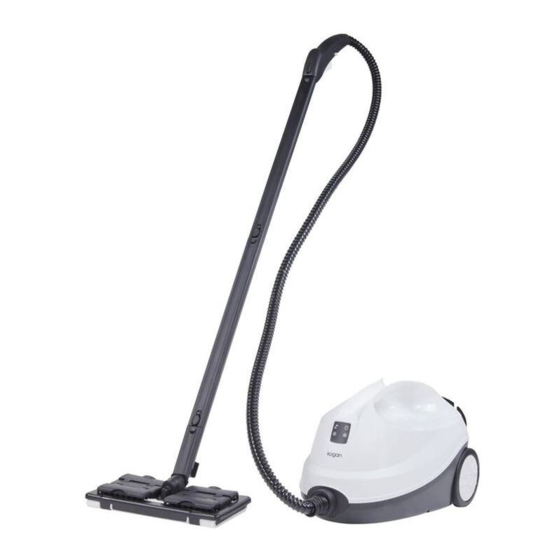
• This appliance contains no user-serviceable parts. If it suffers any failure or damage, cease usage and contact Kogan Support after consulting the Troubleshooting section of this user guide. - Page 4 OVERVIEW Name Function Soft pipe Steam delivery Indicator (red) No water Indicator (green) Steam ready Steam gun Dispense Handle Carry appliance Safety valve Relieve pressure Wheel Easy transport Power switch Turn on/off...
- Page 5 ACCESSORIES 1x Cord retractor 2x Extension tube 1x Glass brush 1x Measuring cup 1x Ironing brush 1x Large nozzle 1x Floor brush 1x Steel brush 1x Floor brush cloth 1x Carpet glider 1x Nylon brush 1x Ironing cloth Note: Two O-rings are supplied with the product and should be replaced if the handle overheats.
- Page 6 Steam Gun Name Function Steam nozzle Steam output Accessory lock Connect accessories and press down to remove Steam trigger Control steam output Child lock Lock steam trigger Setup Fill with 0.5L - 1.5L clean water only: • Ensure that no residual water remains from previous use. Calcification can occur if the water is not completely drained after each use.
-
Page 7: Operation
OPERATION • When the appliance is ready to produce steam, the indicator will illuminate green. This usually takes approximately 5-6 minutes, depending on how much water has been filled. • Depress the child lock while pressing the steam trigger: a small amount of water will be produced first before steam. - Page 8 Window Brush • To clean window, mirrors or tiles or objects with a smooth surface. • Apply a very small amount of steam when cleaning and use a clean towel to absorb water. • Push firmly into the steam gun and it will click into place.
-
Page 9: Cleaning And Care
CLEANING & CARE • Turn off after each use. • If there is water remaining, open the safety valve until it has cooled and drain water. • Use a dry cloth to gently wipe the body surface. • Do not spray the machine with water. •... -
Page 10: Troubleshooting
This should stop shortly and is expected: if is Water flowing from nozzle persists and affects product usage, contact Kogan.com Support Steam escaping from safety valve or other outlet besides nozzle Contact Kogan.com Support Replace O-ring (2 spares supplied with product, see image below) Handle heating up... - Page 11 NOTES...
- Page 12 Need more information? We hope that this user guide has given you the assistance needed for a simple set-up. For the most up-to-date guide for your product, as well as any additional assistance you may require, head online to help.kogan.com...
Need help?
Do you have a question about the KASTMCLN2KA and is the answer not in the manual?
Questions and answers