Advertisement
Quick Links
Advertisement

Subscribe to Our Youtube Channel
Related Manuals for Kogan OSTIA Series


Summary of Contents for Kogan OSTIA Series
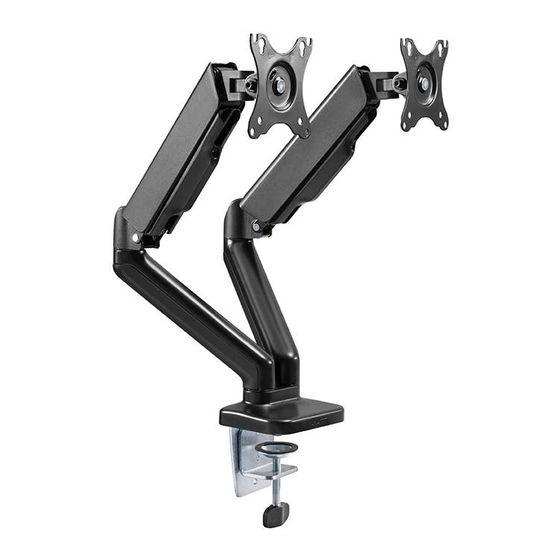
- Page 1 FULL MOTION GAS SPRING DUAL MONITOR MOUNT (OSTIA SERIES - BLACK) KADMM46G24A...
-
Page 3: Safety And Warnings
IMPORTANT: Ensure that you have received all parts according to the component checklist prior to Installation. If any parts are missing or faulty, contact Kogan.com tor a replacement. MAINTENANCE: Check that the product is secure and safe to use at regular intervals (at... - Page 4 COMPONENTS A (x1) D (x3) E (x2) B (x1) C (x1) M6x12 M6x10 F (x1) G (x1) H (x1) I (x1) J (x1) K (x1) M-A (x4) M-B (x4) M-C (x4) M4x12 M5x12...
- Page 5 ASSEMBLY WARNING: Stored energy hazard. Take care when releasing the spring arm. Step 1: • Firmly hold the two halves of the spring arm together and have another person cut off the cable tie from around the spring arm. • Slowly release the pressure on the spring arm and allow it to gradually stretch to its full extension.
- Page 6 Step 2...
- Page 7 Step 3 Too long Too Short...
- Page 8 Step 4: To properly balance the arm with monitors mounted, adjust the spring tension using the supplied Allen Key as follows: Position and firmly hold the arm horizontally as shown. Ask for assistance should you require CAUTION: To avoid damage to monitors or mount, always keep the arm in a horizontal position while adjusting.
- Page 9 Step 5 CAUTION: Do not overtighten any of the screws used to assemble or adjust the mount.
- Page 10 Step 6 Note: Adjust to the desired angle then tighten the screws using the Allen key as shown, alternating from each screw as you tighten them.
- Page 11 NOTES...
- Page 12 Need more information? We hope that this user guide has given you the assistance needed for a simple set-up. For the most up-to-date guide for your product, as well as any additional assistance you may require, head online to help.kogan.com...
Need help?
Do you have a question about the OSTIA Series and is the answer not in the manual?
Questions and answers