Advertisement
Quick Links
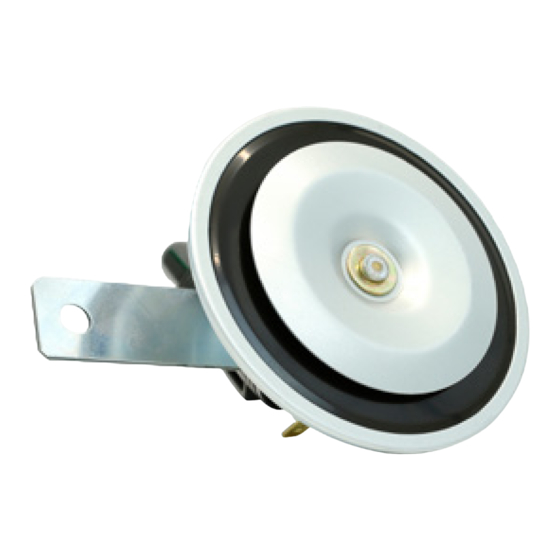
Disc Horn
12V
Thank you for purchasing this 12V Replacement Disc
Horn from Streetwize. This product comes with a
twin terminal and is intended for replacing a faulty/
old disc horn in your vehicle. It is compatible with
most 12V vehicles which include cars, vans, estates,
caravans, motorhomes and 4x4s.
before installing this replacement disc horn
recommend that you read all the information in this document
and please keep this document for future reference
High Tone Replacement
,
we highly
.
Product Elements
• Streetwize 12V Replacment
• Information for Use
Installation Instructions
1. Refer to your vehicle's handbook to locate where the
disc horn will be situated in your vehicle's bonnet.
2. Ensure your vehicle is fully switched off and open
your vehicle's bonnet.
3. Locate the faulty/old disc horn in your vehicle. Use a
screwdriver to dislodge the disc horn from where it
is mounted.
4. Once dislodged, carefully disconnect the wiring
behind the faulty/old disc horn.
5. With the replacement disc horn, connect the wiring
to the unit via the terminals located behind the horn.
The red wire should go to the positive (+) terminal,
and the black wire should go to the negative (-)
terminal.
6. Once the wires have been connected, do a quick
test with your vehicle's horn to see if it works. If not,
make sure that wiring is properly connected.
7. Screw the disc horn into place, and then close your
.
vehicle's bonnet.
Advertisement

Related Manuals for Streetwize SWRH1


Summary of Contents for Streetwize SWRH1
- Page 1 Thank you for purchasing this 12V Replacement Disc The red wire should go to the positive (+) terminal, Horn from Streetwize. This product comes with a twin terminal and is intended for replacing a faulty/ and the black wire should go to the negative (-) terminal.
- Page 2 Trafford Park, Manchester, M17 1RY Technical Specifications) along with the technical query and proof of purchase. For Product Support: E: support@streetwizeaccessories.com Product Name Streetwize 12V Replacement Disc Horn T: +44 (0)161 447 8597 Supplier Code SWRH1 For Trade Enquiries: E: sales@streetwizeaccessories.com...
Need help?
Do you have a question about the SWRH1 and is the answer not in the manual?
Questions and answers