Table of Contents
Advertisement
Quick Links
Advertisement
Table of Contents

Related Manuals for Streetwize OBDII Premium Reader


Summary of Contents for Streetwize OBDII Premium Reader
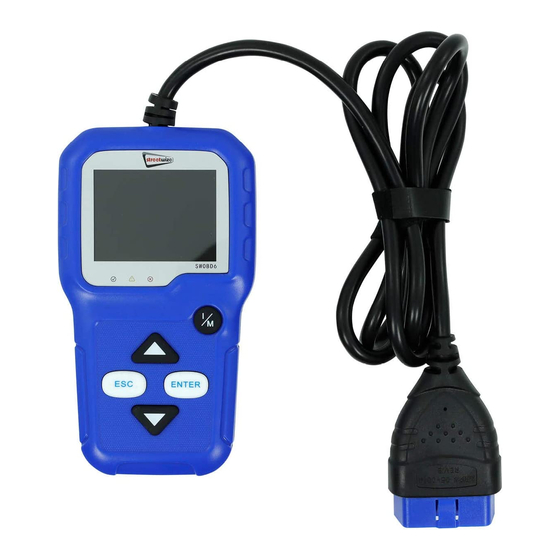
- Page 1 SWOBD6 OBDII Premium Reader User Manual...
-
Page 2: Table Of Contents
Table Of Contents Review 1. Safety Precautions and Warnings Help BAT Check 2. General Information LED Interpretation On Board Diagnostics (OBD ) II Audio Tone Interpretation Diagnostic Trouble codes (DTCs) Location of The Data Link Connector (DLC) 5. Print Data OBD II Readiness Monitors OBD II Monitor Readiness Status 6. -
Page 3: Safety Precautions And Warnings
1. Safety Precautions and Warnings 2. General Information To prevent personal injury or damage Don’t connect or disconnect any test 2.1 On-Board Diagnostics (OBD) II 2.2 Diagnostic Trouble Codes (DTCs) equipment while the ignition is on or the to vehicles and the scan tool,read The OBD II system is designed to monitor OBD n Diagnostic Trouble Codes are codes engine is running. -
Page 4: Location Of The Data Link Connector (Dlc)
2.3 Location of the Data Link Currently, there are eleven OBD II Readiness Once the vehicle is running。the OBD II they have been tested by the OBDII system. Connector (DLC) Monitors (or I/M Monitors). Not all monitors system is continuously checking the above The purpose of recording readiness status in any vehicle depends on the motor vehicle components, monitoring key engine sensors,... -
Page 5: Obd Ii Definitions
2.6 OBD II Definitions OBD Drive Cycle — A specific mode of Mode $01 - Identifies the Power train There are ten numbers available for vehicle operation that provides conditions diagnostics: information and shows current data available Power-train Control Module (PCM) - OBD n required set all the readiness monitors to the scan tool. -
Page 6: Using The Scan Tool
Mode $09 - Reports vehicle information. This 1. OBD II Connector 9. Up Scroll Button information includes vehicle VIN number and Connects the scan tool to the vehicle’s Move cursor up for selection. calibration information stored in the vehicle data link connector (DLC). ECUs. -
Page 7: Specifications
3.2 Specifications 3.6 Power You can press OK button to cover ON or OFF , Tool Setup Press ESC key to return. 1) Display: TFT color display (320 x 240 dpi) The scan tool is powered via the vehicle Data Español 2) Operating Temperature: 0 to 60°C (32 to Link Connector (DLC).Just follow the steps... -
Page 8: Vehicle Coverage
4. Operation 1) Use the UP/DOWN scroll button to select emissions control information(VECI) Label, 1) Turn the ignition off. Press ESC button to back to the Main Menu which is located under the hood or by the 2) Locate the vehicle’s 16-pin Data Link of Diagnostic, the screen will display as Key Test from the Tool Self-Test menu, radiator of most vehicles . -
Page 9: Erase Codes
1) Current DTCs: 4.1.2 Erase Codes The I/M Readiness Monitor Status function also can be used (after repair of a fault has 2) Pending DTCs: Select [Erase Codes], the screen will display been performed) to confirm that the repair the interface as shown above. Pending DTCs are also referred to as has been performed correctly, and/or to check for Monitor Run Status. -
Page 10: Data Stream
4.1.4 Data Stream Select [View Graphic Items] in Data stream Note: if DTCs were erased, Freeze Data may menu and press ESC, the screen will display not be stored in vehicle memory depending Press UP or DOWN button to select Data the interface as shown. -
Page 11: On-Board Monitoring
4.1.9 Vehicle Information Select [Vehicle Information] and press OK, the screen will display the information, such as VIN (Vehicle identification Number), CID (Calibration ID) and CVN (Calibration verification number), as shown on the next page. Select [O2 Sensor Test] in Diagnostic Menu and press OK and the screen will display. -
Page 12: Review
You can use DOWN key to change the first The recorded DTC will be displayed as shown 4.4 Help MIL is off). There are no stored and pending letter. It can be switched among “P” , “B” , in the above table. DTCs. -
Page 13: Audio Tone Interpretation
5. Print Data suggested that the vehicle be inspected/ The Print Data function allows printing out 1) downloading the applications from Print Data repaired before driving the vehicle further. diagnostic data recorded by the scan tool or www.itoscanner.com. customized test reports. Print All A. -
Page 14: Disclaimer
7. Disclaimer This OBDI reader only checks faults in relation to the engine light. It does not check faults with airbags or braking system. 8. Manufacturer Warranty This product comes with a 12 month manufacturer warranty which starts on the date of purchase. The warranty covers technical faults during the 12 month period.
Need help?
Do you have a question about the OBDII Premium Reader and is the answer not in the manual?
Questions and answers