Advertisement
Table of Contents
- 1 Physical Specifications
- 2 Front Panels
- 3 Back Panels
- 4 Side Panels
- 5 Bottom Panel
- 6 Package Contents
- 7 Safety and Warnings
- 8 Pre-Install Preparation
- 9 Installation Instructions
- 10 Mounting Recommendations
- 11 Connecting to WAN
- 12 Setting up a Static IP Address
- 13 Additional Settings
- 14 Basic Troubleshooting
- 15 Warranty
- Download this manual
MX75 Hardware Installation Guide
This guide provides instruction on how to install and configure your MX75 series device. This guide also provides mounting instructions and limited
troubleshooting procedures. For more MX device installation guides, refer to the
MX installation guides section
on our documentation website.
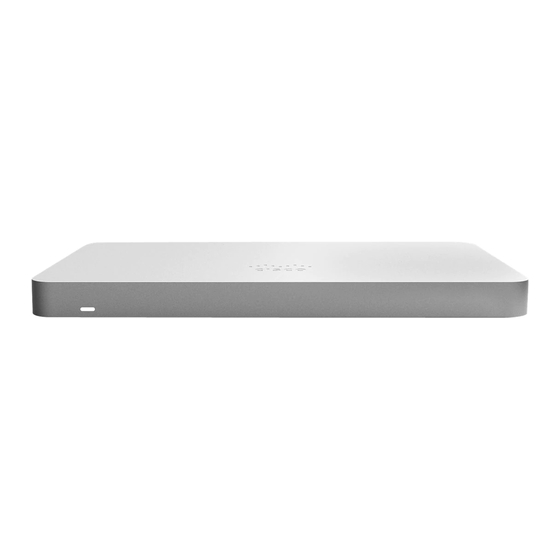
Product Overview
The Meraki MX75 is an enterprise security appliance designed for distributed deployments that require remote administration across medium branch
environments. It is ideal for network administrators who demand both ease of deployment and a state-of-the-art feature set. The Meraki Dashboard allows for
simple and easy deployment of the MX75 with minimal pre-configuration in almost any location.
1
Advertisement
Table of Contents

Related Manuals for Cisco Meraki MX68


Summary of Contents for Cisco Meraki MX68
- Page 1 MX75 Hardware Installation Guide This guide provides instruction on how to install and configure your MX75 series device. This guide also provides mounting instructions and limited troubleshooting procedures. For more MX device installation guides, refer to the MX installation guides section on our documentation website.
- Page 2 MX75 provides dedicated WAN uplinks, a single 1GbE SFP port, and 2 RJ45 1GbE ports. The LAN ports include 10 RJ45 1GbE ports. The MX75 is ready for deployment in a variety of enterprise environments. MX75 appliance provides the following features: • Managed via Cisco Meraki Dashboard • Meraki AutoVPN and L2TP/IPSec VPN endpoint •...
-
Page 3: Physical Specifications
Physical Specifications MX68 MX75 MX85 # WAN Interfaces 10x Dedicated Gigabit Ethernet LAN Interfaces - Dedicated 10x Dedicated GbE RJ45 3x Dedicated GbE RJ45 RJ45 2x Dedicated GbE RJ45 1x Convertible LAN/WAN GbE LAN Interfaces - Convertible PoE+ RJ45 Mount Type Desktop / Wall Mount Desktop / Wall Mount Rack Mount... -
Page 4: Front Panels
Product View and Physical Features Front Panels MX75 Status Indicator The MX75 series devices uses an LED to inform the user of the device's status. LED patterns and their meanings are described below. LED Status Meaning Power is applied but the appliance is not connected to the Meraki Solid orange Dashboard Rainbow Colors... -
Page 5: Side Panels
MX75 Back Panel Functions Additional functions on the back panel are described below, from left to right. USB port USB 3.0 port for debugging. WAN / Internet port This port provides connectivity to the WAN. These 10 ports provide connectivity to computers, printers, access points, or Ethernet switches. -
Page 6: Package Contents
Please note that the serial number is located on the product label at the bottom panel of MX75 devices Package Contents In addition to the MX device, the following are provided: MX75 Power Adapter (No Power Cable) 2x CAT5 Ethernet Cables Safety and Warnings These operations are to be taken with respect to all local laws. -
Page 7: Pre-Install Preparation
Pre-install Preparation You should complete the following steps before going on-site to perform an installation. Configure your Dashboard Network The following is a brief overview only of the steps required to add an MX to your network. For detailed instructions about creating, configuring and managing Meraki networks, refer to the online documentation (documentation.meraki.com). -
Page 8: Connecting To Wan
Connecting to WAN All Meraki MX devices must have an IP address. This section describes how to configure your local area network before you deploy it. A local management web service, running on the appliance, is accessed through a browser running on a client PC. This web service is used for configuring and monitoring basic ISP/WAN connectivity. -
Page 9: Basic Troubleshooting
If you are still experiencing hardware issues, please contact Cisco Meraki support by logging in to dashboard and using the Help option near the top of the page, then opening and email case or calling using the contact information on that page. - Page 10 If your Cisco Meraki device fails and the problem cannot be resolved by troubleshooting, contact support to address the issue. Once support determines that the device is in a failed state, they can process an RMA and send out a replacement device free of charge. In most circumstances, the RMA will include a pre-paid shipping label so the faulty equipment can be returned.
Need help?
Do you have a question about the Meraki MX68 and is the answer not in the manual?
Questions and answers