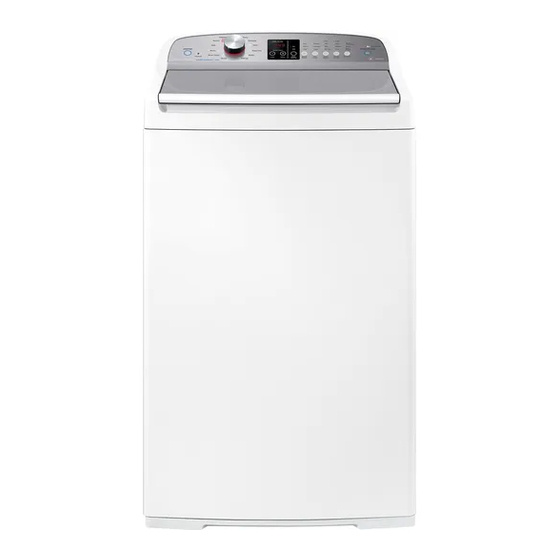
Page 1
Installation instructions Product and Minimum Clearance Dimensions WA**60P PRODUCT DIMENSIONS 1045 – 1075 Overall height of product † (to highest point on console) Overall width of product Overall depth of product 950 – 980 Height of product to top of lid † (closed) 1350 –...
Page 2
Minimum depth clearance (including inlet hoses, drain hose and bowed front) Minimum clearance to adjacent product # (dryer) † Includes adjustable mounted feet and the range of movement. # Applies either side. WA8060P WA8560P Maximum capacity (kg) Maximum capacity may differ according to market, and the associated standards.
Page 3
Unpacking To ensure the best performance from your new washer please follow the instructions below. Removing the packaging 1. Remove the outer packaging. 2. Tilt the washer backwards and walk it off the base packer one foot at a time (ensure the lid is still taped down). 3.
Location Install the washer on a solid and level floor surface ensuring it has at least 20 mm clearance on each side. The washer must not be installed on any textured floor coverings (eg carpets, rugs). In your clothes washer you will find: •...
To prevent siphoning the drain hose should not extend more than 20 mm from the end of the guide. The height of the standpipe or tub should be between 850 – 1200 mm. The drain hose can be trimmed to length. 3.
• This appliance must be installed in accordance with the installation instructions before use. • Provide accessibility to the plug or incorporate a switch in the fixed wiring in accordance with the wiring rules to allow disconnection of the appliance from the supply after installation. •...
Page 7
Your washer does not have an internal heater to heat water. Should you wish to use cold water only for all wash cycles, refer to ‘Customising wash cycles’ on how to program your washer to remember your wash preferences. Levelling instructions Level the washer to ensure good spin performance.
Page 8
2. Open the lid, place the spirit level at the centre front of the top deck forward of the lid lock slot. Level the washer from side to side by winding up or down the front feet (Fig.1). With the lid closed, tilt the washer forward away from the wall approximately 100 mm (Fig.2), the self-adjusting feet will release.
• Keep your spirit level for the next time you move or reposition your washer. • If moving or transporting your washer in the future, ensure you tape the lid down beforehand. Completing your installation • Turn on the water and check all hose connections for leaks. Make sure there are no kinks in the hoses. Check the hose connections for leaks again after 24 hours.
Page 10
Available from your Fisher & Paykel dealer or a Fisher & Paykel trained and supported service technician. Blanking Part No. 388491P Hose Inlet Long (2 Part No. 422680P Hose Inlet Large Part No. 426123P Bore Drain Hose Part No. 425627P Extension Power If the power cord of your clothes washer is damaged it must be replaced by a Fisher &...
Need help?
Do you have a question about the WA8060P and is the answer not in the manual?
Questions and answers