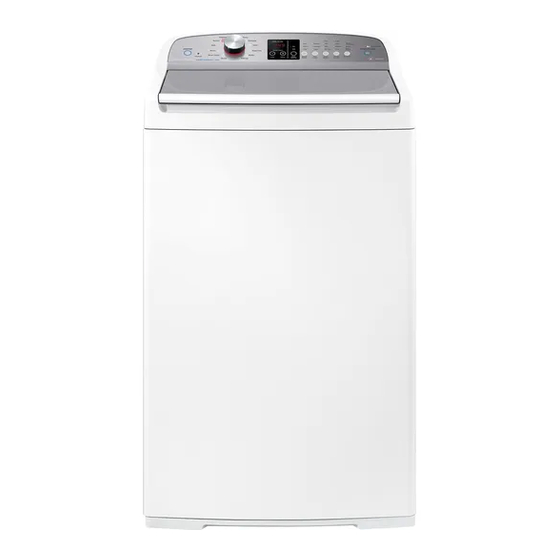
Fisher & Paykel WA8560P Installation Instructions Manual
Hide thumbs
Also See for WA8560P:
- Installation instructions & user manual (48 pages) ,
- Installation manual/user manual (52 pages)
Table of Contents
Advertisement
Quick Links
Installation instructions
Product and Minimum Clearance Dimensions
PRODUCT DIMENSIONS
Overall height of product † (to highest point on console)
Overall width of product
Overall depth of product
Height of product to top of lid † (closed)
https://producthelp.fisherpaykel.com/au/Wash/Top_Loaders/FabricSmart/WA8560P1/User_Guide_WA8560P1/03_Installation...
WA**60P
mm
1045 – 1075
600
600
950 – 980
1350 – 1385
Updated: Wed, 26 Feb 2020 08:47:21 GMT
Powered by
1
Advertisement
Table of Contents

Summarization of Contents
Installation Instructions
Product Dimensions
Details overall product height, width, depth, and height to top of lid (closed).
Minimum Clearance Dimensions
Specifies minimum cavity width, depth, and clearance to adjacent products like dryers.
Unpacking
Removing the Packaging
Step-by-step guide to remove outer packaging, base packer, bowl packer, and accessories.
Location
Drain Hose Setup
Instructions on how to fit and guide the drain hose correctly using the provided hose guide.
Electrical Connection
Power Supply Requirements
Details electrical supply voltage, frequency, current, and power cord safety precautions.
Draining
Draining Precautions
Ensures standpipe/tub is clear, washer is on a floor with a drain, and complies with local by-laws.
Water Supply
Water Temperature & Pressure Limits
Specifies limits for cold/hot water temperature, static pressure, and flow rate.
Inlet Hoses
Hose Connection Instructions
Connects red hose to Hot, white hose to Cold, and elbow ends to washer inlet valves.
Cold Water Supply Only
Instructions for connecting a blanking cap to the Hot inlet valve for cold-only supply.
Levelling Instructions
How to Level the Washer
Using a spirit level to ensure the washer is stable and does not rock in any direction.
Final Positioning Clearance
Recommends minimum 20mm side and 40mm rear clearance for final placement.
Completing Your Installation
Post-Installation Checks
Checks for leaks, proper cord connection, and earthing for safety.
Installation Test Cycle Procedure
Procedure to activate and run the installation test cycle to check for faults.
Accessories and Spare Parts
Available Parts List
Lists part numbers for blanking cap, hose inlets, and drain hose extension.


Need help?
Do you have a question about the WA8560P and is the answer not in the manual?
Questions and answers