Advertisement
Quick Links
HOBO® MX CO
Logger (MX1102A) Manual
2
HOBO MX CO
Logger
2
MX1102A
Included Items:
Four AA 1.5 V alkaline
batteries
Required Items:
Mobile device with
Bluetooth and
HOBOmobile app for
devices with iOS or
HOBOconnect app for
devices with Android™
OR
HOBOware 3.7.3 or later
and USB cable
Accessories:
Mounting kit with
mounting brackets, screws,
tie wraps, and Command™
strip
22504‐D
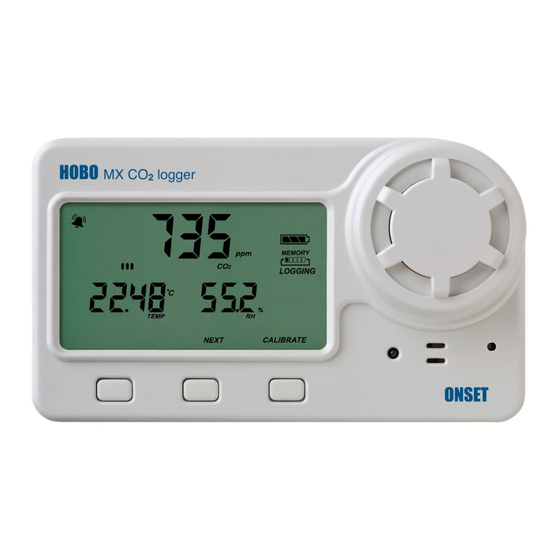
The HOBO MX CO
data logger records carbon dioxide, temperature, and relative humidity (RH)
2
data in indoor environments using non‐dispersive infrared (NDIR) self‐calibrating CO
technology and integrated temperature and RH sensors. This Bluetooth® Low Energy‐enabled
logger is designed for wireless communication with a mobile device and also supports a USB
connection. Using the HOBOmobile® or HOBOconnect® app on your phone or tablet or
HOBOware® software on your computer, you can easily configure the logger, read it out, and view
plotted data. The logger can calculate minimum, maximum, average, and standard deviation
statistics and can be configured to trip audible or visual alarms at thresholds you specify. In
addition, it supports burst logging in which data is logged at a different interval when sensor
readings are above or below certain limits. This logger also has a built‐in LCD screen to display the
current CO
level, temperature, RH, logging status, battery use, memory consumption, and more.
2
Specifications
Temperature Sensor
Range
Accuracy
Resolution
Drift
RH Sensor*
Range
Accuracy
Resolution
Drift
CO
Sensor
2
Range
Accuracy
Warm‐up Time
Calibration
Non‐linearity
Pressure Dependence
Operating Pressure Range
Compensated Pressure
Range
Sensing Method
Response Time
Temperature
RH
CO
2
Logger
Radio Power
Transmission Range
Wireless Data Standard
Logger Operating Range
*Per RH sensor manufacturer data sheet
Note: The HOBO U‐Shuttle (U‐DT‐1) is not compatible with this logger.
0° to 50°C (32° to 122°F)
±0.21°C from 0° to 50°C (±0.38°F from 32° to 122°F), see Plot A
0.024°C at 25°C (0.04°F at 77°F), see Plot A
<0.1°C (0.18°F) per year
1% to 90% RH (non‐condensing)
±2% from 20% to 80% typical to a maximum of ±4.5% including
hysteresis at 25°C (77°F); below 20% and above 80% ±6% typical
0.01%
<1% per year typical
0 to 5,000 ppm
±50 ppm ±5% of reading at 25°C (77°F), less than 90% RH (non‐
condensing) and 1,013 mbar
15 seconds
Auto or manual to 400 ppm
<1% of FS
0.13% of reading per mm Hg (corrected via user input for
elevation/altitude)
950 to 1,050 mbar (use Altitude Compensation for outside of this
range)
‐305 to 5,486 m (‐1,000 to 18,000 ft)
Non‐dispersive infrared (NDIR) absorption
12 minutes to 90% in airflow of 1 m/s (2.2 mph)
1 minute to 90% in airflow of 1 m/s (2.2 mph)
1 minute to 90% in airflow of 1 m/s (2.2 mph)
1 mW (0 dBm)
Approximately 30.5 m (100 ft) line‐of‐sight
Bluetooth Low Energy (Bluetooth Smart)
0° to 50°C (32° to 122°F); 0 to 95% RH (non‐condensing)
sensor
2
Advertisement


Need help?
Do you have a question about the HOBO MX CO2 Logger and is the answer not in the manual?
Questions and answers