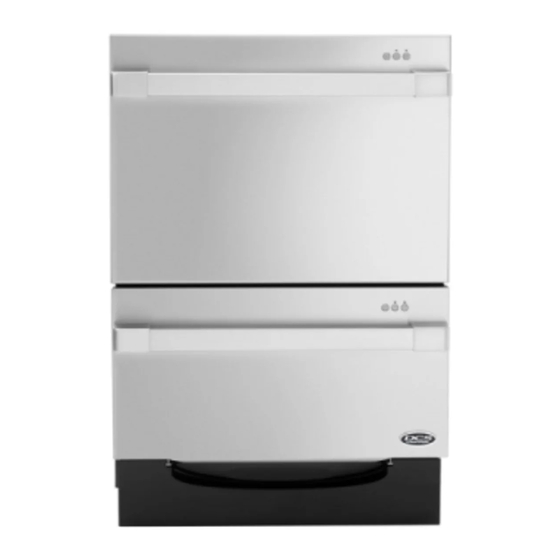
DCS DD24DUT7 Installation Instructions Manual

DCS DD24DUT7 Installation Instructions Manual

Dishdrawer series
Hide thumbs Also See for DD24DUT7:

Advertisement

INSTALLATION INSTRUCTIONS
DishDrawer
dishwasher
TM
DD24DUT7 and DD24DVT7
models
US CA
590225B
04.14

Advertisement

Table of Contents
loading

Summary of Contents for DCS DD24DUT7

  • Page 1 INSTALLATION INSTRUCTIONS DishDrawer dishwasher DD24DUT7 and DD24DVT7 models US CA 590225B 04.14...
  • Page 3: Safety And Warnings

    Failure to follow this advice may result in electrical shock or death. The DCS by Fisher & Paykel DishDrawer dishwasher is designed for connection to the national power supply grid. In some instances connection to off-grid alternative energy systems, such as wind, solar and stand alone generation, may result in damage to the electronic control of the appliance.
  • Page 4: Parts Supplied

    11’ 10” (3.6m). tape (1) socket for feet Prefinished toekick (1) Edge Protector (1) The kit is available from the nearest DCS by Fisher (to prevent moisture adjustment (2) damage) (long & short) & Paykel Authorized Service Center, or Toll free...
  • Page 5 OPTIONALLY HARD WIRING PRIOR TO INSTALLATION REMOVE THE LOWER DRAWER REMOVE THE ACCESS COVER & POWER CORD Access cover To prevent kinked hoses, we recommend rotating the drawer anti-clockwise and resting it on its side after removal. WARNING! Press the release tabs in on Electrical Shock Hazard either side and push back Before continuing, ensure that the product is...
  • Page 6: Product Dimensions

    PRODUCT DIMENSIONS Plan Side Product dimensions inches (mm) overall height of product 34 - 36 3⁄8”( 864-924 34 - 36 3⁄8”( 864-924 overall width of product 23 13⁄16”( 23 13⁄16”( overall depth of product 22 11⁄16”( 22 11⁄16”( (excl. handle) depth of chassis 21 ¾...
  • Page 7: Cabinetry Dimensions

    CABINETRY DIMENSIONS Plan Side Minimum clearances from adjacent cabinetry min. ½ ” (13 mm) min. 1⁄16” (2 mm) clearance from a clearance corner cupboard to adjacent cupboard door Cabinetry dimensions inches (mm) inside height of cavity* min. 34”( inside width of cavity 24”( inside depth of cavity min.
  • Page 8: Cavity Preparation

    CAVITY PREPARATION Important! COUNTERTOP The power outlet must be located in a cabinet adjacent to the dishwasher cavity. Moisture 110-120 VAC max. 15 A 3⁄8” (10mm) protection tape must be applied. Water Connection Recommended HOT (Maximum 140°F/60°C). These marks indicate Supplied hose to formed bracket screw suit 3⁄8”...
  • Page 9 MAXIMUM DISTANCE OF HOSES & CORD FROM CHASSIS EDGE Left hand side Right hand side Drain hoses - 78 (2000 mm) ½” Drain hoses - 70 ½” (1800 mm) Inlet hose - 49 (1250 mm) Inlet hose - 64 ¾” (1650 mm) ”...
  • Page 10 NOW CHOOSE WHICH INSTALLATION METHOD (a) or (b) IS MORE SUITABLE FOR YOUR CABINETRY... RECOMMENDED METHOD (a) - SECURE WITHOUT DRAWER REMOVAL (FRAMELESS CABINETRY ONLY) PULL THROUGH HOSES & PUSH INTO THE CAVITY ATTACH SIDE MOUNTING BRACKETS optionally attach the Clip all four side mounting brackets into two top mounting brackets (x2)
  • Page 11 SECURE TO THE CABINETRY ON THE SIDES OPTIONALLY SECURE TO THE CABINETRY ABOVE The top mounting brackets will only bend (x2) Open the upwards a maximum drawer halfway. of 3⁄8” (10 mm). Using a flat-bladed screwdriver, prize the gray Replace the gray rubber plug out rubber plug back into of the trim moulding.
  • Page 13 ALTERNATIVE METHOD (b) - SECURE BY DRAWER REMOVAL PULL THROUGH HOSES & PUSH INTO THE CAVITY REMOVE THE LOWER DRAWER To prevent kinked hoses, we recommend rotating the drawer counter-clockwise and resting it on its side after removal. optionally attach the two top mounting brackets (x2) You can initially level the product...
  • Page 14 SECURE TO THE CABINETRY ON THE SIDES OPTIONALLY SECURE TO THE CABINETRY ABOVE To access the side brackets, The top mounting you might have to push aside brackets will only bend (x2) the insulation. After securing, upwards a maximum of ensure the sound insulation is 3⁄8”(10 mm).
  • Page 15 FIT THE SUPPLIED TOEKICK PANEL Where the toekick meets the bottom of the tub is the Mounting rail cut-off point Lay the toekick face down on Turn the toekick over and Smooth the edge with a file. a chopping board or similiar score along the same line Be careful of sharp edges.
  • Page 16 THERE ARE THREE DIFFERENT DRAINAGE OPTIONS. CHOOSE WHICH IS MORE SUITABLE. Dishwasher and Standpipe Ø 1½ ” (38 mm) Dishwasher using Air Break with Drain Hose Joiner Dishwasher using sink trap with drain hose joiner If space is limited for fixing, push If space is limited hose through drain for fixing, push...
  • Page 17: Final Checklist

    The models shown in this document may not be available in all markets and are subject to change at any time. For current details about model and specification availability in your country, please visit our local website listed at the end of this document or contact your local DCS by Fisher & Paykel dealer.

This manual is also suitable for:

Dd24dvt7

Table of Contents