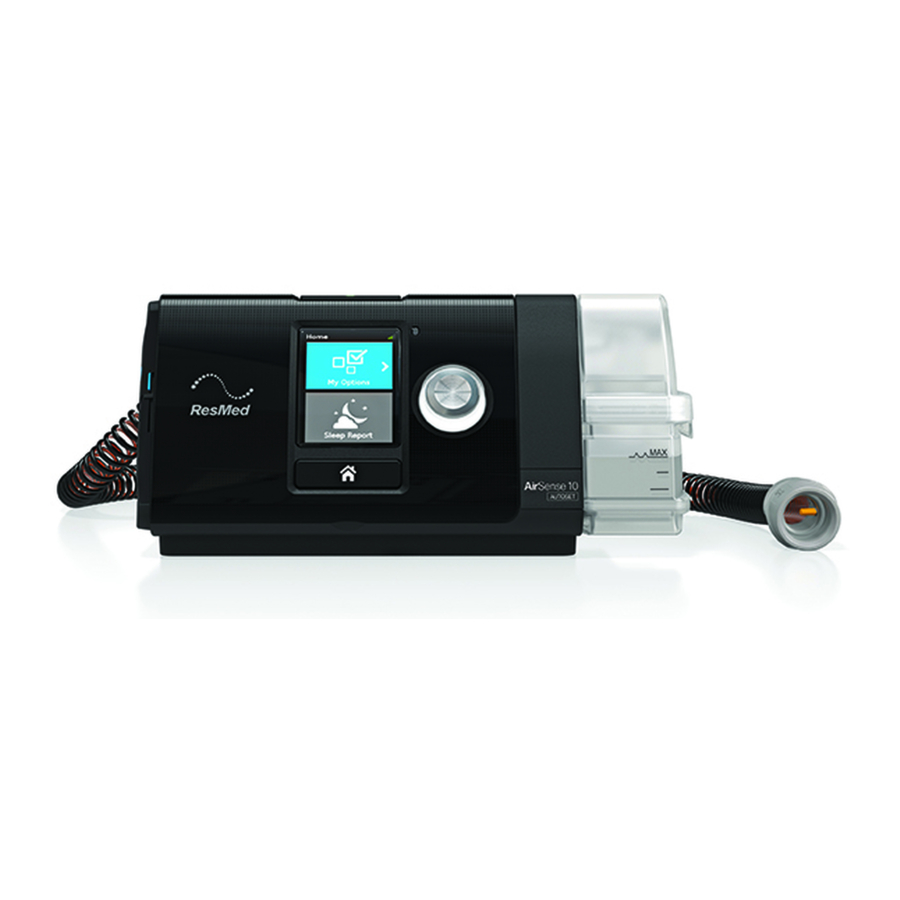
ResMed AirSense 10 User Manual
Apria sleep therapy
Hide thumbs
Also See for AirSense 10:
- User manual (260 pages) ,
- Start manual (20 pages) ,
- Reprocessing manual (8 pages)

Related Manuals for ResMed AirSense 10


Summary of Contents for ResMed AirSense 10
- Page 1 YOUR APRIA SLEEP THERAPY USER GUIDE ™ For the ResMed AirSense Use this QR link to our Sleep Apnea page for more information.
- Page 2 WELCOME. Thank you for choosing Apria Healthcare as your home medical provider. You are receiving this package because your doctor has diagnosed you with sleep apnea and prescribed Positive Airway Pressure therapy. Positive Airway Pressure therapy—also known as PAP therapy or sleep therapy—helps millions of users feel more energized and refreshed.
- Page 3 Make sure your home address can be easily seen from the street during both day and night. If you are expecting a night delivery or visit, turn on the porch light. Check to see that your address numbers are easy to spot and read from the street.
-
Page 4: Get Started
STEP 1 GET STARTED. Start your therapy tonight so you can feel refreshed in the morning. 1. Open the box and unpack your PAP machine, humidifier chamber, tubing, mask, power cord and supplies. 2. Attach the power cord and tubing to the PAP machine. 3. - Page 5 STEP 2 GET FAMILIAR WITH YOUR PAP EQUIPMENT. If your doctor prescribed a specific mask and size, follow the fitting instructions provided by the manufacturer, then proceed to Step 3. If you received a mask with multiple cushions, follow the instructions below and on the next page. There is a mask cushion currently attached to the frame of your mask.
- Page 6 Nasal Mask 1. Release the lower strap magnets from the frame of the mask. Make sure the logo on the headgear is facing outward. While holding the mask against your face, pull the headgear over your head. 2. Position the lower straps so they both sit below the ears. Bring each of the magnets up to meet their corresponding clips on the frame.
- Page 7 Nasal Pillow Mask 1. Hold the pillows away from your nose with the left (L) and right (R) indicators correctly facing towards you. 2. Guide the nasal pillows into your nostrils. 3. Pull the headgear over your head by holding the bottom strap and stretching it around the back of your head.
-
Page 8: Full Face Mask
Full Face Mask 1. Twist and pull both magnetic clips away from the frame. With the logo on the headgear facing outward, hold the mask against your face and pull the headgear over your head. 2. Bring the lower straps below your ears and attach the magnetic clip to the frame. - Page 9 ClimateLineAir™ Oxy comes with a built-in oxygen connector for patients who require supplemental oxygen. The HumidAir humidifier is part of ResMed’s Climate Control solution. It is designed to seamlessly integrate with the device and offer relief from dryness and congestion. The humidity level can be adjusted to suit your preference.
- Page 10 If You Have ™ ClimateLineAir Heated Tubing: Attach using the illustrations and directions provided here. 1. Make sure the machine is turned on. 2. Hold the orange cuff of the air tubing and line up the air tubing connector with the connector port.
- Page 11 STEP 3 START YOUR PAP MACHINE. 1. First, put on your mask. Next, attach the tubing to the mask. 2. Lie down and take four deep breaths. The machine should start automatically. If you do not hear the machine start, press the Start/Stop button.
-
Page 12: Helpful Tips
Helpful Tips For Nasal and Full Face Masks • To resolve leaks at the upper part of the mask, adjust the upper headgear straps. • For leaks at the lower part, adjust the lower headgear straps. • When adjusting straps, loosen or tighten both the left and right straps so that adjustments are made evenly. - Page 13 COMFORTABLE WITH YOUR THERAPY. Use your PAP therapy during all hours of sleep, including during naps. Some people may need up to one or two weeks to adjust to PAP therapy, but the benefits are well worth it. Ways to help you adjust: •...
- Page 14 Questions? Call 888.452.4363 TRACK YOUR PROGRESS STEP 3: START YOUR PAP MACHINE...
-
Page 15: Track Your Progress
TRACK YOUR PROGRESS. You can track your progress by registering for ResMed’s myAir™ application at www.resmed.com/myAir or by downloading the myAir™ by ResMed app from the App Store on your smartphone. You can view your daily sleep score and previous night’s results. -
Page 16: Get Support
GET SUPPORT. If you are having difficulties getting used to therapy, try using your machine’s “comfort features” to help. Do you have a dry nose or throat, or a runny nose? Increase the humidity level. Are there droplets of water or condensation inside your nose, mask, or tubing? Decrease the humidity level. - Page 17 Is the air pressure making it difficult for you to fall asleep? Turn on the Auto Ramp or increase the Ramp Time. Do you feel bloated? You may be swallowing air. Turn on the Auto Ramp or increase the Ramp Time. Do you feel like you are not getting enough air? Turn the Ramp Time to “off.”...
- Page 18 CLEANING, MAINTENANCE REPLACEMENT Oil from your face and ingredients in facial products can cause the PAP mask cushions to wear down and decrease the useful life of the mask. Get in the habit of wiping down your mask each day, especially the areas that come in contact with your skin.
- Page 19 REPLACE SUPPLIES REGULARLY Replace your sleep supplies regularly. This helps to ensure a good mask seal and reduce buildup of bacteria, viruses, and allergens. Ordering fresh, clean supplies to replace your old items helps improve the comfort of your mask and maintains the overall effectiveness of your therapy. Recommended Replacement Schedule Twice Monthly Once Monthly...
- Page 20 Apria Healthcare branch. If your concern is not resolved, please contact the Patient Satisfaction team at the number listed below. 800.260.8808 ClimateLineAir and myAir are trademarks and/or registered trademarks of the ResMed family of companies. ©2021 Apria Healthcare Group LLC SLP-4322 Rev. 07/21_v7...
Need help?
Do you have a question about the AirSense 10 and is the answer not in the manual?
Questions and answers
The resmed machine we have is stating the **** motor needs checked. Is there anything we can do at home to fix this or is the only option to get a new one?
A motor issue in the ResMed AirSense 10 is described as "virtually impossible to fix." However, disassembling the device may help determine if any minor adjustments can be made. If the motor is faulty, replacement is likely necessary.
This answer is automatically generated