Table of Contents
Advertisement
Quick Links
____________________ User Manual
Connecting the computer
Your computer can be powered by either an AC adapter or a battery pack.
Recharging the Battery with the AC Adapter
The battery pack automatically recharges when the AC adapter is attached
and plugged into an electrical outlet. If the computer is powered on, and in
use, it will take several hours to fully recharge the battery. When the com-
puter is turned off but plugged into an electrical outlet, battery charge time
is less.
Low Battery Warning
When the battery is critically low, immediately connect the AC adapter to the
computer or save your work, otherwise, the unsaved data will be lost when
the power is depleted.
AC Adapter
Use only the AC adapter that comes
with your computer. The wrong type
of AC adapter will damage the com-
puter and its components.
1. Attach the AC adapter to the DC-in
jack at the rear of the computer.
2. Plug the AC power cord into an
outlet, and then connect the AC
power cord to the AC adapter.
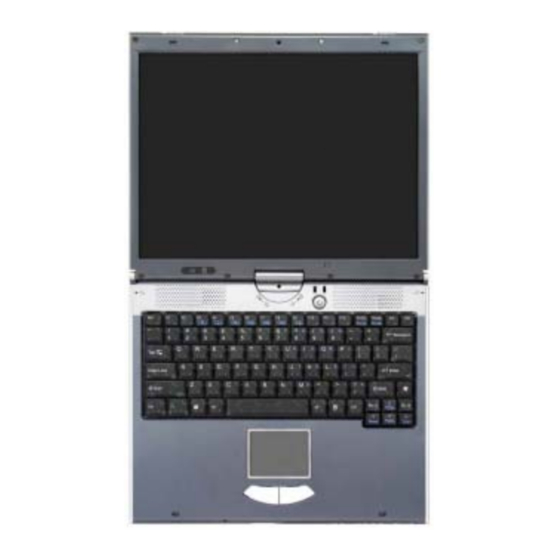
3. Raise the LCD Swivel Panel to a
comfortable viewing angle.
4. Press the power button to turn
"On".
Battery
The battery allows you to use your
computer while you are on the road
or an electrical outlet is unavailable.
Battery life varies depending on the
applications and the configuration
you're using. To increase battery life,
let the battery discharge completely
before recharging.
1
Advertisement
Table of Contents

Related Manuals for Prestigio Visconte 141


Summary of Contents for Prestigio Visconte 141
- Page 1 ____________________ User Manual Connecting the computer Your computer can be powered by either an AC adapter or a battery pack. AC Adapter Use only the AC adapter that comes with your computer. The wrong type of AC adapter will damage the com- puter and its components.
-
Page 2: The Lcd Swivel Screen
Quick Start Guide Top view (Panel Closed) 1. LCD Latches 2. LED Indicators To open the LCD display: 1. Place the computer on a stable sur- face.. 2. Press the latches in the direction of the arrows (press in) to release the top cover. -
Page 3: Led Power Indicators
Attention: Make sure the screen rotation driver is installed before attempting to rotate the screen. The screen also acts as a Touch Panel when the driver is in- stalled. You can use the stylus pen provided to point directly to objects on the screen in much the same way as you would use your mouse as the pointing device. -
Page 4: Cover Sensors
Cover Sensors These switches act as sensors to tell when the LCD Swivel Panel is closed, in Notebook Mode, or in Tablet Mode. LED Status Indicators... -
Page 5: Front View
Front View 1. LCD Latches 2. Microphone-In Jack 3. Headphone-Out 4. Infrared Transceiver 5. Scroll/Enter Wheel 6. LED Status Indicators 7. Three Hot-Key Buttons (Esc, Tab, & “Q” Rotate) Left Side View 1. Security Lock Slot 2. Vent 3. Stylus Pen Holder Overheating: To prevent your computer from overheating make sure noth- ing blocks the vent/fan intake while the computer is in use. -
Page 6: Rear View
Rear View 1. External Monitor (VGA) Port 2. RJ-45 LAN Jack 3. RJ-11 Phone Jack 4. DC-In Jack 5. Vent Bottom View 1. Stylus Pen Holder 2. Battery 3. Wireless LAN Module Cover 4. Hard Disk Cover 5. RAM Cover 6. -
Page 7: The Function Keys
Keyboard Hot-Keys The Function Keys On the bottom-left of the keyboard is the Fn key, or Function key, which allows you to change operational features instantly. To use the functions press and hold the Fn key, and then press the appropriate function key (F3 - F11 etc.) located on your keyboard. -
Page 8: Touch Panel (Model A Only)
Embedded numerical keypad The keyboard has an embedded numerical keypad for easy numeric data in- put. Activate the Number Lock feature by pressing the Fn and Num Lk key combination. You may check if Number Lock is enabled or not by looking at the LED status indicators. -
Page 9: Removing The Battery
Removing the Battery 1. Turn the computer off, and turn it over. 2. Locate the battery bay as highlighted. 3. Slide the battery lock in the direction of the arrow 1. 4. Slide the battery lock in the direction of the arrow 2, and hold it in place. 5. -
Page 10: Important Safety Instructions
Important Safety Instructions 1. Do not use this product near water, for example near a bathtub, washbowl, kitchen sink or laundry tub, in a wet basement or near a swimming pool. 2. Avoid using this equipment with a telephone line (other than a cordless type) during an electrical storm. -
Page 11: Specifications (Model A)
22. Make sure the socket and any extension cord(s) you use can support the to- tal current load of all the connected devices. 23. Before cleaning the computer, make sure it is disconnected from any exter- nal power supplies (i.e. AC adapter or car adapter). 24. - Page 12 “Q” for screen rotation/power Escape Scroll Up/Scroll Down/Enter Indicators LED Indicators (Power/Suspend, Battery, HDD, Caps Lock, Scroll Lock, Num Lock, Wireless LAN) Interface & Communication Two USB 2.0/1.1 Ports One Stereo Headphone-Out Jack One Monaural Microphone-In Jack One RJ-11 (V.90 K56flex™) Jack for Fax/ Modem MDC Modem Module Supporting Wake On Ring...
Need help?
Do you have a question about the Visconte 141 and is the answer not in the manual?
Questions and answers