Advertisement
Simple-To-Set Smart Controller Operaion Manual
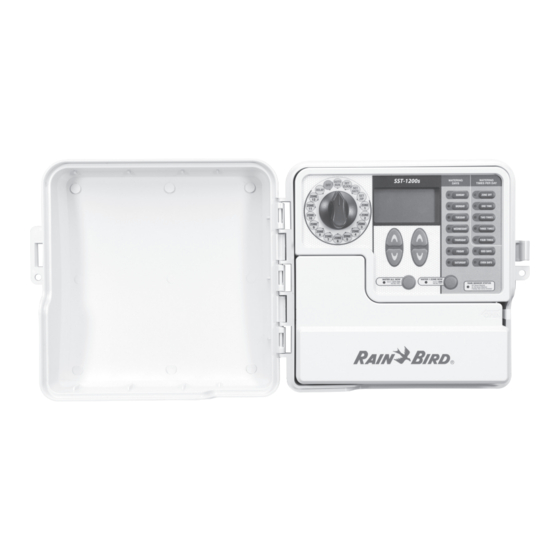
Welcome and thank you for purchasing the Rain Bird SST Smart Controller!
In the following
pages, you will find step by step instructions on how to use every function included in your Controller. If at any time you
have trouble understanding how to setup your controller, please call Rain Bird Technical Support at 1.800.Rain Bird and let
us guide you through the setup process. Thanks again and we hope you enjoy your new controller.
Advertisement
Table of Contents

Summary of Contents for Rain Bird SST-1200s
- Page 1 Controller. If at any time you have trouble understanding how to setup your controller, please call Rain Bird Technical Support at 1.800.Rain Bird and let...
-
Page 2: Smart Logic
In this example, all watering durations have been reduced by 20%.If that zone had been scheduled to water for 10 minutes, watering time is now automatically reduced to 8 minutes. Rain Bird Controller... -
Page 3: Getting Started
For instance, if you want to set a schedule for Zone 1 in your yard, first turn the dial to “Zone 1” and then make your changes using the buttons to the right of the dial. Rain Bird Controller... -
Page 4: Setting Clock
. Follow the steps below. To Set Clock: Step 1 Turn dial to Set Clock Step 2 Use left Up/ Down arrow keys to choose current time STOP IMPORTANT: Reset dial to Auto Run after making any adjustments to the programming Rain Bird Controller... -
Page 5: Setting Date
To Set Date: Step 1 Turn dial to Set Date Step 2 Use left and right Up/ Down arrow keys to choose current date STOP IMPORTANT: Reset dial to Auto Run after making any adjustments to the programming Rain Bird Controller... - Page 6 The last thing you will want to do before setting Setting Zip Code up your watering schedule is to put your zip code into the controller. Follow the steps below. To Set Zip: Step 1 Turn dial to Set Zip Step 2 Use left and right Up/Down...
- Page 7 Watering Times per Day Options Hours from First Start Time For Additional Watering Times adjustments to 2 times per day 6 hours the programming 3 times per day 4 and 8 hours 4 times per day 3, 6, and 9 hours Rain Bird Controller...
- Page 8 Zone you wish to water and press “Water 1 Zone Now” Step 2 The Zone will start watering for a default of 10 minutes STOP IMPORTANT: Reset dial to Auto Run after making any adjustments to the programming Rain Bird Controller...
- Page 9 Step 3 To stop watering before the time is up, turn the dial to “Off” for a few seconds STOP IMPORTANT: Reset dial to Auto Run after making any adjustments to the programming Rain Bird Controller...
-
Page 10: Rain Delay
Delay Use the right hours that are left until Up/Down regularly scheduled arrows to adjust watering resumes. the amount of delay time STOP IMPORTANT: Reset dial to Auto Run after making any adjustments to the programming Rain Bird Controller... -
Page 11: Normal Operation
The upper left corner of the display shows that the Delay hours that are left until regularly scheduled controller has detected a fault in the wiring for zone #2. watering resumes. It is likely to be a short circuit or a defective valve solenoid. Rain Bird Controller... -
Page 12: Troubleshooting
An electrical surge may have damaged the Unplug the controller for 3 minutes. plug the controller back in. If there the controller will not accept controller’s electronics. is no permanent damage, the controller will accept programming and programming. resume normal operation. Rain Bird Controller... - Page 13 Notes Zone Notes Rain Bird Controller...
- Page 14 In the interest of product improvement, Rain Bird reserves the right to change product design or specifications without notification. ®Trademark of Rain Bird Corporation. © 2010 Rain Bird Corporation. Rain Bird Corporation Consumer Products Division Customer Service Center 6991 E. Southpoint Rd. Building #1...


Need help?
Do you have a question about the SST-1200s and is the answer not in the manual?
Questions and answers
I have an outdoor timer sst1200s. there was a very brief power outage. the timer had to be reset and was done by the no less than 3 people including myself. To my question, the timer will not water as programed and has to be done manually station by station. I noted the rain sensor light is not on & the upper display window shows 100% even after the reset. It does have a sensor mounted on the fascia board above. My next step was to disconnect the yellow wires for the sensor? I think I saw somewhere that I have to install a shunt across the sensor terminals for it to function? Your take please. Thanks in advance, Phil PS: love this unit and have 3 of them !!!