Advertisement
Quick Links
ASSEMBLY INSTRUCTIONS
Whistler 2.0
Tools Required: Power screwdriver. We strongly recommend using an impact drill gun together with thread locking all screws.
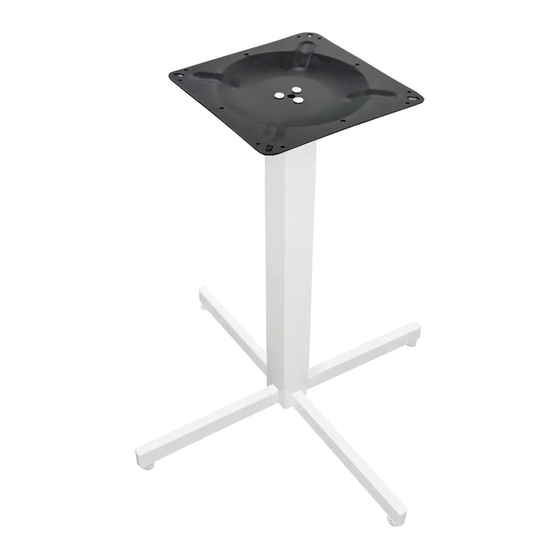
Note: Please ignore any pre-drilled holes or nut inserts that maybe present in your top(s). They will not match your particular
table/desk base and woods screws will be required to be screwed directly into the underside of the top.
Note: It is important to fully tighten all bolts and screws before attaching the top(s) so that the frame is su ciently rigid.
Failure to do this may a ect stability once the tops are attached.
www.jasonl.com.au
Need help!
Call us on
1300 527 665
Page 01
Advertisement

Related Manuals for Jason.L Whistler 2.0


Summary of Contents for Jason.L Whistler 2.0
- Page 1 ASSEMBLY INSTRUCTIONS Need help! Whistler 2.0 Call us on 1300 527 665 Tools Required: Power screwdriver. We strongly recommend using an impact drill gun together with thread locking all screws. Note: Please ignore any pre-drilled holes or nut inserts that maybe present in your top(s). They will not match your particular table/desk base and woods screws will be required to be screwed directly into the underside of the top.
- Page 2 ASSEMBLY INSTRUCTIONS Need help! Whistler 2.0 Call us on 1300 527 665 A * 1 B * 1 C * 4 (M8*70mm) D * 1 E * 1 F * 3 (M8*30mm) G * 4 H * 1 I * 9...
- Page 3 ASSEMBLY INSTRUCTIONS Need help! Whistler 2.0 Call us on 1300 527 665 STEP 1 STEP 2 STEP 3 Page 03...
- Page 4 ASSEMBLY INSTRUCTIONS Need help! Whistler 2.0 Call us on 1300 527 665 STEP 4 (adding the top) is done by putting the top upside down on the ground first, measuring the top plate to the edges & then drilling the screws.
Need help?
Do you have a question about the Whistler 2.0 and is the answer not in the manual?
Questions and answers