Table of Contents
Advertisement
Quick Links
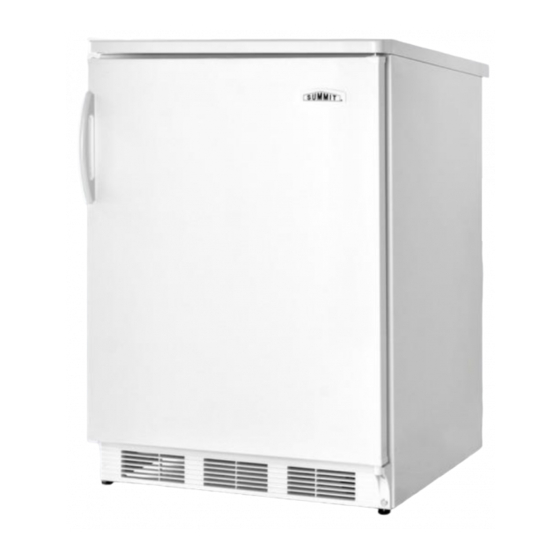
COUNTER-HEIGHT REFRIGERATORS
Models:C
405
CM411L
Write Model & Serial Nos. (on back
of unit) here:
__________________________
________
__________________________
______
FF6W/L series
FF6BK series
FF7W/L series
FF7BK/LBK series
SCR600GL series
SCR600BGL
Instruction Manual
BEFORE USE, PLEASE READ AND FOLLOW
ALL SAFETY RULES AND OPERATING INSTRUCTIONS
_
series
FELIX STORCH, INC.
An ISO 9001:2015 registered company
770 Garrison Avenue
Bronx, NY 10474
www.summitappliance.com
Advertisement
Table of Contents


Need help?
Do you have a question about the Accucold FF6W Series and is the answer not in the manual?
Questions and answers