Table of Contents

Subscribe to Our Youtube Channel
Summary of Contents for iGenix DF1250
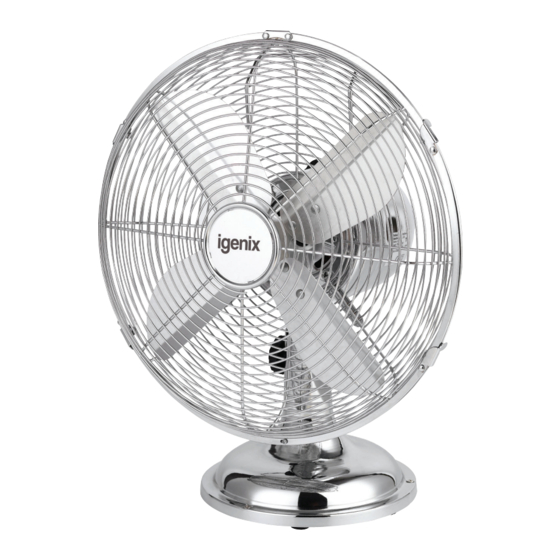
- Page 1 USER MANUAL 12” Desk Fan Chrome DF1250 PO Number: Please read these instructions carefully before use and retain for future reference Before switching on your appliance, always check for any damage which may have been caused in transit...
- Page 2 Operating Instructions ...............4 Cleaning & Maintenance ............4 Fuse Replacement ...............5 Trouble Shooting Guide .............5 Disposal information ..............5 Igenix Warranty ...............6-7 SAFETY INSTRUCTIONS Please read this user manual carefully to ensure proper use, maintenance and installation. 1. This product is intended for domestic and light office use ONLY and not for commercial, industrial or outdoor use.
- Page 3 11. Keep the appliance and its cord out of reach of children. 12. Children shall not play with the appliance. 13. Cleaning and user maintenance shall not be made by children. 14. This appliance is not intended for use by persons (including children) with reduced physical, sensory or mental capabilities, or lack of experience and knowledge.
- Page 4 MOUNTING INSTRUCTIONS 1. Remove all parts from the packaging. Separate the front and rear guard. 2. Align the rear guard with the four holes on the motor then insert and tighten the position screws. 3. Slide the blade onto the shaft of the motor and tighten the securing screw onto the flat of the shaft to secure the blade. Ensure that the blade does not touch the guards. 4.
- Page 5 MAINS PLUG FUSE REPLACEMENT Fuse Replacement (Class I) This appliance must be earthed. Remove the central screw on the plug and open the shell. Take out the fuse and replace with a new fuse of the same Amp. Install the shell again and tighten the screws. TROUBLE SHOOTING GUIDE Problem Possible Cause...
- Page 6 lgenix Warranty Terms & Conditions This product is guaranteed for a period of 12 months as standard from the date of purchase against mechanical and electrical defects. You can extend your warranty for a further 12 months by registering your product. Upon registration we will cover your product for a period of 24 months from the original purchase date against any mechanical or electrical defects.
- Page 7 To qualify for the 2 year warranty you must register your product within 30 days of purchase. The full Terms & Conditions of our warranty policy are shown on the opposite page. They are also available on our website. www.igenix.co.uk...
- Page 8 38 Bluestem Road, Ransomes Europark, Ipswich, IP3 9RR Tel. 01473 271 272 Disclaimer: Igenix operate a policy of continual improvement and development. We therefore reserve the right to change/alter the specification and appearance of our appliances without prior notice. All diagrams and images shown in this manual are for illustration purposes only.


Need help?
Do you have a question about the DF1250 and is the answer not in the manual?
Questions and answers