Advertisement
With Mechanical or Power Shuttle Transmission
With Mechanical or Power Shuttle Transmission PIN ZxJV5xxxx and above
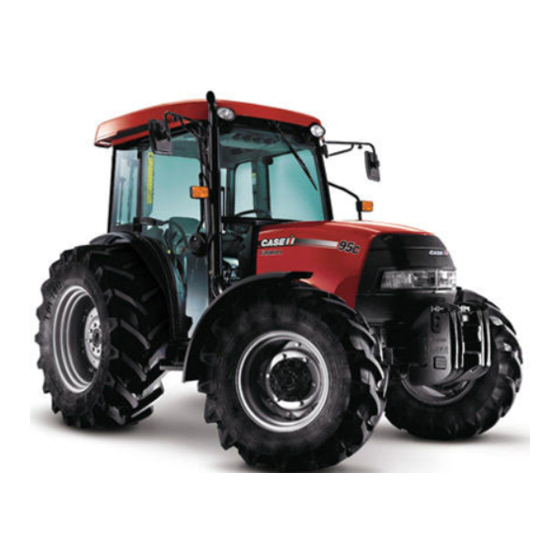
FARMALL
FARMALL
With Hi-Lo Transmission
With Hi-Lo Transmission PIN ZxJV0xxxx and above
SERVICE MANUAL
Part number 47840678
Replaces part number 47561951
FARMALL
85C
®
FARMALL
95C
®
105C
®
115C
®
Tractor
English
March 2015
Advertisement


Need help?
Do you have a question about the FARMALL 85C and is the answer not in the manual?
Questions and answers