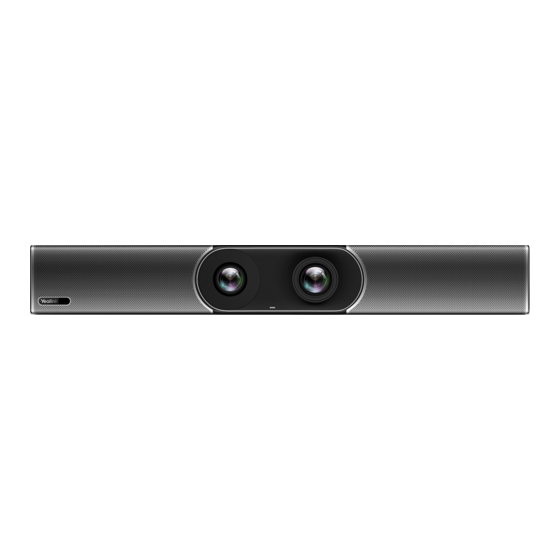
Yealink A30 Quick Start Manual
All-in-one video collaboration bar
Hide thumbs
Also See for A30:
- Quick start manual ,
- Administrator's manual (107 pages) ,
- Deployment manual (36 pages)
Summary of Contents for Yealink A30
- Page 1 Certified for Microsoft Teams All-in-one Video Collaboration Bar MeetingBar A30 English | | Deutsch | Français | Español Quick Start Guide (V1.0)
- Page 2 Table of Contents English..............1 ............6 Deutsch............11 Français............16 Español............21...
-
Page 3: Package Contents
We recommend that you use the accessories provided or approved by Yealink. The unapproved third-party accessories may result in reduced performance. • Use the Yealink original adapter (48V/0.7A) to charge the endpoint only. The use of the third-party adapter may cause the damage to the endpoint. •... - Page 4 Remove the Protective Shell Endpoint Installation • Mount on a Wall A30 position H>120cm H<120cm Wall Mounting Use the bracket to mount your endpoint on a wall. The mounting height affects your camera view. The recommended height is 1.1m above the ground.
- Page 5 Step2: Mount the A30 to the wall Hole depth: 30mm Hole diameter: 6mm T4×30 screws • Using Yealink TV Mount Bracket Note: The TV stand should be purchased separately.
- Page 6 • Put on a TV stand cart platform Silicone Pad • Put on a desk Adjusting the Camera Tilt 15° 15°...
- Page 7 VCH51 Note: • If you connect a touch display device, you can operate the A30 either by remote control or touch control. • If you connect a non-touch display device, you can use the remote control, mouse or CTP18. CTP18 Connection Ethernet Cable 7.5m...
- Page 8 ×4 ×2 ×2 CTP18 VCR20-Teams VCH51 WPP20...
- Page 9 H>120cm H<120cm...
- Page 11 15° 15°...
- Page 12 VCH51 CTP18...
- Page 13 Adapter für drahtlose Präsentationen Hinweis: • Wir empfehlen die Verwendung von Zubehör, das von Yealink entweder geliefert oder empfohlen wird. Der Geb- rauch von Drittanbietern bereitgestellten Zubehörs, das von Yealink nicht freigegeben wurde, kann zu einer ver- minderten Leistungsfähigkeit führen.
- Page 14 Entfernen der Schutzhülle Endpunkt-Installation • Wandmontage A30-Position H>120cm H<120cm Wandmontage Verwenden Sie die Halterung, um Ihren Endpunkt an einer Wand zu montieren. 1,1 m über dem Boden empfohlen. Schritt 1: Setzen Sie die Montagehalterung zusammen...
- Page 15 Schritt 2: Montieren Sie das A30 an der Wand Lochtiefe: 30mm Lochdurchmesser: 6mm T4x30-Schrauben • mit der Yealink TV-Montagehalterung Hinweis: Der TV-Ständer sollte separat erworben werden.
- Page 16 • Auf eine Wagenplattform für einen TV-Ständer stellen Silikonpad • Auf einen Schreibtisch stellen Einstellen der Kameraneigung 15° 15°...


Need help?
Do you have a question about the A30 and is the answer not in the manual?
Questions and answers