Advertisement
Quick Links
Advertisement

Subscribe to Our Youtube Channel
Related Manuals for BROSA Lucille Round Table


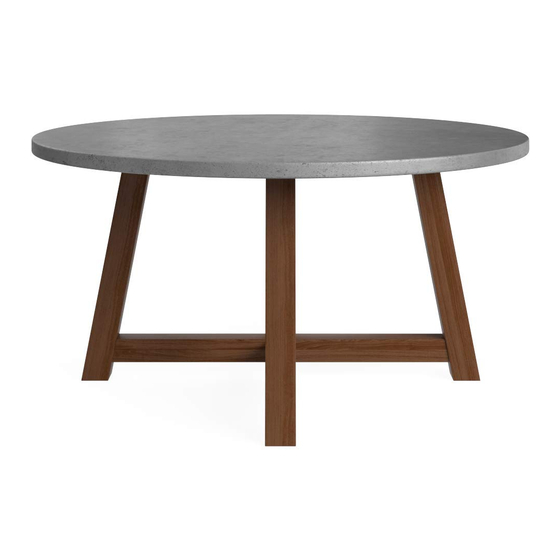
Summary of Contents for BROSA Lucille Round Table
- Page 1 Lucille Round Table A S S E M B LY G U I D E...
- Page 2 F O R Y O U R S A F E T Y Lift, don’t drag. This protects Check the assembly guide your floor and product. for required components. Assembly requires 2 people. Assembling this product on It's always easier with a a soft surface protects its friend.
-
Page 3: What You Need
Components Before you get started, check you have all of the pieces below. If anything’s missing, we’ll sort it out right away. Simply visit: www.brosa.com.au/pages/product-return-and-parts-request ① Table Top x 1 (See Step 1, Step 2 for access.) ② ③ Upper Leg x 1... - Page 4 Cement is a relatively fragile material. To prevent the cement table top from damage during transportation, an extra wooden crate has been applied. Please follow Step 1 and Step 2 below to unpack the table top. Step 1 Upon unpacking your shipping carton, you should have the cement table top fixed and secured by the wooden crate.
- Page 5 Step 2 Remove all the wooden slats so that the inner box is separated from the crate.
- Page 6 Step 3 Unscrew the bolts attached to the wooden block. Take off the bolts so that the block is separated from the leg frame ③. Keep the removed bolts and flat washers for the following assembly. ③...
- Page 7 Step 4 ③ ② Fit the lower leg and upper leg together as shown in the diagram below. Fit a washer to the medium bolt and then insert the bolt into the hole in the middle. Tighten the bolt with the Allen key E. ③...
- Page 8 Step 5 Fit the wooden block removed in Step 3 back into the recess formed in Step 4. Insert the bolts and washers removed in Step 3 back into four corners. Fit a washer to the short bolt and then insert it into the middle.
- Page 9 Step 6 ① Gently place the table top on a flat soft sur- face with the bottom facing upward. Align the structure formed in Step 5 with the bottom of the table top and make sure the bolt holes on each side overlap.
- Page 10 Step 7 Tighten all bolts with the Allen key E.
- Page 11 Step 8 Lift the completed piece of furniture off the ground and place it upright on a level surface. Enjoy your new Lucille Round Table!
- Page 12 Warning The maximum loading weight for the table is 80kg. Please do NOT overuse it with an exceeded weight. MAX. 80 KG...
- Page 13 User Recommendation Assembly 1. Assemble furniture using our Assembly Guides. You can find them at support.brosa.com 2. Do not dispose of any packaging or contents of the shipping carton until assembly is completed to avoid accidentally discarding small parts or hardware.
- Page 14 Exposure 1. Use protective coasters and mats for hot items on the furniture. 2. Keep furniture away from intense direct sunlight. Exposure can cause cracks or discolouration. 3. Severe changes in temperature and humidity can accelerate ageing. Keep furniture at least 60cm from heating or air conditioning. 4.
Need help?
Do you have a question about the Lucille Round Table and is the answer not in the manual?
Questions and answers