Table of Contents
Advertisement
Advertisement
Table of Contents

Related Manuals for INNOSILICON T2-BTC


Summary of Contents for INNOSILICON T2-BTC
- Page 1 T2-BTC USER MANUAL INNOSILICON CONFIDENTIAL...
-
Page 2: Table Of Contents
INNOSILICON T2-BTC Table of Contents 1. OVERVIEW 2. ASSEMBLE THE MINER 2.1 Check the miner before power on 2.2 Connect the PSU 3. OPERATE THE MINER 3.1 Enter the miner console 3.2 Set up the pool 3.3 Check the hashrate of the miner 3.4 Network configuration... -
Page 3: Overview
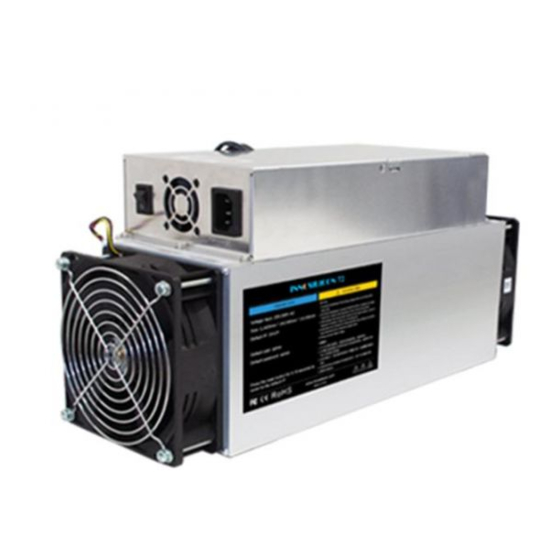
T2-BTC 1. OVERVIEW Part Number Algorithm Sha256 Hash Rate 17.2Th/s (±5% ) Power 1430W +10% Size (L×W×H) 405mm*185mm*165mm Net Weight 7.2KG (with PSU) Operating Temperature 0-40 ℃ Network Connection Ethernet INNOSILICON CONFIDENTIAL... -
Page 4: Assemble The Miner
T2-BTC 2. ASSEMBLE THE MINER 2.1 CHECK THE MINER BEFORE POWER ON · Check the warranty sticker is well or not, especially the hashboards PSU port side. If the warranty sticker is damaged when you received the miner, please contact our After-sales. -
Page 5: Connect The Psu
T2-BTC 2.2 CONNECT THE PSU Note: The sequence of the PSU cable should be same with the follow picture Change the sequence of the PSU cable will void the warranty. Connect the miner and the router by the Ethernet cable, then the miner can start to run after power on the miner. -
Page 6: Operate The Miner
T2-BTC 3. OPERATE THE MINER 3.1 ENTER THE MINER CONSOLE DHCP is the default IP mode of the miner, find the IP via the router or the IP scanner.Enter the IP of the miner on the browser and press the Enter button. Chrome is the suggested browser. -
Page 7: Check The Hashrate Of The Miner
T2-BTC 3.3 CHECK THE HASHRATE OF THE MINER After set up the pool, the miner will mine for you. 3.4 NETWORK CONFIGURATION INNOSILICON CONFIDENTIAL... -
Page 8: Other
T2-BTC 3.5 OTHER PAGES 3.5.1 OVERVIEW 3.5.2 UPGRADE INNOSILICON CONFIDENTIAL... -
Page 9: Modify The Password
T2-BTC 3.5.3 MODIFY THE PASSWORD 3.5.4 REBOOT 3.5.5 FACTORY RESET INNOSILICON CONFIDENTIAL...
Need help?
Do you have a question about the T2-BTC and is the answer not in the manual?
Questions and answers