Advertisement
Jive
Assembly Instructions
Congratulations on
your purchase of a
new Jive table!
For assembly assistance, visit Haworth.com, or call: 1 800 426 8562, or email support@haworth.com
Ready to create a dedicated workspace just for you?
We know you want to get up and running as soon as possible, but
before you dive right into setting up your table, be sure to:
1. Grab a friend to help you with the lifting. They can also help you
hold parts in place during assembly to make things a little easier.
2. Make sure you have all your parts and hardware, and gather the
necessary tools and safety equipment.
3. Follow all the steps carefully before using your table.
That's it! Once you've got your table assembled, you'll be ready to
get down to business with a fresh, new space that's dedicated to
helping you stay productive.
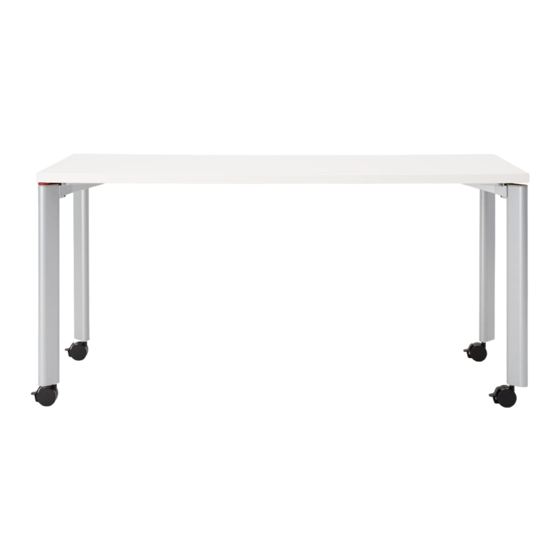
Jive Table with Swivel Base
Advertisement
Table of Contents

Related Manuals for Haworth Jive


Summary of Contents for Haworth Jive
- Page 1 That’s it! Once you’ve got your table assembled, you’ll be ready to get down to business with a fresh, new space that’s dedicated to new Jive table! helping you stay productive. For assembly assistance, visit Haworth.com, or call: 1 800 426 8562, or email support@haworth.com...
- Page 2 Jive Table with Swivel Base Assembly Instructions Tools Required 13mm Assembly Overview 24D x 60W 30D x 60W 30D x 72W S-66 Scale 1 : 1 (S-66) #12 x 1” Pan Head Screw Customer Service: 1 800 426 8562 E.C.O. No 245-691...
- Page 3 (A) Worksurface (B) Swivel Base Legs - Magnet (D) Casters (C) Swivel Base Legs - Swing Arm (S-66) Pan Head Screws - Qty. 24 Customer Service: 1 800 426 8562 E.C.O. No 245-691 Part No 6100-0170 Rev 1 Page 3 of 6...
- Page 4 Magnetic and Swing Arm locations (topside view) NOTE: Swivel base swing arm legs (C) must be installed on opposite corners of the table. Attach swivel base legs (B and C) to worksurface (A) as shown S-66 24 Qty. (S-66) #12 x 1” Pan Head Screw Customer Service: 1 800 426 8562 E.C.O.
- Page 5 Insert casters (D) and tighten with wrench as shown 13mm Wrench With a helper, flip table onto its feet FLIP TABLE ONTO FEET Customer Service: 1 800 426 8562 E.C.O. No 245-691 Part No 6100-0170 Rev 1 Page 5 of 6...
- Page 6 TABLE CONNECTION AND ALIGNMENT Align tables so base legs with magnets (B) and base legs with swing arms (C) are adjacent to one another Pivot each swing arm (on C) to attach to the adjacent magnet (on B) Customer Service: 1 800 426 8562 E.C.O.
Need help?
Do you have a question about the Jive and is the answer not in the manual?
Questions and answers