Table of Contents
Advertisement
Quick Links
Advertisement
Table of Contents

Related Manuals for Pentair HIPPO F2200


Summary of Contents for Pentair HIPPO F2200
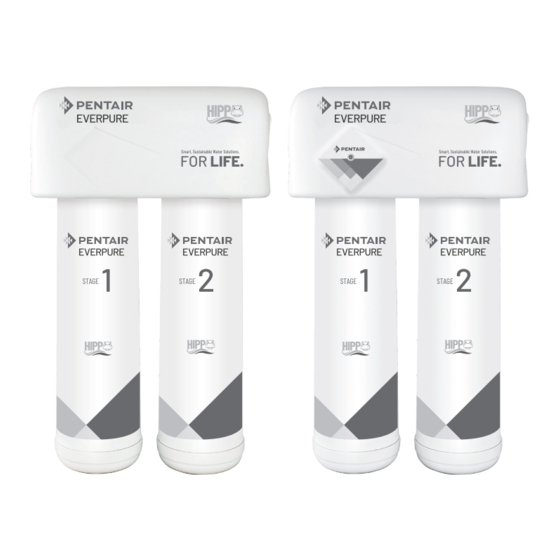
- Page 1 EVERPURE HIPPO F2100 & F2200 2-STAGE FILTRATION SYSTEM USER'S MANUAL...
-
Page 2: Table Of Contents
CONTENTS 1. Precautions and General Notes ..……………..….…..….…..….……….………… 3 2. Parts Included ……….….…..…..………..….…….…….........… 4 3. Product Information ..…….…………..…………..….………….…..…....…… 4 3.1. Product Features ..…………..…...…………..….……………….……....…...… 4 3.2. Product Specification ..………….……………..….…………….…….….………..……..….… 4 3.3. Water Treatment Process ..……………..……..….…….……....……..…. 5 3.4. Introduction to Main Parts ..……………..……..…...…….…….….….….………..5 4. -
Page 3: Precautions And General Notes
1. PRECAUTIONS AND GENERAL NOTES CAUTION Please read this instruction manual carefully before installing and using this product. If you encounter any problems that are not addressed in this manual, please contact your local Pentair's distributor. WARNING: • • Do not use with water that is microbiologically For cold water use only. -
Page 4: Parts Included
2. PARTS INCLUDED See checklist below for the components included with your system. DESCRIPTION UNIT QUANTITY Main Filtration System Main System Cover Piece Faucet Piece Accessory Pack 3. PRODUCT INFORMATION 3.1. Product Features The high quality of the 2-stage filtration system is a result of the strict material selection and superior performance design of each component. -
Page 5: Water Treatment Process
3.4. Introduction to Main Parts ESTIMATE COMPONENT NAME MATERIAL SPECIFICATIONS QUANTITY BRANDS USEFUL LIFESPAN Diameter: 90mm Housing: Polypropylene Length: 305mm Polypropylene PENTAIR Polyspun Filter months EVERPURE Cartridge (PP) Micron Rating: Filter Element: 5 microns Diameter: 40.6mm Polypropylene Polyspun Length: 248mm Diameter: 90mm Housing: Polypropylene... -
Page 6: Installation And Commissioning
4. INSTALLATION AND COMMISSIONING 3. Selecting the Filter's Faucet Location. 4.1 Schematic Diagram: Filter's faucet Faucet connector Pilot Hole Inlet water pipe Wall 3-way 3/8" water tubing (white) ball valve Ø1/4” 3/8" water tubing (blue) Angle Ø1 1/4” valve Mounting Hole 4.2 Tools and materials: Adjustable wrench, teflon tape, pipe cutter (or utility knife), Phillips head screwdriver (for wall mounting),... - Page 7 INSTALLATION CONTINUED . . . 5. Mounting the Faucet. A. Holding the faucet, slot in the base of the faucet, place the faucet stem through the hole on the sink or counter top. Position the faucet handle at a desired location. B.
- Page 8 INSTALLATION CONTINUED . . . 131mm Inlet Outlet Filter Filter 320mm WARNING: The system should be mounted to a firm, solid surface that is 206mm able to support the weight of the system. 7. Connecting the Faucet to the System. Determine the length of plastic blue tubing needed to connect to the outlet (right) side of the filter from the faucet.
- Page 9 INSTALLATION CONTINUED . . . 8. Connecting the 3/8” white tubing to the three-way ball valve and to the system Determine the length of plastic white tubing needed to connect the inlet (left) side of the filter with the supply three-way ball valve installed on the cold water supply line.
-
Page 10: Filter Cartridge Replacement
5. FILTER CARTRIDGE REPLACEMENT NOTE: The life of the filter cartridges depends on water volume filtered and the quality of the feed water. It is recommended that the filter cartridges be replaced every regularly, or when there is noticeable change in taste, odour, or flow of filtered water. Ensure the correct replacement cartridge model (Refer to cartridge part number on the cartridge label) are purchased for the system 5.1 Cartridge Replacement... -
Page 11: Filter Cartridge Timer (Optional)
6. FILTER CARTRIDGE TIMER (OPTIONAL ACCESSORY) The filter cartridge timer can be installed to the systems decorative cover by peeling away the adhesive backing on the metal plate included with the cartridge timer. The timer can also be attached to a metal magnetic surface using the magnet that is factory installed on cartridge timer. -
Page 12: Troubleshooting
Re-install and tighten three-way ball valve as required. Place system into operation and check for leaks. If leaks persist, turn off the water supply and contact Pentair’ s authorized distributor. Leaks at the connection point to the quick Relieve line pressure by turning off the water supply to the system then opening faucet until water flow stops. -
Page 13: Terms And Conditions Of Warranty
8. TERMS AND CONDITIONS OF WARRANTY The warranty period is 1 year from the date of purchase. During the warranty period, Pentair (Company) is responsible for providing free warranty for faults arising from normal operation and use according to the installation manual and user's manual. - Page 14 371 He Shan Road | New District Suzhou | Jiangsu 215011 | China | pentair.com All Pentair trademarks and logos are owned by Pentair. All other brands or product names are trademarks or registered marks of their respective owners. Because we are continuously improving our products and services, Pentair reserves the right to change specifications without prior notice.
Need help?
Do you have a question about the HIPPO F2200 and is the answer not in the manual?
Questions and answers