Advertisement
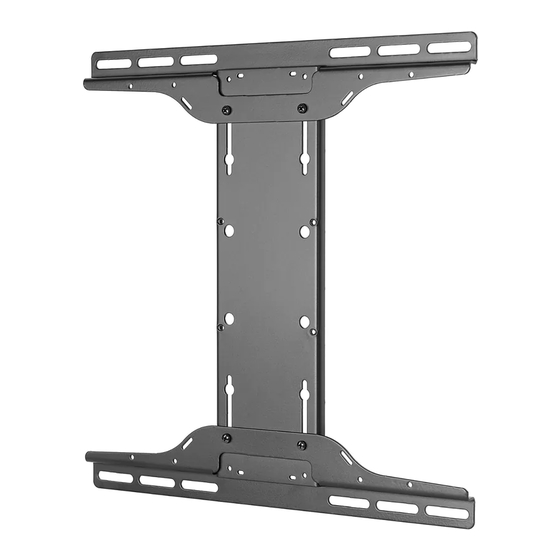
Installation and Assembly - Universal Adapter
Bracket for 22" - 46" LCD Screens
IMPORTANT! Read instruction sheet before you start installation and assembly.
Before you begin, make sure all parts shown are included with your product.
Parts List
Description
AA adapter plate
BB adapter bracket
CC allen wrench
DD M5 x 10mm screw
AA
CC
PLP-UNM
PLP-UNM-S
Qty Part #
Part #
1
201-1016
201-4016
2
201-1512
201-4512
1
560-9646
560-9646
4
520-1063
520-1063
PLP-UNMP PLP-UNMP-S
Part #
201-1016
201-1515
560-0072
520-9250
Used with specific
mounts only
DD
1 of 5
Models: PLP-UNM, PLP-UNM-S,
PLP-UNMP, PLP-UNMP-S
Part #
201-4016
201-4515
560-0072
520-9250
BB
ISSUED: 06-01-06 SHEET #: 202-9145-4 08-08-12
Advertisement
Table of Contents

Related Manuals for peerless-AV PLP-UNM


Summary of Contents for peerless-AV PLP-UNM
- Page 1 Installation and Assembly - Universal Adapter Models: PLP-UNM, PLP-UNM-S, Bracket for 22" - 46" LCD Screens PLP-UNMP, PLP-UNMP-S IMPORTANT! Read instruction sheet before you start installation and assembly. Before you begin, make sure all parts shown are included with your product.
- Page 2 Security Adapter Bracket Fasteners M4 x 12 mm (4) M6 x 12 mm (4) M5 x 12 mm (4) 510-1079 520-1050 520-1064 M4 x 25 mm (4) M5 x 25 mm (4) M6 x 25 mm (4) 510-1082 520-1122 520-1211 I.D.
- Page 3 Installing Adapter Brackets WARNING • Tighten screws so adapter brackets are firmly attached. Do not tighten with excessive force. Overtightening can cause stress damage to screws, greatly reducing their holding power and possibly causing screw heads to become detached. Tighten to 40 in. • lb (4.5 N.M.) maximum torque. •...
- Page 4 For Flat Back Screen Begin with the shortest length screw, hand thread through washer and adapter bracket into screen as shown below. Screw must make at least three full turns into the mounting hole and fit snug into place. Do not over tighten. If screw cannot make three full turns into the screen, select a longer length screw from the baffled fastener pack.
- Page 5 Mounting and Removing Flat Panel Screen WARNING • Always use an assistant or mechanical lifting equipment to safely lift and position the plasma television. Refer to mount instruction sheet for attachment of adapter plate to mount. Hook adapter brackets (BB) onto adapter plate (AA), then slowly swing screen in as shown. Turn screws clockwise at least six times to prevent screen from being removed as shown in detail 1.
Need help?
Do you have a question about the PLP-UNM and is the answer not in the manual?
Questions and answers