Advertisement
Advertisement
Table of Contents

Subscribe to Our Youtube Channel
Summary of Contents for peerless-AV PDW T XL
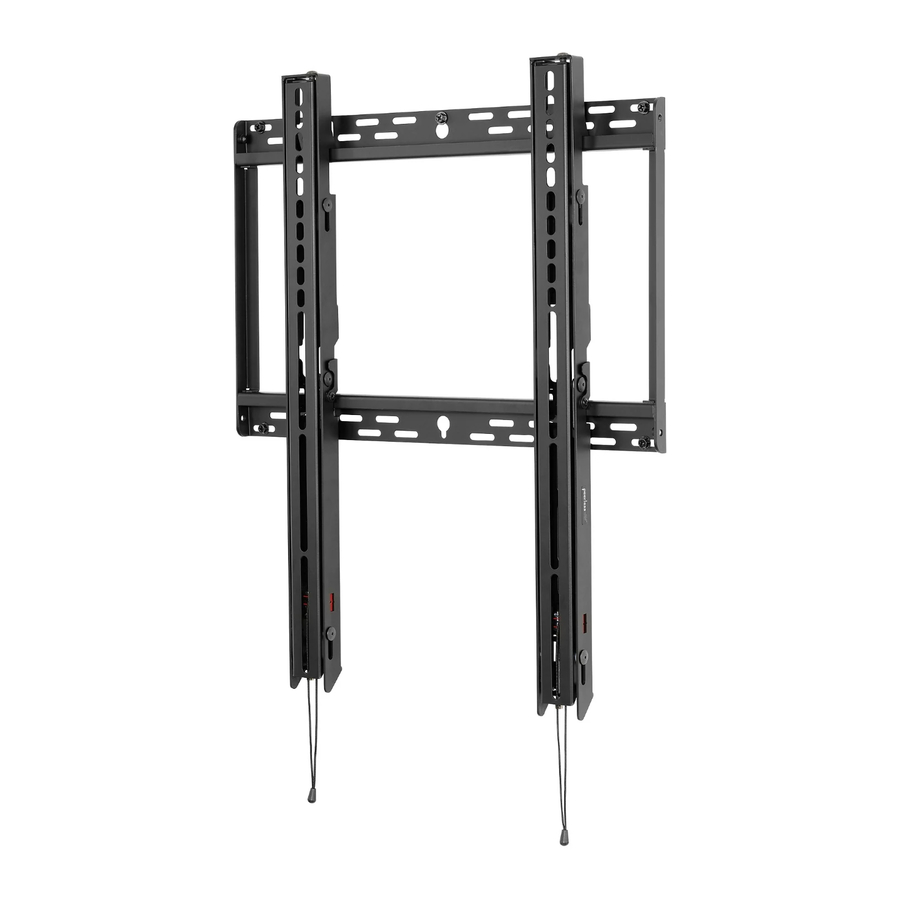
- Page 1 Installation and Assembly: Landscape/Portrait Tiltable X-Large Wall Mount for 65”-80” Flat Panel Displays Model: PDW T XL Manufactured by Peerless-AV Max. Load Capacity: 225 lbs (102 kg) Display Range: 65”-80” (165-203 cm) 1 of 7 ISSUED: 2013-07-02 SHEET #: 125-9459-1 2013-07-02...
- Page 2 WARNING • Do not begin to install your product until you have read and understood the instructions and warnings contained in this Installation Sheet. If you have any questions regarding any of the instructions or warnings, for US customers please call customer care at 1-800-865-2112, for all international customers, please contact your local distributor. •...
- Page 3 Parts (Before beginning, make sure you have all parts shown below). Parts List Part Description Quantity Part Number left tilt bracket 201-1474 right tilt bracket 201-1476 wall plate 201-1944 4 mm allen wrench 560-1727 #14 x 2.5" wood screw 5S1-015-C03 8 mm concrete anchor 590-0320 M5 x 12 mm socket pin screw...
- Page 4 Installation to Wood Stud Wall WARNING • Installer must verify that the supporting surface will safely support the combined load of the equipment and all attached hardware and components. that wall plate is firmly attached, but do not overtighten. Overtightening can damage the •...
- Page 5 Installation to Solid Concrete or Cinder Block Wall WARNING • When installing wall mounts on cinder block, verify that you have a minimum of 1-3/8" (35 mm) of actual concrete thickness in the hole to be used for the concrete anchors. Do not drill into mortar joints! Be sure to mount in a solid part of the block, generally 1"...
- Page 6 Attaching Adapter Brackets to Display Center adapter brackets vertically on the back of the display. Secure adapter brackets (A and B) to display using appropriate hardware combination as shown below for specific display application. Back of Display Use of spacers is OPTIONAL Securing Display to Mount Hook display assembly onto wall plate (C).
- Page 7 Tilt Adjustment Display angle can be adjusted by loosening the ratcher handle and phillips screws. Set display at desired angle and and secure all hardware. Note: It is not necessary to completely remove hardware from assembly to adjust the tilt. Tighten.


Need help?
Do you have a question about the PDW T XL and is the answer not in the manual?
Questions and answers