Advertisement
Table of Contents
- 1 Table of Contents
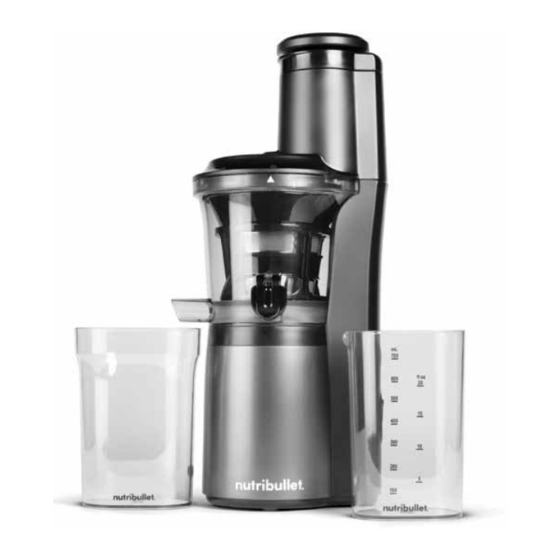
- 2 What's Included
- 3 Assembly Guide
- 4 Before First Use
- 5 Assembly
- 6 Usage Instructions
- 7 Juicing Tips
- 8 Troubleshooting
- 9 Disassembly
- 10 Care and Maintenance
- 11 Replacement Parts
- 12 How to Store
- 13 Nutribullet
- 14 Limited Warranty
- 15 Slow Juicer One-Year
- 16 Warranty Registration
- Download this manual
Advertisement
Table of Contents


Need help?
Do you have a question about the Slow Juicer and is the answer not in the manual?
Questions and answers