Advertisement
Table of Contents
PARTS LIST:
1- GLASS TOP
(NOT SHOWN)
8- LONG
4- SHORT
SCREWS
SCREWS
NOTE: Do not completely tighten screws until all parts have been assembled, step 13.
1. Place the clock dial assembly
upside down on a soft clean
surface.
4. Using the same procedure as in
steps 2 and 3, attach the second
leg, adjacent to the first leg.
7. Hook the large curl of the third leg
around the small base ring.
HOWARD MILLER
MODEL 615010
ASSEMBLY INSTRUCTIONS
4- RUBBER
PADS
Do not push or lean on the back of the dial when assembling.
2. Align the hole in the top (small curl
end) of
one
the four holes in the outside ring of
the clock dial assembly.
ALIGN
HOLES
5. Place the large base ring over the
outside of the legs, inside of the
small curls of the legs.
LARGE BASE RING
8. Lift the large base ring and slide
the small curl of the leg under the
ring.
4- LEGS
1- CLOCK DIAL
ASSEMBLY
of the legs with one of
1- LARGE BASE RING
1- SMALL BASE RING
3. Using a short screw attach the leg
to the clock dial assembly.
6. Place the small base ring inside of
the large curls of the two legs.
SMALL BASE RING
9. Using a short screw attach the
third leg to the clock dial assembly.
Advertisement
Table of Contents

Subscribe to Our Youtube Channel
Summary of Contents for Howard Miller 615010
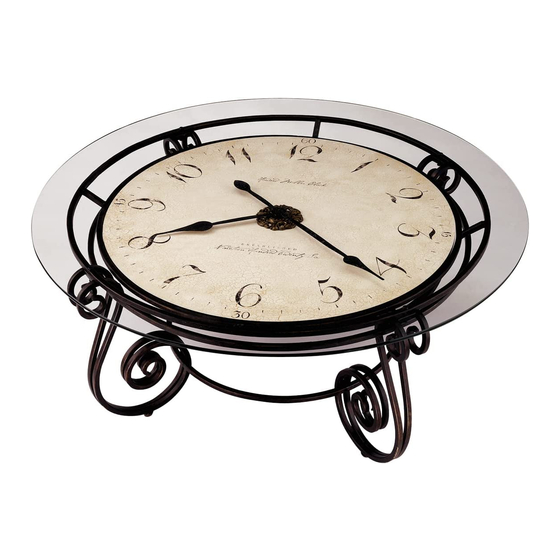
- Page 1 HOWARD MILLER MODEL 615010 ASSEMBLY INSTRUCTIONS PARTS LIST: 1- GLASS TOP (NOT SHOWN) 8- LONG 4- SHORT 4- RUBBER SCREWS SCREWS PADS 4- LEGS 1- CLOCK DIAL 1- LARGE BASE RING ASSEMBLY 1- SMALL BASE RING NOTE: Do not completely tighten screws until all parts have been assembled, step 13.
- Page 2 Attach pads, centered on the base. assembly, and base rings. the rubber pads over the screw holes in the outer ring of the base. RUBBER PAD PD10063-R2 ©Copyright 2001 Howard Miller Clock Company 10/10...


Need help?
Do you have a question about the 615010 and is the answer not in the manual?
Questions and answers