ADTRAN NETVANTA 7000 Series Quick Start Manual
Hide thumbs
Also See for NETVANTA 7000 Series:
- Hardware installation manual (56 pages) ,
- Release notes (13 pages) ,
- Manual (12 pages)
Table of Contents
Advertisement
Quick Links
N
V
ET
ANTA
P/N 1200796E1, 1700706G1, 4200796G1, 4700706G1
G
S
ETTING
TARTED
Two configuration methods are available for your NetVanta 7000 Series unit:
•
Web-based graphical user interface (GUI)
•
Command line interface (CLI)
The GUI lets you configure the main unit settings and provides online guidance and explanations for each
setting. However, using the AOS CLI may be necessary for more advanced configurations.
A
GUI
CCESS THE
You can access the GUI from any Web browser on your network by following these steps:
1.
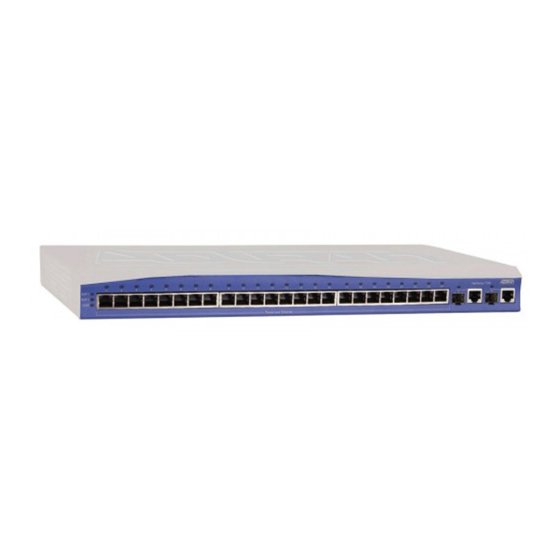
Connect the unit to your PC, using an Ethernet cable connected to the first Ethernet port on the front of
the unit (Power over Ethernet 1).
2.
Set your PC to obtain an IP address automatically using Dynamic Host Configuration Protocol (DHCP), or
change your PC to a fixed IP address of 10.10.10.2. To change your PC IP address, or to set the PC to
use DHCP, navigate to Computer > Control Panel > Network Connections > Local Area Connection
> Properties > IP (TCP/IP) and select either Use this IP address or Obtain an IP address
automatically (this means you are using DHCP). If you are specifying an IP address, enter these
parameters:
IP Address: 10.10.10.2
Subnet Mask: 255.255.255.0
Default Gateway: 10.10.10.1
You do not need to enter any domain naming system (DNS) server information. After the information is
entered, select Ok twice, and close the Network Connections dialog box. If you cannot change the PC's
IP address, you will need to change the unit's IP address using the CLI. (Refer to the next two sections for
instructions.)
3.
Enter the unit's IP address in your browser's address line followed by /admin (for example, 10.10.10.1/
admin). The default IP address is 10.10.10.1
in the browser line.
4.
You will then be prompted for the user name and password (the default settings are admin and
password).
5.
The initial GUI screen appears. You can access initial setup information by selecting Getting Started
from the menu on the left.
A
CLI
CCESS THE
Access the AOS CLI using the CONSOLE port or a Telnet session. To establish a connection to the NetVanta
unit's CONSOLE port, you need the following items:
•
VT100 terminal or PC (with VT100 terminal emulation software)
•
Straight-through serial cable with a DB-9 (male) connector on one end and the appropriate interface for
your terminal or PC communication port on the other end
You can find VT100 terminals on most PCs by navigating to Start > Programs >
Accessories > HyperTerminal > HyperTerminal. When you have opened a
HyperTerminal session, enter the settings described in Step 4.
1.
Connect the DB-9 (male) connector of your serial cable to the CONSOLE port on the rear panel of the
unit.
Quick Start Guide, 61200796E1-13F, January 2010
7000 S
ERIES
,
but if you changed the unit's IP address enter that address
1
Advertisement
Table of Contents

Related Manuals for ADTRAN NETVANTA 7000 Series


Summary of Contents for ADTRAN NETVANTA 7000 Series
- Page 1 ANTA ERIES P/N 1200796E1, 1700706G1, 4200796G1, 4700706G1 ETTING TARTED Two configuration methods are available for your NetVanta 7000 Series unit: • Web-based graphical user interface (GUI) • Command line interface (CLI) The GUI lets you configure the main unit settings and provides online guidance and explanations for each setting.
- Page 2 Insert the connector of the provided power cord into the power interface on the rear panel of the unit, and plug the cord into a standard electrical outlet. Refer to the NetVanta 7000 Series Hardware Installation Guide (provided on the AOS Documentation CD or available online at http://kb.adtran.com...
- Page 3 Enter line telnet 0 4 to change the configuration parameters for the Telnet sessions. Enter login to prompt users with a login prompt for Telnet access. Enter password adtran to change the login password for the Telnet sessions. Enter exit to return to the Global Configuration mode.
- Page 4 Power over Ethernet (PoE) technology provides the ability to detect attached powered devices (PDs) and deliver 48 VDC to the PD using existing CAT 5 cabling. The NetVanta 7000 Series units are fully compliant with the power delivery options called out in the IEEE 802.3af PoE specification. By default, the PoE interfaces discover and provide power to IEEE-compliant PDs.
Need help?
Do you have a question about the NETVANTA 7000 Series and is the answer not in the manual?
Questions and answers