Advertisement
Quick Links
Advertisement

Subscribe to Our Youtube Channel
Summary of Contents for Kogan KAWLM85TSMA
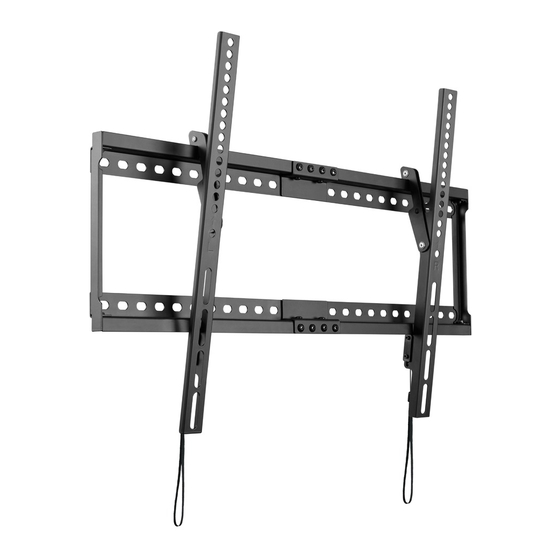
- Page 1 SLIM TILT ADJUSTABLE WALL MOUNT (37" - 85") KAWLM85TSMA...
-
Page 3: Safety And Warnings
SAFETY & WARNINGS CAUTION: Rated weight is 75kg (165 lbs). Use with products heavier than the rated weights indicated may result in instability causing possible injury. • Please closely follow the assembly instructions. Improper installation may result in damage or serious personal injury. •... - Page 4 COMPONENTS Wall mount assembly: A (x1) B (x1) C (x1) D (x1) E (x6) F (x3) W-A ST6.3x55 (x4) W-B Ø10x45 (x4) W-C (x4) Adapters (depends on TV): M-A M5x14 (x4) M-B M6x14 (x4) M-C M6x25 (x4) M-D M8x25 (x4) M-E M8x45 (x4) M-F D6 (x4) M-G (x4)
- Page 5 ASSEMBLY Additional Tools Required (Not Supplied): Phllips head Stud finder Spirit level Pencil Electric drill Socket wrench screwdriver Step 1:...
- Page 6 Step 2: Drywall, plaster or timber walls (with studs) Use a stud finder to locate safe and suitable locations to install into wall. Use a spirit level to double check the correct angle of the mount and mark the intended hole positions with a pencil.
- Page 7 With the wall mount held in place, insert the washers and screws (W-C, W-A), tightening with a socket wrench. When installing on a drywall, plaster or timber wall, do not use the screw anchors (W-B). Ensure washers and screws are aligned in the centre of opening.
- Page 8 Step 2: Concrete and masonry walls Use a spirit level to double check the correct angle of the mount and mark the intended hole positions with a pencil. Drill holes in the desired locations (60mm deep, 10mm wide).
- Page 9 Insert the screw anchors (W-B) into each pre-drilled hole. With the wall mount held in place, insert the washers and screws (W-C, W-A), tightening with a socket wrench. Ensure washers and screws are aligned in the centre of opening. Do not install with washers and screws off to either side.
- Page 10 Step 3: Attaching the mounting brackets to your TV. Depending on your TV, a combination of spacers (M-G, M-H) may be required to help create the correct amount of space for the brackets. Ensure the screws are fitted correctly into your TV’s VESA mount holes, and are not too long or too short in the back of the TV.
- Page 11 Step 4: Attaching the TV to the wall mount. With two people, lift the TV up and above the installed wall mount and gently lower down into place, ensuring the TV is positioned evenly in the middle of the mount. A minimum of two people are recommended for this installation.
- Page 12 ADJUSTING Note: If the display does not stop at your desired position, tighten the screws as shown...
- Page 13 REMOVING This wall mount features automatic spring locks with quick release cords. To remove the TV from the mount, pull down on the quick release cords (1) to engage the spring locks and release from the mount (2). Ensure two people are supporting the TV during this process.
- Page 14 NOTES...
- Page 16 Need more information? We hope that this user guide has given you the assistance needed for a simple set-up. For the most up-to-date guide for your product, as well as any additional assistance you may require, head online to help.kogan.com...


Need help?
Do you have a question about the KAWLM85TSMA and is the answer not in the manual?
Questions and answers