Table of Contents
Advertisement
Quick Links
Advertisement
Table of Contents

Related Manuals for Colorlight С Series


Summary of Contents for Colorlight С Series
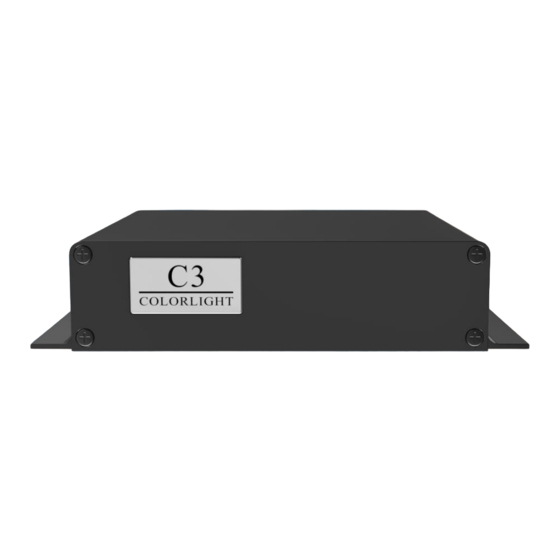
- Page 1 C3 PLAYER...
-
Page 2: Table Of Contents
www.colorlightinside.com CONTENT Chapter 1 C3 Interfaces Introduction ......................1 1.1 C3 Interface ............................ 1 1.2 Hardware Connection ........................2 Chapter 2 Operation Environment ....................... 3 Chapter 3 C3 Parameter Settings........................ 5 3.1 Connection Settings ........................5 3.2 Basic Settings ..........................8 3.3 Advanced Settings ........................ -
Page 3: Chapter 1 C3 Interfaces Introduction
www.colorlightinside.com Chapter 1 C3 Interfaces Introduction 1.1 C3 Interface Interface Function Indicator Light Indicate power and signal status LED DISPLAY Connect with LED screen (connect to receiving card) Audio HIFI stereo output CONFIG Connect with PC for parameters setting and contents update USB1/2 Update and play content through USB stick, support factory reset through U disc 100M_IN... -
Page 4: Hardware Connection
www.colorlightinside.com 1.2 Hardware Connection C3 Configuration Control & play without computer... -
Page 5: Chapter 2 Operation Environment
Supported system: C3 only can run under windows 7/8/10, not support windows XP. Supported software: LEDVISION, 4.20 version or higher version is recommended. You can download the LEDVISION software from Colorlight’s official website www.colorlightinside.com, then complete the installation according to the steps below. - Page 6 www.colorlightinside.com 2. Click [ Browse ], then choose the installation location, then click [ Next ], choose components according to your own computer status, click [ Install ] to complete.
-
Page 7: Chapter 3 C3 Parameter Settings
www.colorlightinside.com Chapter 3 C3 Parameter Settings 3.1 Connection Settings 1. Before connecting your C3 to the computer, first click [ Control ] on menu → [ Screen Control ], then select [ Play Box ] in Select Sending Device, then set up [ LED Screen Window Management ]. Note: If you do not complete this step, LEDVISION may not function properly because of a conflict between Net Card mode and C3 CONFIG interface. - Page 8 www.colorlightinside.com 2. Use standard A/B cable to connect C3 to computer when C3 is powered on, one side to connect USB port, another side for C3 CONFIG port. Click [ Publish Program to Playboxes ] (as shown in the red box) to enter program publish interface.
- Page 9 www.colorlightinside.com 3. Left-click [ Direct USB ] and then right-click [ Refresh ], your C3 will show up in program publishing window, select your device to set parameters and choose what content to play.
-
Page 10: Basic Settings
www.colorlightinside.com 3.2 Basic Settings ⚫ Ensure LED display is under normal configuration before setting on C3 parameters. ⚫ When setting C3 parameters, you can connect your C3 to PC through a standard USB A/B cable, and connect your C3 to LED screen through network cable. Play Box Time: Display current time. - Page 11 www.colorlightinside.com The surface development of your C3’s parameter setting interface is shown below:...
-
Page 12: Advanced Settings
www.colorlightinside.com 3.3 Advanced Settings ① LED Resolution The [ Width ] / [ Height ] you input must be equal to or slightly larger than the actual screen resolution. ② Output [ Every Frame ] (Default) [ Every Other Frame ] (Choosing Every Other Frame can help avoid lag when image loading is too large) ③... -
Page 13: Chapter 4 Async Program Editing And Publishing
www.colorlightinside.com Chapter 4 Async Program Editing and Publishing 4.1 Async Program Editing When you open LEDVISION, you will see [ LED1 ] in program editing area. Right-click [ LED1 ] to add [ normal page ], you can add [ file window ] in [ normal page ], then add [ image ] and [ video ] under the [ file window ] to add media for asynchronous play. -
Page 14: Async Program Publishing
www.colorlightinside.com 4.2 Async Program Publishing 4.2.1 Publish Program through Direct USB... - Page 15 www.colorlightinside.com ① In [ Program Editing Area ], after finishing program editing, select the [ Program Page ] that you are going to publish. ② Click [ C3 ] and then right-click to choose [ Publish current program to the selected play box ], you must rename the program and allow it to finish uploading to fully publish your program.
-
Page 16: Publish Program Through Ethernet Port
www.colorlightinside.com 4.2.2 Publish Program through Ethernet Port... - Page 17 www.colorlightinside.com ① In [ Program Editing Area ], after finishing program editing, select the [ Program Page ] that you are going to publish. ② Click [ C3 ] and then right-click to choose [ Publish current program to the selected play box ], you must rename the program and allow it to finish uploading to fully publish your program.
-
Page 18: Publish Program Through Usb Disk
www.colorlightinside.com 4.2.3 Publish Program through USB Disk 1. To begin publishing through USB, first insert your USB disk to the PC USB port. Click [ Publish Program to Play Boxes ] to extend program publishing window. Note: USB disk should be empty before publishing for best performance. Remove previous updated programs before using it to update or play new programs, so as to avoid any problems. - Page 19 www.colorlightinside.com 2. Software will automatically identify USB disk when plug, click [ USB Disk ] to choose [ Your USB’s Drive ]. ① Select [ Program Page ] in Program Editing Area.
- Page 20 www.colorlightinside.com ② Choose USB Disk Mode: • Play program from USB disk (Auto play USB disk content after inserting to C3, and the content won’t be stored in C3). • Update program by USB disk (Auto play USB disk content after inserting to C3, and the content will be stored in C3).
-
Page 21: Async Program Scheduling
www.colorlightinside.com 4.3 Async Program Scheduling First publish multiple programs to C3 through the way of 4.1 and 4.2 above. Then: ① In [ Program Publishing Area ], select C3 and enter the interface of C3 Parameter Settings. ② Click [ Schedule ], and you can conduct Schedule Settings. - Page 22 www.colorlightinside.com ③ Click [ Add ] to add schedule command, select [ Play Program ] as Command Content, and select relevant Execution File, set up the Effective Date, Effective Week and Execution Time, finally click [ OK ] to complete. ④...
Need help?
Do you have a question about the С Series and is the answer not in the manual?
Questions and answers