Table of Contents
Advertisement
Quick Links
Advertisement
Table of Contents

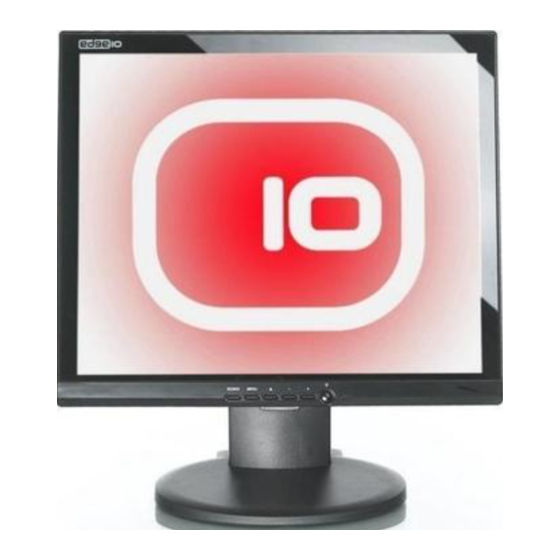
Summary of Contents for Edge10 C171
- Page 1 COLOUR TFT LCD MONITOR USER’S MANUAL Model: C171 The display comes with a three year on site warranty. To activate your warranty please register your display at http://www.edge10.com b y c l i c k i n g o n t h e...
-
Page 2: Table Of Contents
Menu: 1. Introduction Product Description ...Page.2 Package Contents...Page.2 Product Features... Page.2 Cleaning...Page.2 Precautions...Page.2 2. Control Function Button from View Control...Page.4 OSD Control...Page.5 ...Page.5 Operating Procedure 3. Inputs Diagram Inputs...Page.11 4. Display Angle...Page.12 Tilting...Page.12 5. Product Specification...Page.13 6. Display Modes...Page.14 7. Service Information...Page.14... -
Page 3: Introduction Product Description
● Do not apply pressure to the screen surface when wiping it clean. ● Do not pour or spray any liquid directly onto the screen or the case of the LCD monitor. ● Chemical cleaners have been reported to damage the screen or the LCD monitor. - Page 4 ● Ensure that the total ampere ratings on all units plugged into the extension cord is not above the cords rating. ● If the power supply cord, which came with your monitor, is to be connected to the PC instead of the wall outlet, this equipment is to be used with UL/TUV approved computers with receptacle rated 100~240VAC,50/60Hz,1.0A(minimum).
-
Page 5: Control Function
Control Function Button Front View Control ① Power LED: Indicates different status (Green---Normal operation) ② Power switch: Turns power on/off ③ “+” Button: Adjust setting bars i.e. Contrast, Brightness, etc. to increase setting values of the OSD; Volume Adjust (as a hot key, but it has no such function in the PC mode) ④... -
Page 6: Osd Control
OSD Control Operating Procedure 1) Press “MENU” to enter the OSD menu. 2) Press “SOURCE” to Exit the OSD menu (on screen display), or Exit adjustment item. 3) Press “+”and “-” to select a main menu item. (Left/right) 4) Press “MENU” to confirm, and enter to the sub menu. 5) Press “MENU”... - Page 7 Function Description Press“+” and“-”to select the language. (Chinese German Language French, Espanola ,Portuguese, Italian, English) Press “+” and“-”to move OSD MENU position to right or left H-Position Press “+” and“-”to move OSD MENU position to up or down V-Position Press “+” and“-” to select OSD lapse time Duration Press “+”...
-
Page 8: Function Description
GEOMETRY Function Description H-Position Press “+” and“-” to move the screen right or left V-Position Press “+” and“-” to move the screen up or down Clock Press “+” and“-” to adjust the distortion character Phase Press“+” and“-” to adjust the real image value of the ADC PIP/POP FULL Function Description... - Page 9 Border Press“+” and“-” to adjust the Border colour of the sub Colour window. (Blue or Black) Sound Press“+” and“-”to choose the sound source (main or the Source sub window) Swap Press“+” and“-”to change the displays between main window and sub window. PIP Position Press“+”...
- Page 10 SOUND Function Description Bass Not available for this model Treble Not available for this model Balance Not available for this model Sound Mode Press “+”and“-” to select the sound mode (Standard, Personal, Music, and News) Subwoofer Press“+” and“-”to select the Subwoofer setting on or off Press“+”...
- Page 11 ADVANCE Function Description Sleep Press“+” and“-”to adjust the timer value, ( 0, 15, 30, 45, 60, Timer 90, 120) 9 Win Not available for this model...
-
Page 12: Inputs Diagram Inputs
Inputs Diagram Inputs AC POWER INPUT: AC inlet for 100-240V power system. ① PC INPUT: This D-sub 15 sockets can be connected to a PC. ② S-VIDEO INPUT/OUTPUT: Contact S-video signal by DIN socket. ③/④ ⑤、⑥ AUDIO IN : These RCA sockets can be connected to other speakers (L–-Red terminal, R---White terminal). -
Page 13: Display Angle
Display Angle Tilting For viewing clarity, you can tilt the LCD forward (Down to 2 degrees) or backward (Up to 18 degrees). Down 2° Up 18°... -
Page 14: Product Specification
Product Specification Model Spec LCD Display Pixel pitch Max Resolution Dimensions Packing Dimensions Contrast Ratio Brightness Response Time Display Colour Viewing Angle L/R +75°~-75° PC Interface Video Sync Display Mode PC connector Front Control OSD Adjustment Audio speaker Power input Operating Consumption Operating... -
Page 15: Display Model
1280 x 1024 640 x 480 720x400 Service Information Service When you buy this LCD Monitor, you are entitled to the warranty provided by us, please contact us if you need any information on our product. www.edge10.com. Horizontal Clock Frequency (MHz) (KHz) 25.18...


Need help?
Do you have a question about the C171 and is the answer not in the manual?
Questions and answers