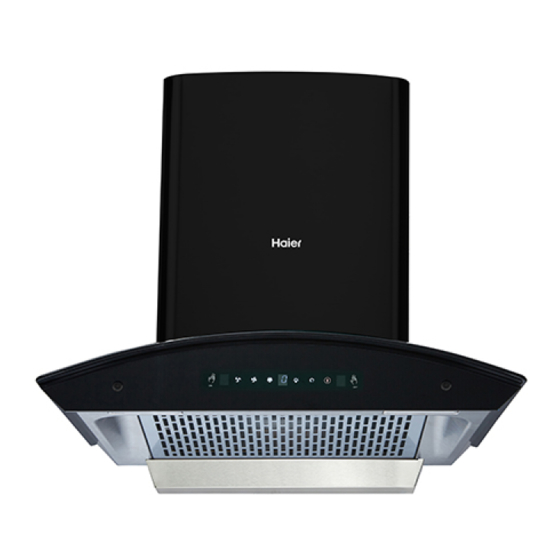
Summary of Contents for Haier HIH-G60HM-G
- Page 1 Range Hood Model:HIH-G60HM-G HIH-G75HM-G HIH-G90HM-G INSTALLATION GUIDE/USER GUIDE...
-
Page 2: Table Of Contents
The models shown in this user guide may not be available in all markets and are subject to change at any time. For current details about model a -nd specification availability in your country, please contact your local Haier dealer. -
Page 3: Introduction
INTRODUCTION Thank-you for purchasing a Haier range hood. This user guide explains the features and functions, and will help you get the most out of your range hood. We hope you enjoy your new range hood. -
Page 4: Safety And Warnings
SAFETY AND WARNINGS ! WARNINGS Electric Shock Hazard Read and follow the safety and warnings outlined in this user guide before operating this appliance. Never touch the power plug or electrical components, or manipulate the power switch with wet hands. Altering of the internal wiring is strictly prohibited, unless performed by professional maintenance personnel. - Page 5 ● If the power supply cord is damaged, it must only be replaced by your Haier trained and supported service technician or qualified person. ● Use a dedicated power outlet; the power cord must not be connected to an extension cord or multi-socket power board.
-
Page 6: Installation Instructions
INSTALLATION INSTRUCTIONS Installation WARNING! This product is heavy and requires two persons for installation. WARNING! Failure to install the screws or fixing device in accordance with these instructions may result in electrical hazards. The range hood must have secure grounding. It has a 3-pin plug. The plug must be connected to a socket with grounding.The grounding could offer an electricity circuit to avoid electric shock caused by electricity leakage. - Page 7 INSTALLATION INSTRUCTIONS ● The suitable height of mounting shall be 650-700mm above the cooking stove. The real installation height is subject to the construction of kitchen and user’s height. The installation instruction of gas stove has given the suitable installation distance, please take it into consideration. 0 0 m 0 0 m m ~ 7...
- Page 8 INSTALLATION INSTRUCTIONS 2.Install the wall plate ● Use an impact drill with a φ9 mm masonry bit to drill 40mm deep holes in the wall in the locations of the wall plate holes as shown in Fig.1. ● Fit the expansion plugs into the holes. ●...
- Page 9 INSTALLATION INSTRUCTIONS 4.Install the main unit (this requires 2 persons) ● Aim at the wall plate and secure the range hood to the wall. Ensure the main unit and wall plate are firmly locked together.(Fig3) 5.Connect the universal ducting hose ●Connect one end of ducting hose with the check valve and seal it.
-
Page 10: About Your Rangehood
ABOUT YOUR RANGEHOOD Technical Data 2x1.5W LED Lamp Type of Power Rated Voltage:220-240V Rated Frequency:50Hz Motor Rated Power Input 180W Heater Power 238W Rated Power Input Max Air Flow 1200m³ /h Noise 58dB(A) Max Air Pressure 290Pa Outer Diameter 150mm, Length 180mm Universal Ducting Hose Net Weight 60cm: 13.1kg / 75cm: 14.1kg / 90cm: 14.7kg... -
Page 11: Operating Instructions-Control Panel
OPERATING INSTRUCTIONS - CONTROL PANEL CONTROL PANEL FEATURES 1.Press this button the hood will connect to electricity. 2.When fan is on, press this button the hood will enter Delay off mode and turns off in 3 minutes. 3.In Delay off mode press this button to turn off the hood. Touch this button on the panel, the cooker hood will start operating on LOW speed. - Page 12 OPERATING INSTRUCTIONS - CONTROL PANEL HEAT AUTO-CLEAN A unique "Heat Auto-Clean" function has been provided in this range hood. This range hood comes with an oil collector. During cooking, the oil and dirt may go into the oil collector. Over the time,some stubborn grease and oil can get stuck inside the range hood. This unique function was designed to eliminate the stubborn grease ane oil and keep the range hood clean.
-
Page 13: Cleaning And Maintenance
CLEANING AND MAINTENANCE We recommend following ‘Cleaning and maintenance’ instructions for safety and optimal performance of your range hood. Preparation for cleaning and maintenance ● Be sure to unplug the power cord before commencing cleaning or servicing of the range hood. ●... - Page 14 CLEANING AND MAINTENANCE Cleaning the blower (every 3 months) (this requires 2 persons) ● Remove the oil collector. ● If the inner decorative cover has been extended, unhook it from the decorative cover holder and slide it back down between the main housing and outer decorative cover. ●...
-
Page 15: Troubleshooting
Solutions for common faults In case of a fault, first try the suggestions below. If the problem cannot be fixed, please get in touch with your local Haier after-sales service centre. Only professional technicians may dismantle and repair the range hood. - Page 16 TROUBLESHOOTING PROBLEM POSSIBLE CAUSE WHAT TO DO Oil leak. Too much oil in the oil Remove waste oil in the oil collector. collector. Filter has not been Clean the filter in accordance with cleaned. the instructions. Main housing hasn't been Wipe the main housing every day cleaned.
- Page 17 Inspired Living Inspired Living...


Need help?
Do you have a question about the HIH-G60HM-G and is the answer not in the manual?
Questions and answers