Table of Contents
Advertisement
Quick Links
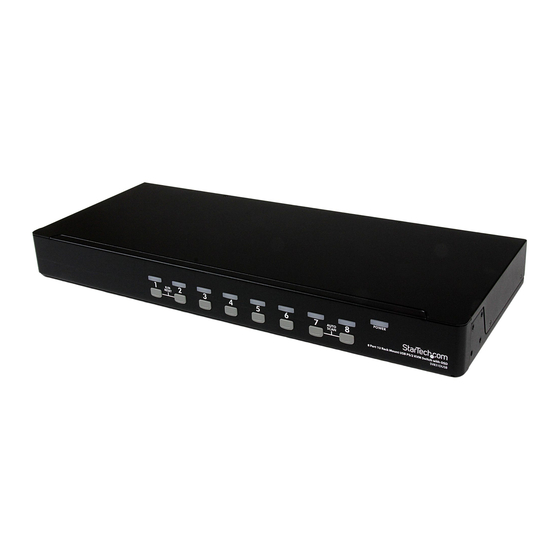
4/ 8/ 16 Port 1U Rack Mount USB VGA
KVM Switch with OSD
SV431DUSB
SV831DUSB / SV831DUSBGB
SV1631DUSB / SV1631DUSBGB
DE: Bedienungsanleitung - de.startech.com
FR: Guide de l'utilisateur - fr.startech.com
ES: Guía del usuario - es.startech.com
IT: Guida per l'uso - it.startech.com
NL: Gebruiksaanwijzing - nl.startech.com
PT: Guia do usuário - pt.startech.com
For the most up-to-date information, please visit: www.startech.com
Manual Revision: 02/22/2021
*actual product may vary from photos
Advertisement
Table of Contents

Related Manuals for StarTech.com SV831DUSBGB


Summary of Contents for StarTech.com SV831DUSBGB
- Page 1 DE: Bedienungsanleitung - de.startech.com FR: Guide de l'utilisateur - fr.startech.com ES: Guía del usuario - es.startech.com IT: Guida per l'uso - it.startech.com NL: Gebruiksaanwijzing - nl.startech.com PT: Guia do usuário - pt.startech.com For the most up-to-date information, please visit: www.startech.com Manual Revision: 02/22/2021...
- Page 2 Where they occur these references are for illustrative purposes only and do not represent an endorsement of a product or service by StarTech.com, or an endorsement of the product(s) to which this manual applies by the third-party company in question. Regardless of any direct acknowledgement elsewhere in the body of this document, StarTech.com hereby...
-
Page 3: Table Of Contents
Table of Contents Introduction ...................1 Packaging Contents ..........................1 System Requirements ..........................1 Installation ....................2 Console Installation ..........................2 Computer Installation..........................3 Cascaded configurations ........................4 Operation ....................6 Push Button controls ..........................6 OSD (On Screen Display) Operation ....................7 Hot-key Commands .......................... -
Page 4: Introduction
Introduction Thank you for purchasing a StarTech.com Professional USB Console KVM Switch. This product offers a reliable and efficient way to manage multiple computers in server rooms, or any other environment where space is at a premium. The switch features an on-screen display that allows comprehensive monitoring of computer naming and selection as well as status indication. -
Page 5: Installation
Installation NOTE: Prior to the installation, please power off all devices that will be connected to this system. Ensure that all devices you will connect are properly grounded. Place cables away from fluorescent lights, air conditioners, and machines that are likely to generate electrical noise. -
Page 6: Computer Installation
Computer Installation USB Computer To connect a computer controlled through USB, use a StarTech.com 2-in-1 Ultra- Thin USB KVM cable (Product ID: SVECONUS) to connect from one of the PC Ports located on the rear panel of the KVM switch to the USB and VGA ports on the computer system. -
Page 7: Cascaded Configurations
PS/2 Computer To connect a computer controlled through PS/2, use a StarTech.com 3-in-1 Ultra-Thin PS/2 KVM cable (Product ID: SVECON) to connect from one of the PC ports to the PS/2 keyboard and mouse, as well as the VGA port of the computer system. - Page 8 The maximum number of computers controlled by a Master/Slave configuration with all 8-port units is 64, with 8 Slaves and each Slave connecting to 8 computers: The maximum number of computers controlled in a Master/Slave configuration with all 16-port units is 136, with 8 units of 16-port Slaves (to PC 1 - PC 8) and each Slave connected to 16 computers, plus 8 more computers connected directly to the Master (to ports PC A - PC H): After the connection has been completed, please re-activate the OSD menu to verify that...
-
Page 9: Operation
Operation You may select a computer by pressing the front panel push button directly, by issuing hot-key commands or by activating the OSD window. The front panel indicator changes to reflect the computer port selected (red) and whether the port is connected to a powered computer (green). -
Page 10: Osd (On Screen Display) Operation
OSD (On Screen Display) Operation By hitting the left <CTRL> key twice within two seconds, you may see the ’Hotkey Menu’ if it is enabled (an OSD option). Or, by hitting the left <CTRL> key three times within two seconds, you will see a ’KVM MENU’ screen showing a list of the computers with corresponding channel addresses, names and status. - Page 11 A triangle mark ( ► ) to the right of a name indicates the port is cascaded to a Slave; the number at the left of the triangle mark shows the number of ports the Slave has (i.e. 8 for SV831DUSB).
- Page 12 Function key <F4>: More functions are available by hitting < F4>. A new screen pops up displaying more functions as described below. Most of them are marked with a triangle ( ► ) indicating there are options to choose from. Using the <UP> and <DOWN> arrow keys, select the functions and press <ENTER>.
- Page 13 Hotkey Menu: When you hit the left <CTRL> key twice within two seconds, the Hotkey Menu appears displaying a list of hot-key commands if this option is On. The Hotkey Menu can be turned Off if you prefer not to see it when the left <CTRL> key is hit twice.
-
Page 14: Hot-Key Commands
NOTE: It is unnecessary to switch the Sun mark ON or OFF if an authentic Sun keyboard is being used on the console. In other words, you must ensure that the Sun-marked port has not been selected if you are already using a Sun keyboard. With different types of keyboard and computer, the Sun Mark must be set up in compliance with the following instruction: Keyboard Type... - Page 15 When Auto Scan detects any keyboard or mouse activity, it suspends the scanning until the activity stops. It then resumes with the next computer in sequence. The length of the Auto Scan interval (Scan Rate) is adjustable. To abort Auto Scan mode, press the left <CTRL>...
- Page 16 Change Leading Hotkey The default leading hotkey sequence involves pressing the left <CTRL> twice in succession (e.g. left <CTRL>, left <CTRL>). This can be changed to the right <CTRL> key instead, to avoid accidental activation due to using the left <CTRL> key for functions such as Copy/Paste.
- Page 17 Map to Sun Standard Keyboard Map to Mac keyboard keyboard Right <CTRL>, <1> Right <CTRL>, <2> Right <CTRL>, <3> Right <CTRL>, <4> Power Right <CTRL>, <F1> Stop Right <CTRL>, <F2> Again Right <CTRL>, <F3> Props Right <CTRL>, <F4> Undo Right <CTRL>, <F5> Front Right <CTRL>, <F6>...
-
Page 18: Specifications
Specifications SV431DUSB SV831DUSB SV1631DUSB Number of Ports 2 x USB type A 2 x USB type A 2 x USB type A female female female Console Connectors 1 x PS/2 female 1 x PS/2 female 1 x DE-15 VGA 1 x DE-15 VGA 1 x DE-15 VGA female female... -
Page 19: Technical Support
Limitation of Liability In no event shall the liability of StarTech.com Ltd. and StarTech.com USA LLP (or their officers, directors, employees or agents) for any damages (whether direct or indirect, special, punitive, incidental, consequential, or otherwise), loss of profits, loss of business, or any pecuniary loss, arising out of or related to the use of the product exceed the actual price paid for the product. - Page 20 StarTech.com is an ISO 9001 Registered manufacturer of connectivity and technology parts. StarTech.com was founded in 1985 and has operations in the United States, Canada, the United Kingdom and Taiwan servicing a worldwide market.
Need help?
Do you have a question about the SV831DUSBGB and is the answer not in the manual?
Questions and answers