Table of Contents
Advertisement
Quick Links
T
E
C
H
N
O
L
O
G
I
BAL
PHONO
CD
SAFETY PRECAUTIONS
INTRODUCTION
INITIAL SETUP
LOADING SETUP
TECHNICAL DATA
CARE & HANDLING
WARRANTY & DISCLAIMER
WARRANTY REGISTRATION
E
S
I
N
C
.
VOLUME
VIDEO
AUX
PROCESSOR
MONO
dB
MAIN LEFT RIGHT
Preampli er CP
OPERATION MANUAL
CP
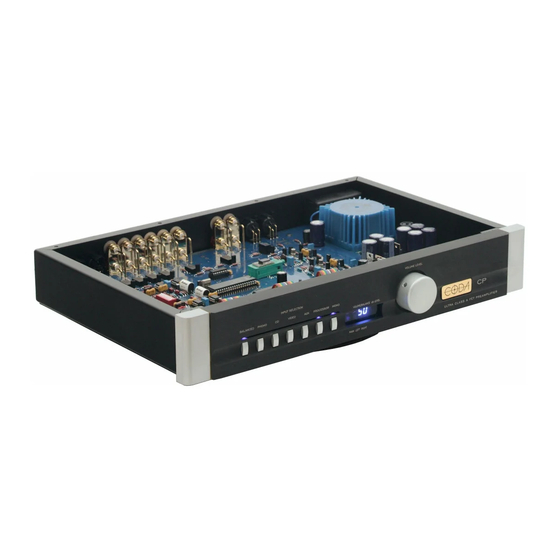
ULTRA CLASS A FET PREAMPLIFIER
1
2
3
5
6
7
8
9
Advertisement
Table of Contents

Related Manuals for Coda CP


Summary of Contents for Coda CP
- Page 1 Preampli er CP OPERATION MANUAL VOLUME PHONO VIDEO PROCESSOR MONO MAIN LEFT RIGHT ULTRA CLASS A FET PREAMPLIFIER SAFETY PRECAUTIONS INTRODUCTION INITIAL SETUP LOADING SETUP TECHNICAL DATA CARE & HANDLING WARRANTY & DISCLAIMER WARRANTY REGISTRATION...
-
Page 2: Safety Precautions
SAFETY PRECAUTIONS CAUTION CAUTION WARNING WARNING CAUTION : TO PREVENT ELECTRIC SHOCK, DO NOT REMOVE COVER. NO USER SERVICEABLE PARTS INSIDE, REFER SERVICING TO QUALIFIED SERVICE PERSONNEL. THIS SYMBOL IS TO ALERT YOU OF THE PRESENCE OF UNINSULATED DANGER- OUS VOLTAGE WITHIN THE UNIT'S ENCLOSURE THAT MAY BE OF SUFFI- CIENT MAGNITUDE TO CONSTITUTE A RISK OF ELECTRIC SHOCK. - Page 3 Although its operation is fairly simple, in order to operate your preampli er properly and to realize all of the capabilites of the CP we recommend that you read this entire manual carefully.
-
Page 4: Initial Setup
A: The AC receptacle accepts any standard three-prong IEC line cord. Power input can be adjusted for any country, but is set internally at the factory. Contact Coda or your local Coda dealer if the voltage must be changed. Fuse speci cations are listed below the receptacle, and the fuse can be changed by unplugging the line cord, pulling out the fuse drawer and clipping in a new fuse. - Page 5 Note: Many ampli ers produce a local magnetic eld that can be picked up by the sensitive circuitry of a preampli er. Try to provide at least a foot of space between your ampli er and your CP preamp. The diagram below illustrates the front panel controls of the CP. VOLUME PHONO...
- Page 6 DIP switch block located on the printed circuit board inside the preampli er near the balanced input jacks. To open the CP, use a hex wrench to remove the bolts retaining the top cover. Check the size of your wrench before beginning. An undersized wrench will strip the heads of the fasteners.
-
Page 7: Technical Data
TECHNICAL DATA PREAMPLIFIER Frequency Response: 5Hz to -3dB at 200kHz Distortion: <.02 from 10Hz to 40kHz, 6V peak into 600 Ohms or higher, shunted by 1000pF or less Gain: 12dB, variable to 30dB Maximum Output: 10V peak Noise: Less than 100dBA referenced to 1V input Impedance: 20k Ohms unbalanced 20k Ohms balanced... -
Page 8: Care And Handling
CARE AND HANDLING The interior of the ampli er requires no special care. If exterior cleaning beyond simple dusting is required, any dilute ammonia-based product is recommended. Do not use any abrasive rags, cleaners or chemical solvents on the ampli er. When handling the ampli er, take care not to mar the faceplate. -
Page 9: Warranty And Disclaimer
WARRANTY & DISCLAIMER i. Warranty - Any failure of the Coda product, herea er known as the product or original product, to operate or to meet speci cations, applicable at time of manu- facture, due to a manufacturing defect or component failure, will be corrected by Coda Technologies without charge for parts or labor, for a period of ten years from date of original purchase. -
Page 10: Warranty Registration
WARRANTY REGISTRATION Fill in this registration sheet and fax or mail it to Coda Technologies to ensure you are in our warranty system. This will facilitate warranty service should it become necessary. It is recommended that you retain a copy of this form for your own records. - Page 11 7850 CUCAMONGA AVENUE #34 SACRAMENTO, CA 95826 USA +01 916.383.3653 +01 916.455.3653 phone CODA.CC on the web at info@coda.cc email us at...
Need help?
Do you have a question about the CP and is the answer not in the manual?
Questions and answers