Do you have a question about the Pofung P10UV Series and is the answer not in the manual?
Questions and answers
Anthony
February 13, 2025
How do I set the TCSS
1 comments:
Mr. Anderson
February 13, 2025
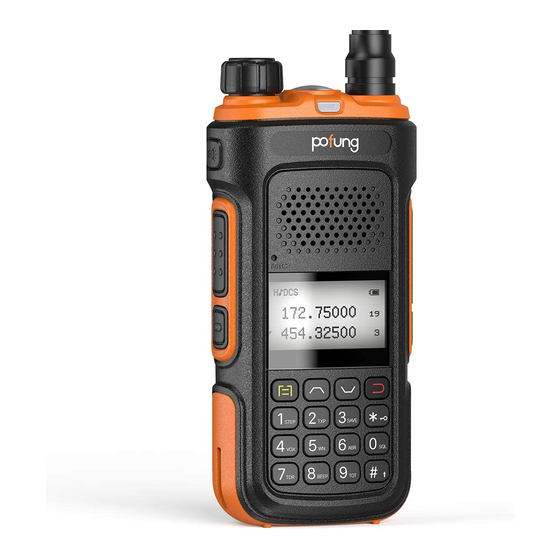
To set the CTCSS on a Baofeng Pofung P10UV Series radio:
1. In standby mode, press [MENU]. 2. Press [1][1] to access the Rx CTCSS (receiver CTCSS) setting or [1][3] for Tx CTCSS (transmitter CTCSS). 3. Use the keypad or navigation keys to select the desired CTCSS frequency (67.0Hz to 254.1Hz). 4. Press [MENU] to confirm. 5. Press [EXIT] to return to standby mode.


Need help?
Do you have a question about the Pofung P10UV Series and is the answer not in the manual?
Questions and answers
How do I set the TCSS
To set the CTCSS on a Baofeng Pofung P10UV Series radio:
1. In standby mode, press [MENU].
2. Press [1][1] to access the Rx CTCSS (receiver CTCSS) setting or [1][3] for Tx CTCSS (transmitter CTCSS).
3. Use the keypad or navigation keys to select the desired CTCSS frequency (67.0Hz to 254.1Hz).
4. Press [MENU] to confirm.
5. Press [EXIT] to return to standby mode.
This answer is automatically generated