Advertisement
Advertisement
Table of Contents

Summary of Contents for Omega OO651XR
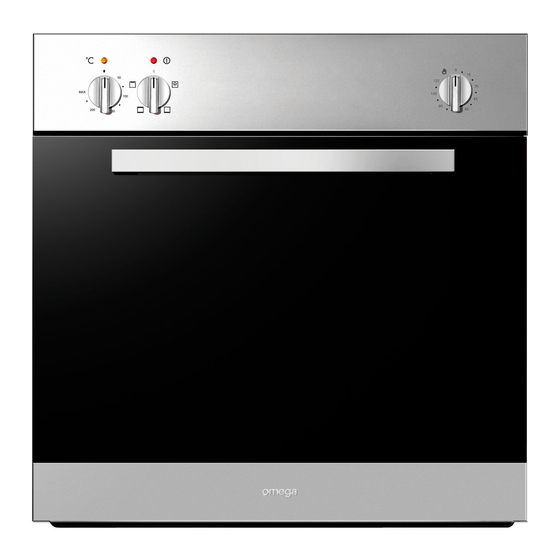
- Page 1 Instruction Manual for Electric Ovens OO651XR OO652XR...
-
Page 3: Table Of Contents
DEAR CUSTOMER, We thank you and congratulate you on your choice. This new carefully designed product, manufactured with the highest quality materials, has been carefully tested to satisfy all your cooking demands. We would therefore request you to read and follow these easy instructions, which will allow you to obtain excellent results right from the start. -
Page 4: Safety Instructions
SAFETY INSTRUCTIONS Important - When you receive the appliance, unpack it or have it unpacked immediately. Give it an overall inspection. Make note of any concerns or reservations on the delivery slip and make sure to keep a copy of this form. Keep this user guide with your appliance. If the appliance is ever sold or transferred to another person, ensure that the new owner receives the user guide. - Page 5 SAFETY INSTRUCTIONS Cont. Maintenance and cleaning - Do not use a steam cleaner. - For any cleaning operation inside the oven cavity, the oven must be switched off. - Before unclipping the glass, allow the appliance to cool. - Before removing the back, ensure that the appliance is powered down. After cleaning, the back should be replaced in accordance.
-
Page 6: Installation Of Your Oven
INSTALLATION OF YOUR OVEN To install the oven into the kitchen a cut out should be made in accordance with the dimensions shown in below. The apparatus is to be fastened to the top by means of the two screws provided in the kit through the holes made on the oven uprights. -
Page 7: Electrical Installation
ELECTRICAL INSTALLATION WARNING This apparatus must be earthed. The oven is only for domestic use. The feed voltage and the absorbed power are as indicated on the data plate attached to the left-hand side upright, which can be seen when the oven door is open. Connecting must be carried out by qualified personnel and in accordance with the regulations currently in force. -
Page 8: Instructions For Use
2000 FAN GRILL 2000 GRILL Mechanical Timer (Model: OO651XR) The mechanical timer needs to be set to the hand order for the oven to function. To set a time, rotate the timer control knob clockwise to a certain time range between 0 - 120 minutes. The timer will give an audible warning once. - Page 9 Programming time functions At every power-up, the control shows the time of day blinking set at 12:00 as the initial value. The time increases every minute. The only possible action is the “Clock Regulation”, all other oven operations are inhibited. In general, turn the Temp/Time selector left or right in order to edit the values and modify them by steps;...
- Page 10 The end of cooking time Fig. 4 The end of cooking time can also be set. This works as part of a programmed time. Press the central button for 3 seconds. Press the central button twice consecutively and wait for “End” to appear (fig.
- Page 11 Setting an automatic oven function After having selected a function as described before, the control can be programmed in order to set timed cooking activities. The time program remains active even if the function is changed .The following possibilities are available: 1.
-
Page 12: Oven Door Removal
Oven door removal WARNING Make sure that: • The oven is cool and power to the oven has been turned off before removing the door. Failure to do so could result in electrical shock or burns. • The oven door is heavy and fragile. Use both hands to remove the oven door. The door front is Glass. -
Page 13: Replacement Of Oven Light
Replacement of the oven light WARNING Make sure that: • The oven and lights are cool and power to the oven has been turned off before replacing the light bulb(s). Failure to do so could result in electrical shock or burns. •... -
Page 14: Troubleshooting
TROUBLESHOOTING If the oven does not operate: • The oven may be unplugged from the power source or switched off at the power source. • The household fuse has blown or household power supply is off. • The Timer (if available) may not set correctly. If the oven does not heat: •... - Page 15 We appreciate your feedback. Please review our products on www.omegaappliances.com.au...


Need help?
Do you have a question about the OO651XR and is the answer not in the manual?
Questions and answers