
Related Manuals for SNAIGE RF27SM


Summary of Contents for SNAIGE RF27SM
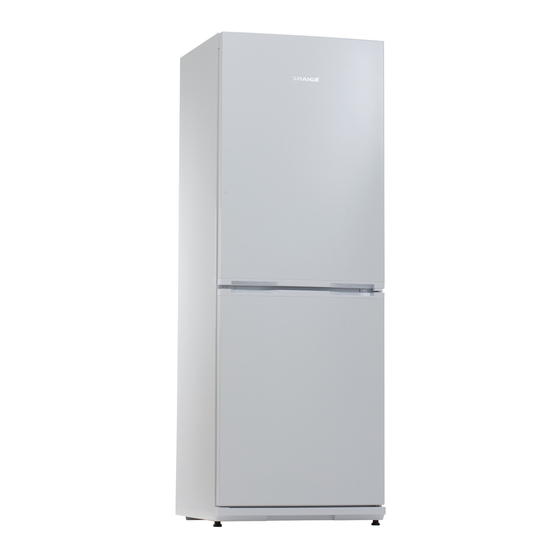
- Page 1 RF27SM RF30SM RF31SM RF32SM RF34SM RF35SM RF36SM RF39SM REFRIGERATOR - FREEZER Instruction for Use...
-
Page 2: General Information
DEAR CUSTOMER! Some provisions in this user manual are unified for refrigerating products of different types (for a refrigerator, refrigerator-freezer or freezer). CAREFULLY READ THE INSTRUCTION MANUAL. The Manufacturer shall not be held liable for damage arising from the failure to observe the instructions contained in this manual. - Page 3 Avoid sparks-do not turn on any electrical appliances or lighting fixtures. • Immediately ventilate the room: air the room in which the appliance is placed for a • few minutes (the size of the room for a product containing isobuthane / R600a must be at least 4 m ) to avoid damage to the cooling system.
- Page 4 bent, straightened or wound. If the capillary tube is damaged by the user the guarantee will be void. Do not use adapters, multiple sockets and two-wire extension leads. If it is – necessary to use the extension lead, it must be equipped with a protection ring and a single socket and must have a VDE/GS safety certificate.
-
Page 5: Installation And Operating Conditions
Do not climb on or sit on the appliance, do not lean on or hang on the appliance – doors and do not allow children to do this. Do not remove or touch items from the freezer compartment if your hands are wet –... -
Page 6: Preparing For Operation
If the appliance is tilted slightly backward – the doors will close by themselves. If the appliance is placed in a corner, a gap must be left between the appliance body and • the wall so that the freezer compartment door can be opened enough to pull out the frozen product drawer. -
Page 7: Description Of The Appliance, Basic Parts
Once the unit has been positioned, wait for about 30 minutes before it is connected to • the mains. If the unit has been tilted more than 30° during transport: wait at If this least 4 hours before connecting the appliance to the power supply. is not done, the appliance compressor may fail. -
Page 8: Temperature Regulation
Interior lighting unit Melt water gutter Height-adjustable shelves Eggs tray Drawer of cold compartment ( only in Height-adjustable door trays RF36SM-P1**N, RF34SM-P1**N Glass shelf Condenser Fruits / vegetables drawers Thaw water drip tray Section for freezing small products Compressor NOTE. The technical data of the appliance can be found on the rating label attached to the inside wall of the appliance. - Page 9 Prolonged opening of the door can significantly increase the temperature in the • compartments of the appliance: only open the door for the time required to place / remove food. Regularly clean surfaces that may come into contact with food and accessible drainage •...
-
Page 10: Changing The Opening Direction Of The Doors
you are thawing the freezer compartment if you cover them with a thick cloth and keep them in a cool place. Pull out the melt water gutter, turn it 180 and hook it up. After melting, place the dish • with a water gutter (see fig. - Page 11 5. Turn the bracket 6 including the small plastic plate through 180° and replace it on the other side of the refrigerator, using the two screw holes adjacent to each other. 6. Place the refrigerator door on a soft surface. Remove the hinge support 5 from the underside of the door and fit the hinge support provided on the opposite side.
- Page 12 OPERATION PROBLEMS AND THEIR SOLUTIONS The appliance is plugged in to the mains but it does not work. Check that your • house electricity supply installations are in order. Check that the plug is correctly inserted into the electricity supply socket. The noise has become louder.
- Page 13 Water has appeared under the appliance. The thaw water collection tray has • slipped off the compressor. Place the tray on top of the compressor. When the appliance door is opened, the rubber sealing gasket pulls out. The • gasket is smeared with sticky foodstuffs (fat, syrup). Clean the sealing gasket and the groove for it with warm water containing soap or dishwashing detergent and wipe dry.
-
Page 14: Environmental Protection Information
ENVIRONMENTAL PROTECTION INFORMATION Important Note: This appliance is marked according to the European directive 2002/96/EC on Waste Electrical and Electronic Equipment (WEEE). By ensuring this product is disposed of correctly, you will help prevent potential negative consequences for the environment and human health, which could otherwise be caused by inappropriate waste handling of this product.
Need help?
Do you have a question about the RF27SM and is the answer not in the manual?
Questions and answers