Sign In
Upload
Download
Table of Contents
Contents
Add to my manuals
Delete from my manuals
Share
URL of this page:
HTML Link:
Bookmark this page
Add
Manual will be automatically added to "My Manuals"
Print this page
×
Bookmark added
×
Added to my manuals
Manuals
Brands
Encore Manuals
Lawn Mower
Rage ER32FS600VL
Operator's manual
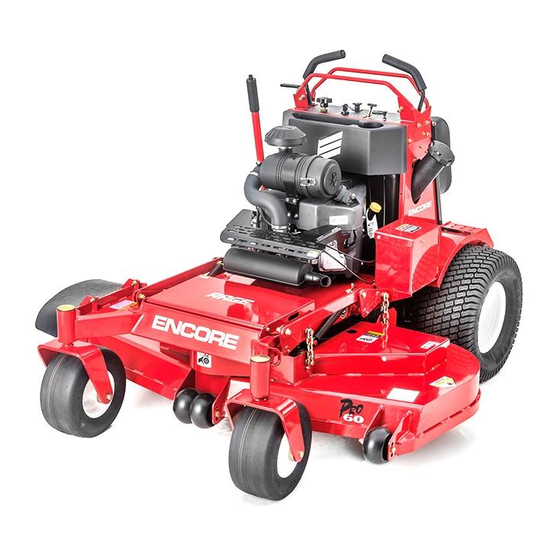
Encore Rage ER32FS600VL Operator's Manual
Compact standon
Hide thumbs
1
2
3
4
Table Of Contents
5
6
7
8
9
10
11
12
13
14
15
16
17
18
19
20
21
22
23
24
25
26
27
28
29
30
31
32
33
34
35
36
37
38
39
40
41
42
43
44
page
of
44
Go
/
44
Contents
Table of Contents
Troubleshooting
Bookmarks
Table of Contents
Table of Contents
Available Accessories
Safety
Safety Alert Symbol
Training
Preparation
Operation
Slope Operation
Maintenance and Storage
Safety and Instructional Decals
Specifications
Model Number
Engine
Fuel System
Electrical System
Cutting Deck
Torque Requirements
Operation
Operator Controls
Safety Interlock
Choke Control
Throttle Control
Park Brake Lever
Ignition Switch
Hour Meter
Drive Wheel Release Valves
Blade Engagement Switch
Pre-Start
Operating Instructions
Starting the Engine
Blade Engagement
Disengaging the Blades
Stopping the Engine
Driving the Machine
Driving Forward
Driving in Reverse
Operating the Platform
Operating the Machine with the Platform up
Operating the Machine with the Platform down
Adjusting the Cutting Height
Transporting
Transporting a Unit
Loading a Unit
Maintenance
Recommended Maintenance Schedule(S)
Check Engine Oil Level
Check Battery Charge
Recommended Jump Starting Procedure
Raise the Cushion for Rear Access
Remove Rear Cover below Leg Cushion
Check Mower Blades
Check Safety Interlock System
Check for Loose Hardware
Service Air Cleaner
Change Engine Oil
Change Engine Oil Filter
Check Hydraulic Oil Level
Check Tire Pressures
Check Condition of Belts
Lubricate Grease Fittings
Check Spark Plugs
Wheel Hub Nut Torque Specification
Thread Locking Adhesives
Copper-Based Anti-Seize
Adjustments
Deck Leveling
Pump Drive Belt Tension
Mower Deck Drive Belt Tension
Park Brake Adjustment
Forward Tracking Adjustment
Neutral Adjustment
Cleaning
Clean All Debris from Engine and Exhaust System Area
Clean Dust and Dirt from Cylinder Head Fins
Clean Debris from Machine
Clean Grass Build-Up under Deck
Troubleshooting
Wiring Schematics
California Evaporative Emission Control Warranty Statement
Limited Warranty
Advertisement
Quick Links
1
Maintenance and Storage
2
Cutting Deck
3
Engine
4
Pump Drive Belt Tension
5
Deck Leveling
Download this manual
COMPACT STANDON
OPERATORS MANUAL
ER32FS600VL
ER32FS600VLCA
ER36FS600VL
ER36FS600VLCA
Table of
Contents
Previous
Page
Next
Page
1
2
3
4
5
Advertisement
Table of Contents
Need help?
Do you have a question about the Rage ER32FS600VL and is the answer not in the manual?
Ask a question
Questions and answers
Related Manuals for Encore Rage ER32FS600VL
Lawn Mower Encore Rage ER52FX730V Operator's Manual
(37 pages)
Lawn Mower Encore Rage ER36FS600VL Operator's Manual
Compact standon (44 pages)
Lawn Mower Encore RAGE ER48FX730VX Operator's Manual
(40 pages)
Lawn Mower Encore RAGE ER48FX730VL Operator's Manual
(40 pages)
Lawn Mower Encore DART ED34FS600V Operator's Manual
(20 pages)
Lawn Mower Encore Caliber EC52FX730V3CA Operator's Manual
(44 pages)
Lawn Mower Encore CALIBER EC52FX801V4 Operator's Manual
(52 pages)
Lawn Mower Encore EW36FS481VH Operator's Manual
(40 pages)
Lawn Mower Encore EDGE EE48FR691V32SS Operator's Manual
(52 pages)
Lawn Mower Encore Prowler EP60MX800EV5 Operator's Manual
(48 pages)
Lawn Mower Encore EW28X11BX Operator's Manual
Commercial mower (28 pages)
Lawn Mower Encore EW32X11BSE Operator's Manual
Commercial mower (28 pages)
Lawn Mower Encore EE48FR691V32 Operator's Manual
(48 pages)
Lawn Mower Encore EDGE EE52FX691V34CA Operator's Manual
(49 pages)
Lawn Mower Encore EE48LS2P82F32 Operator's Manual
(48 pages)
Lawn Mower Encore EDGE ELECTRIC EE52L16 Operator's Manual
(40 pages)
This manual is also suitable for:
Rage er32fs600vlca
Rage er36fs600vl
Rage er36fs600vlca
Table of Contents
Save PDF
Print
Rename the bookmark
Delete bookmark?
Delete from my manuals?
Login
Sign In
OR
Sign in with Facebook
Sign in with Google
Upload manual
Upload from disk
Upload from URL


Need help?
Do you have a question about the Rage ER32FS600VL and is the answer not in the manual?
Questions and answers