Advertisement
Quick Links
Advertisement

Subscribe to Our Youtube Channel
Related Manuals for Polyprint TexJet Shortee2


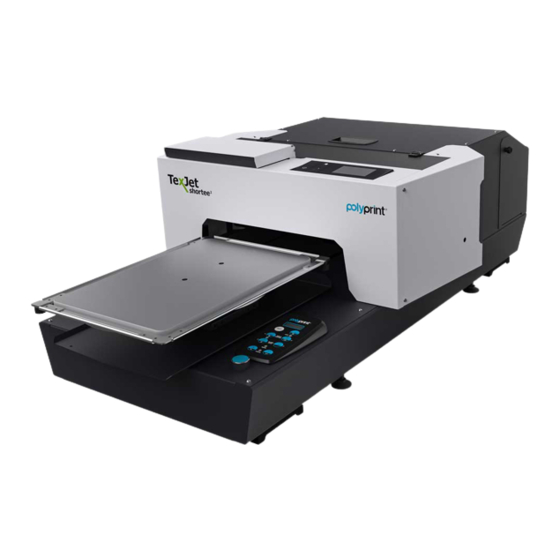
Summary of Contents for Polyprint TexJet Shortee2
-
Page 2: Table Of Contents
TABLE OF CONTENTS Before you Start p. 01 Unboxing p. 01 Printer Setup p. 03 Install Ink Cartridges p. 04 Power ON p. 06 Perform Nozzle Test p. 07 Ink & Pretreatment Storage p. 09 Transporting the TexJet® shortee p. 09... -
Page 3: Before You Start
INSTALLATION GUIDE Before you Start Shortee is compatible with Polyprint's Uni Stand. If the stand is not available, prepare a flat, stable surface with dimensions of at least 700x700 mm. The surface should be capable of supporting more than 95kg. - Page 4 TexJet® SHORTEE² Items contained in the box • TexJet shortee² Direct-to-Garment Printer ® • Standard 27x40cm Snap On Platen • Emergency Stop Button • Nine (9) Labeled Refillable Cartridges • Two (2) Non Labeled Refillable Cartridges • Five (5) Funnels •...
-
Page 5: Printer Setup
INSTALLATION GUIDE Fig.5: Remove the yellow safety bar. Do not throw it away, you will need it when transporting NOTE : the printer. NOTE : Do not move the table tray fast. _STEP Remove the blue security tapes from the TexJet shortee²... -
Page 6: Install Ink Cartridges
TexJet® SHORTEE² _STEP Connect the power cord. Turn on the blue switch on the left side of the printer. NOTE: Check that the source voltage is the same as the rated voltage, listed on the SN – Rating plate. If the availabel power source is different from the TexJet shortee²... - Page 7 INSTALLATION GUIDE Fig.7: TexJet shortee² cartridge filling process. ® CAUTION: Fill them slowly as each cartridge has many chambers. NOTE: Level must not exceed the max indication on the cartridge side. _STEP Put back only the rubber seal that holds the ink. Make sure air supply is not sealed.
-
Page 8: Power On
Texjet shortee from the ® USB labeled port of the printer, to the PC. Open the Digital Factory Apparel Polyprint Edition and select Printer Status and Settings from the top bar. Fig.11: TexJet shortee² Ink charge process. ® NOTE: Follow DFA v10 installation guide for proper installation of the software. -
Page 9: Perform Nozzle Test
INSTALLATION GUIDE Click on the Initial Charge to start the Ink charge procedure. Fig.12: TexJet shortee² Ink charge process. ® Perform Nozzle Test _STEP Press the power button and select the desired language. Insert one of the transparent sheets that come with the printer on the left corner of the 27x40cm platen. - Page 10 TexJet® SHORTEE² _STEP Tap on the Settings button on the top panel. Tap Maintenance, Print Head Nozzle Check and Print. Fig.14: TexJet shortee² Nozzle test. ® _STEP Check the pattern. If there are no gaps nozzles are clean. Fig.15: Nozzle check correct sample. If there are gaps in the pattern, perform a Head Cleaning.
-
Page 11: Ink & Pretreatment Storage
INSTALLATION GUIDE Ink & Pretreatment Storage White, CMYK inks, Cleaning solutions and Pretreatments should be stored at a dry place with room temperature ranging between 10-40 Recommended temperature: 20 Transporting the TexJet shortee Before moving the TexJet shortee² to other position, empty the ®... - Page 12 www.polyprintdtg.com POLYPRINTDTG...
Need help?
Do you have a question about the TexJet Shortee2 and is the answer not in the manual?
Questions and answers