Table of Contents
Advertisement
Quick Links
Advertisement
Table of Contents

Related Manuals for GeChic On-Lap 1102I


Summary of Contents for GeChic On-Lap 1102I
- Page 1 On-Lap 1102I ユーザーガイド...
-
Page 2: Table Of Contents
CONTENTS Notices, Cautions & Warranty Exclusions LCD Pixel Statement Federal Communications Commission (FCC) Class B Statement CE Declaration of Conformity WEEE Symbol Information Chapter 1 Parts of On Lap Monitor & Accessories Section 1 Parts Description Section 2 Accessories Description Chapter 2 Installation Instructions Section 1 Installation of Horizontal Display Section 2 Store the Monitor in the Protective Cover... - Page 3 WEEE 3 1102I T1S2 4 1102 5 1102 On-Lap 1102 VESA75 6 HDMI-A + USB-A -Dock LED OSD LED OSD 2. OSD - Windows 10 2 Windows 10/7...
-
Page 4: Notices, Cautions & Warranty Exclusions I
3. The power input specification for On-Lap monitor is 5V 2A DC current. Inputting On-Lap Monitor more than 5V can cause shortages, and this will void the GeChic Manufacturer's Warranty. We suggest you to connect both connectors of the USB power cable to your desktop΄s USB ports or use GeChic 5V-2A charger. -
Page 5: Lcd Pixel Statement
Consult the dealer or an experienced radio/TV technician for help. ● Caution: 1. Changes or modifications not expressly approved by GeChic Corp. could void the user's authority to operate the equipment. 2. Shielded interface cables and AC power cord, if any, must be used in order to comply with the emission limits. -
Page 6: Ce Declaration Of Conformity
CE Declaration of Conformity This product complies with the following standards: EN60950-1:2006 and A11+A1 (Safety requirement of Information Tech- ● nology Equipment). EN 55032:2006+A1: 2007 (Radio Disturbance requirement of Infor- ● mation Technology Equipment). EN55024:1998+A1:2001+A2:2003 (Immunity requirement of Infor- ● mation Technology Equipment). -
Page 7: Chapter 1 Parts Of On Lap Monitor & Accessories
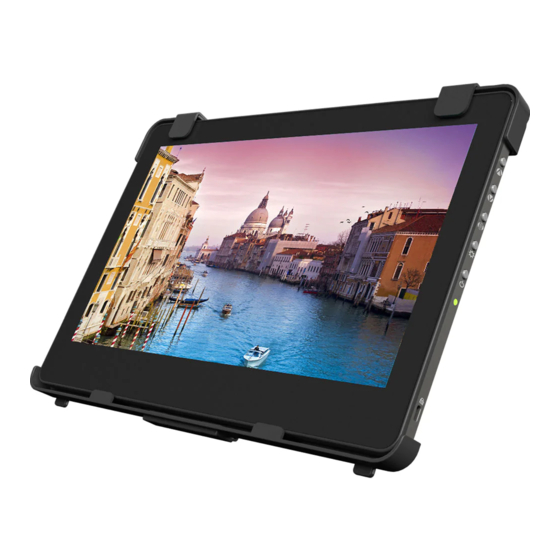
Chapter 1 Parts of On Lap Product & Accessories Section 1 Parts Description... -
Page 8: Section 2 Accessories Description
On-Lap monitor. Proprietary cable for On Lap 1503/1102. One plug is On-Lap proprietary HDMI- Gechic proprietary connector for plugging into the A&USB-A to dock port cable port on Rear Dock; the other two plugs are HDMI-A (2m) (male) and USB-A (male). -
Page 9: Chapter 2 Installation Instructions
Chapter 2 Installation Instructions Section 1 Installation of Horizontal Display Refer to the Fig., take ① ② ① the magnetic buckle off firstly, fold and attach ② the rubber side of the magnetic buckle mental plate. Adjust the position of the magnet buckle to change the viewing angles. -
Page 10: Section 2 Store The Monitor In The Protective Cover
It is recommended to install 1102I touch monitor on VESA75 arm or wall mount for its Vertical Display. Section 2 Store the Monitor in the Protective Cover Warning: When not in use, please put the monitor back in the Protec- tive Cover with its backside outward. -
Page 11: Section 4 Lay Touch Monitor Flat With 1102 Multi-Mount Kit(Optional)
When rotating 1102I to portrait mode, please tilt the monitor to 180 de- gree, rotate it to vertical mode, and tilt back to the viewing angle. Notice! When M505/1503/1102 monitor is displayed vertically, the center line of the monitor isn't on the pivot of T1S2 stand. Section 4 Lay Touch Monitor Flat with 1102 Multi Mount Kit (Optional) In the Fig. -
Page 12: Section 5 Mount On-Lap 1102 To Vesa 75 Monitor Arm Or Wall Mount (With 1102 Multi-Mount Kit)(Optional)
Section 5 Mount On-Lap 1102I to VESA 75 Monitor Arm or Wall Mount (With 1102 Multi Mount Kit)(Optional) As the fig., firstly use three M2x5mm screws to fix the monitor to the Moni- tor Bracket. Then use four M4x5mm screws to fix the Monitor Bracket to the arm. -
Page 13: Section 2 Osd Description
Press this button to show "Volume bar". Press and Increase hold this button to increase the volume continuously. In the OSD menu, press this button to move down or Volume/ Next to the right. Press this button to show "Volume bar". Press and Decrease hold this button to decrease the volume continuous- Volume/... - Page 14 2) Blue Light Reduction: Select "On" to reduces the blue light automatical- 3) Color Temperature: Select "Cool" to increase the blue color of the im- age; Select "Warm" to increase the red color of the image. Select "User" to adjust the RGB color settings manually. 3.
-
Page 15: Chapter 4 Settings Of Extended Display
7) Power Button Lock: Select "On" to lock the Power Button. 6. Audio Settings Adjust audio volume or select silent mode. 7. Input Source 1) Select Analog VGA source, HDMI1 digital video signal (from the left HDMI port) or HDMI 2 digital video signal (from the HDMI port on Rear Dock). -
Page 16: Chapter 5 Using Of Touch Monitor
Chapter 5 Using of Touch Monitor Section 1 Notices 1. Windows 10/7 computer supports On-Lap 1102I touch function. If the computer doesn’t adopt Windows 10/7, it may not be able to use touchscreen function on 1102I monitor. 2. USB power and touch cable transmits both pow- ①... -
Page 17: Chapter 6 Product Specification
Chapter 6 Product Specification Section 1 General Specification On-Lap1102I Specification Panel Wide screen 11.6 inch(16:9) True Resolution 1920x1080 Color Depth 16.7M colors Brightness 250 (cd/m²) (Typ.) Contrast Ratio 1000:1(Typ.) Viewing Angle 178°(H)/178° (V)(CR>10) Response Time 12.5(ms)(Typ.) Projective capacitive touch screen Type of Touchscreen 10 points multi-touch Operating System... -
Page 18: Section 2 Supported Operating Modes
720x480P(59.94Hz/60Hz) 640x480P(59.94Hz/60Hz) Chapter 7 Troubleshooting Problem Solutions Touch On-Lap 1102I in the Please refer to Chapter 5> Section 2 Touch Screen extended display, but the Settings on Windows 10/7 to start touch settings. cursor appears only on the main display, not 1102I. - Page 23 横置き表示の最低角度は 40°です。吸着面 をブルーの線より高いところに置かないでくださ い。それよりも高いところにおくと倒れることがあ ります。...
- Page 26 LED OSD...
- Page 27 「...
- Page 30 ℃; ℃ R53848 RoHS...
- Page 31 640x480 60Hz 31.469 59.940 720x480 60Hz 29.855 59.710 800x600 60Hz 37.879 60.317 848x480 60Hz 31.02 60.000 960x600 60Hz 37.212 59.635 1024x768 60Hz 48.363 60.004 1152x864 60Hz 53.783 59.959 1280x600 60Hz 37.377 59.900 1280x720 60Hz 45.000 60.000 1280x768 60Hz 47.776 59.870 1280x800 60Hz 49.702...
- Page 32 1年 保証 販売店のスタンプ GeChic Corporation 11F-3, No. 138, Zhongming S. Rd., West Dist., Taichung, Taiwan(R.O.C.) service@gechic.com Rev. 2021/6/9...
Need help?
Do you have a question about the On-Lap 1102I and is the answer not in the manual?
Questions and answers