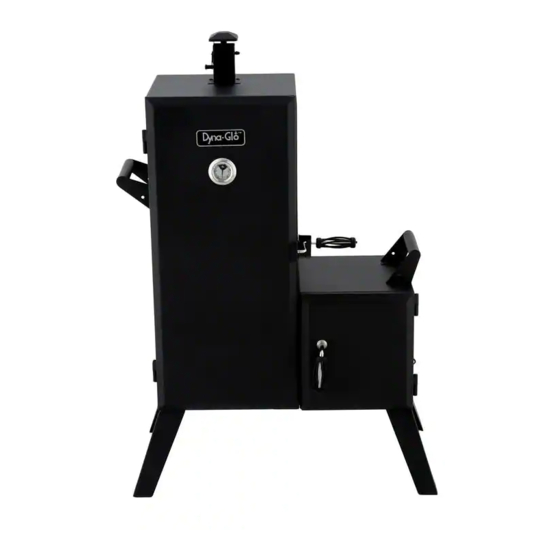
Dyna-Glo DGO1176BDC-D Quick Start Manual
Charcoal offset vertical smoker
Hide thumbs
Also See for DGO1176BDC-D:
- Instruction manual (51 pages) ,
- User manual (51 pages) ,
- Manual (51 pages)
Advertisement
Quick Links
ATTACH YOUR RECEIPT HERE
Serial Number ________________________________ Purchase Date _________________________________
Questions, problems, missing parts? Before returning to your retailer, call our
customer service department at 1-877-447-4768, 8:00 a.m. – 4:30 p.m. CST,
Monday – Friday or e-mail customerservice@ghpgroupinc.com.
70-01-060
Charcoal Offset
Vertical Smoker
1
MODEL #DGO1176BDC-D
Français p. 18
Español p. 35
Rev. 07/22/19
Advertisement

Subscribe to Our Youtube Channel
Related Manuals for Dyna-Glo DGO1176BDC-D


Summary of Contents for Dyna-Glo DGO1176BDC-D
- Page 1 Charcoal Offset Vertical Smoker MODEL #DGO1176BDC-D Français p. 18 Español p. 35 ATTACH YOUR RECEIPT HERE Serial Number ________________________________ Purchase Date _________________________________ Questions, problems, missing parts? Before returning to your retailer, call our customer service department at 1-877-447-4768, 8:00 a.m. – 4:30 p.m. CST, Monday –...
-
Page 2: Table Of Contents
TABLE OF CONTENTS Safety Information ........................2 Package Contents ........................4 Hardware Contents ........................5 Preparation ..........................5 Assembly Instructions ........................ 6 Operation Instructions ......................... 11 Tips On Smoking ......................... 13 Care and Maintenance ........................ 15 Warranty ............................16 Replacement Parts List ......................17 SAFETY INFORMATION Please read and understand this entire manual before attempting to assemble, operate or install the product. -
Page 3: Safety Information
SAFETY INFORMATION • DO NOT use this product in a manner other than its intended purpose. It is NOT intended for commercial use. It is not intended to be installed or used in or on a recreational vehicle and/or boats. •... -
Page 4: Package Contents
PACKAGE CONTENTS PART DESCRIPTION QUANTITY PART DESCRIPTION QUANTITY Smoke stack assembly Lifting handle Grease cup Temperature gauge Smoker body-right Door handle Door locking bracket Cooking grate Ash tray Cooking grate support Charcoal grate Smoker body-left Charcoal chamber... -
Page 5: Hardware Contents
HARDWARE CONTENTS Spring M6 x 12 Clip Screw Qty. 1 Qty. 32 PREPARATION Before beginning assembly of product, make sure all parts are present. Compare parts with package contents list and hardware contents above. If any part is missing or damaged, do not attempt to assemble the product. -
Page 6: Assembly Instructions
ASSEMBLY INSTRUCTIONS CAUTION: Remove both doors before turning the smoker upside down. With smoker body-right (J) turned upside down, attach smoker body-left (G) to smoker body-right (J) using six M6x12 screws (AA). Hardware Used M6 x 12mm Screw Attach legs (H) to smoker body-left (G) and smoker body-right (J) using twelve M6x12 screws (AA). - Page 7 ASSEMBLY INSTRUCTIONS CAUTION: This unit is HEAVY! Do not attempt this step without assistance! With the assistance of a helper, stand the unit up right on its legs on a firm and level surface. (Make sure that legs are well attached). Place both doors back onto the smoker body.
- Page 8 ASSEMBLY INSTRUCTIONS Slide door handle (D) through brackets in door. Using pliers, slide a spring clip (BB) over the groove in the door handle as shown. Make sure the spring clip is securely attached in the grooves of the handle. Hardware Used Spring Clip...
- Page 9 ASSEMBLY INSTRUCTIONS Attach lifting handle (B) to smoker body-right (J) using four M6x12 screw (AA). Hardware Used M6 x 12mm Screw Insert the cooking grate supports (F) into the corresponding holes on rack of the shelf inside the smoker body (G) from the bottom up. NOTE: There are 12 positions to install the cooking grate supports.
- Page 10 ASSEMBLY INSTRUCTIONS Slide the 6 cooking grates (E) onto the top cooking grate supports (F) inside the smoker body (G). Place the charcoal chamber (N) directly onto the charcoal grate (M) and slide the grate onto the support brackets located on the inside of the smoker body - right (J).
-
Page 11: Replacement Parts List
Smoker body- big 313-12001-00 Door handle grip-right* 403-02003-05 Door handle crank-right* 313-02202-03 Lifting handle 301-01010-00 Right handle washer 313-02202-04 Temperature gauge 211-02005 Logo plate - Dyna-Glo* 211-02002 Right door latch 313-02202-05 Ash tray 70-01-254 Cooking grate 312-01014-00 Big door 313-02202-01...
Need help?
Do you have a question about the DGO1176BDC-D and is the answer not in the manual?
Questions and answers