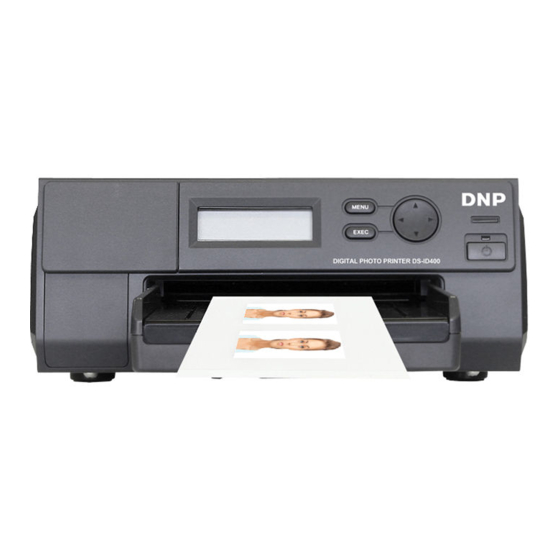
DNP DS-ID400 Settings Manual
Digital photo printer
Hide thumbs
Also See for DS-ID400:
- Operating instructions manual (43 pages) ,
- Settings manual (7 pages) ,
- How to set up (2 pages)
Table of Contents

Subscribe to Our Youtube Channel
Summary of Contents for DNP DS-ID400
- Page 1 Digital Photo Printer DS-ID400 ID Photo Template Editor Setting Guide This document describes how to use ID Photo Template Editor to create layout templates for the DS-ID400. 3-00D-057-11 (1) © 2012 Dai Nippon Printing Co., Ltd.
-
Page 2: Table Of Contents
Trademarks Table of Contents Microsoft and Windows are registered trademarks of Microsoft Corporation in the United States and/or other countries. Copyright Notice .........3 All other brands and product names are trademarks or About the ID Photo Template Editor..3 registered trademarks of their respective owners. Preparation ..........3 Operating Environment ........ -
Page 3: Copyright Notice
Click the [Close] button to close the dialog. This document describes how to use ID Photo Template Editor to create layout templates for the DS-ID400. You can make multiple templates for different applications. Templates created using ID Photo Template Editor can be used with DS-ID400 printers on which firmware Ver. -
Page 4: Parts Of The Screen
Parts of the Screen (1) Menu bar (Open) button: Opens an previously saved template The menu bar is used for creating new files, saving files, file. and changing what is displayed on the screen. (Save) button: Overwrites the existing template file. [File] menu: Provides commands for operations such as (Add) button: Adds an image area to the template that creating and saving template files. - Page 5 (5) Template preview (main view) [Auto-create thumbnail] check box: Select this check box Displays a preview of the template. Editing of the template to update saved thumbnail images when saving the is performed here. template. Thumbnail images are also saved when Paper area (light gray): The area that is surrounded with saving a newly created template.
-
Page 6: Basic Operation
• If a size that is larger than the paper size is entered, For the DS-ID400 an image area that is the same size as the paper size <folder specified as storage location>\DNP\DSID400\ is created. For details on paper size and maximum IDPhoto\none\<paper size>\ image area settings on your printer, refer to the user’s manual for your printer. -
Page 7: Opening An Existing Template
Creating portrait photo templates Note Perform the procedure in “Creating ID photo templates” The maximum number of image areas that will be up to step 5, and select [Portrait] under [Photo]. created is 50. When [Portrait] is selected, [Head Line] and [Face Size] cannot be specified. -
Page 8: Editing A Template
Editing a Template Memo The size can also be changed by dragging a point (up/ You can edit the layouts of created templates. down, right/left, and 4 corners) displayed for the image area that is selected. Notes • You cannot cut, copy, and paste image areas, nor can you undo or repeat operations. - Page 9 To add an image area To rotate an image area Click the (Add) button on the toolbar or select Click the image area you want to edit. [Add] from the [File] menu. Under [Area], select one of [0], [90], [180], or [270] An image area that is identical in size to the existing from the [Rotate] dropdown list.
-
Page 10: Saving A Template
Copy the DNP folder from the specified target folder IDPhoto\none\<paper size>\ to an expansion SD card. Copy the DNP folder and all of its contents to the root Template files (INI format) and thumbnail images (BMP of the expansion SD card.


Need help?
Do you have a question about the DS-ID400 and is the answer not in the manual?
Questions and answers