Advertisement
Quick Links
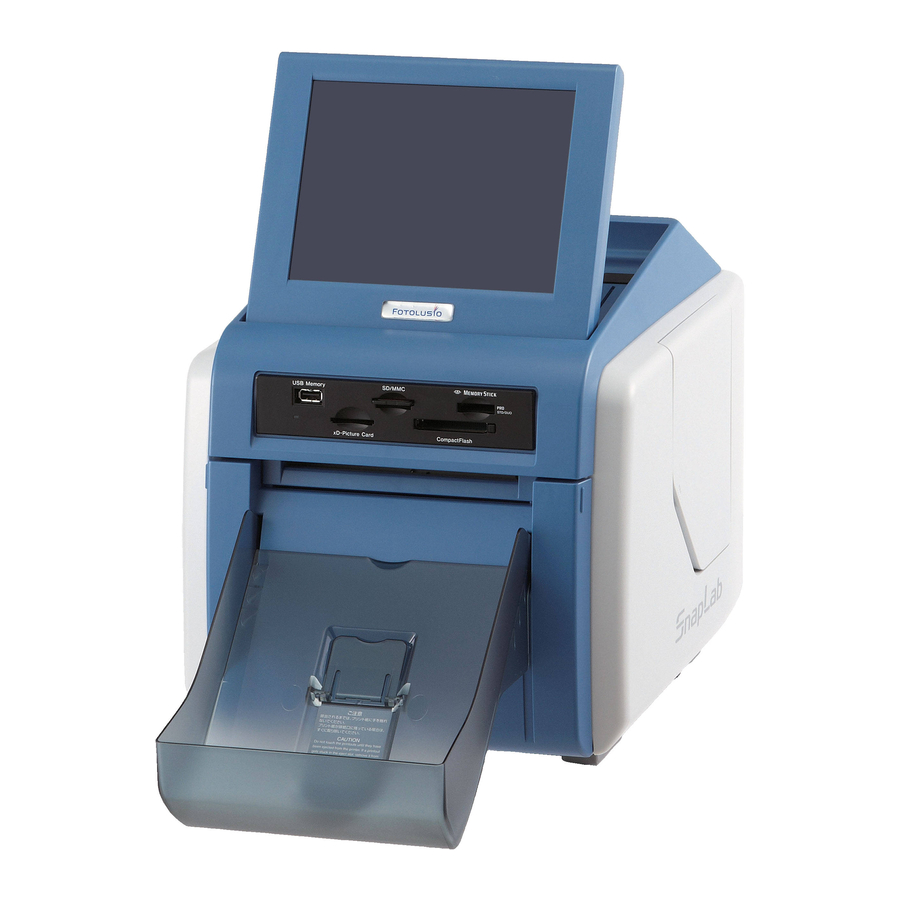
Digital Photo Printer
DS-SL10
DS-SL20
Digital Photo Printer
DS-ID400
Printer Driver
Setup Guide
This guide describes how to set up the Printer Driver for Windows 8,
Windows 7, Windows Vista and Windows XP.
Before Using this Software
Before using the printer driver, be sure to read the "Readme" file.
© 2012 Dai Nippon Printing Co., Ltd.
3-00D-055-12 (1)
Advertisement

Subscribe to Our Youtube Channel
Related Manuals for DNP SnapLab DS-SL10


Summary of Contents for DNP SnapLab DS-SL10
- Page 1 Digital Photo Printer DS-SL10 DS-SL20 Digital Photo Printer DS-ID400 Printer Driver Setup Guide This guide describes how to set up the Printer Driver for Windows 8, Windows 7, Windows Vista and Windows XP. Before Using this Software Before using the printer driver, be sure to read the “Readme” file. 3-00D-055-12 (1) ©...
-
Page 2: Configuring The Printer
[Printing preferences]. For Windows 7 On the [Start] menu, select [Control Panel] and then [View devices and printers]. Right-click the DNP DS- SL10 printer icon, and select [Printing preferences]. For Windows Vista On the [Start] menu, select [Control Panel] and then [Printers]. -
Page 3: [Paper] Tab Settings
page of a print document on a single sheet and cut the [Paper] tab settings sheet after printing (Cut Mode). Configure basic print-related settings. The paper sizes that you can specify and the numbers of pages that you can assign to each sheet with each print pack are as follows. - Page 4 Copies [Graphics] tab settings You can set this between 1 and 255. Select [Color Balance], [Lightness], [Color Correction], or [Gray Balance] in the [Color Adjust] list to change Scale these settings. Specifies the scale of prints. You can set the scale between 20 and 400%.
- Page 5 Lightness Gamma Adjusts the scale of medium tones. Medium tones Adjusts lightness. Adjust the setting by moving the become darker when you move the slider to the right (+), slider left or right. You can also make adjustments by and lighter when you move the slider to the left (–). typing values in the box on the right.
- Page 6 Color Correction Gray Balance (DS-SL10, DS-SL20 only) Select the color correction method. Adjust the gray balance setting. When you click the [Print Chart] button, two charts (A and B) will be printed, each with gray patterns ranging from No. 0 to No. 88. Select your preferred gray balance from among patterns No.
- Page 7 Right-click the DNP DS-SL10 printer icon, and Printing with Image Color select [Printer properties]. Management Note Color management using ICM is not available in Windows 8. To print from applications that support Windows Image Color Management (ICM), you must install an ICC profile.
- Page 8 When using Windows Vista Click [Start], select [Control Panel], and then select [Printers]. Right-click the DNP DS-SL10 printer icon, and select [Properties]. Click [Add] to add the profile to be used. Select the profile you want to use from the list that appears, and click [OK].
- Page 9 Confirm that the profile has been added, and click [Close] to close the dialog box. Open the [Device] pull-down menu, and select [Printer: DNP DS-SL10]. Click [OK] to close the properties screen. Note Specifying the ICC profile on the application side may also be necessary, depending on the application software used.
- Page 10 Right-click the DNP DS-SL10 printer icon, and Select the profile you want to use from the list that select [Properties]. appears, and click [Add]. Click the [Color Management] tab. Click [OK] to close the properties screen. Note Specifying the ICC profile on the application side may also be necessary, depending on the application software used.
Need help?
Do you have a question about the SnapLab DS-SL10 and is the answer not in the manual?
Questions and answers