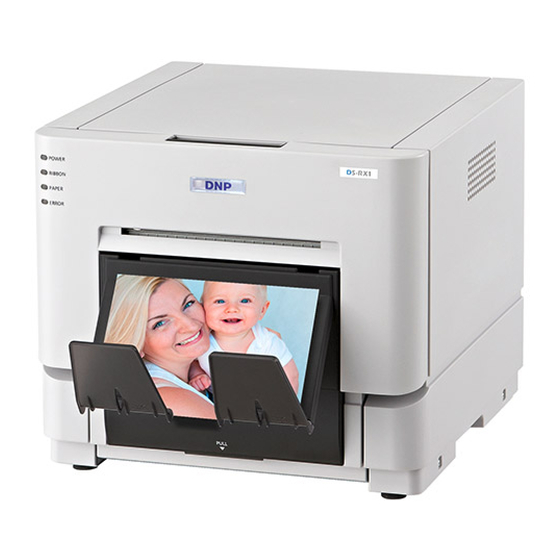
DNP DS-RX1 Firmware Update Manual
Hide thumbs
Also See for DS-RX1:
- Technical manual (71 pages) ,
- Driver manual (33 pages) ,
- User manual (26 pages)
Table of Contents
Advertisement
Advertisement
Table of Contents

Summary of Contents for DNP DS-RX1
- Page 1 DS‐RX1 Printer Firmware Update Manual Version 1.1.0 ...
-
Page 2: Table Of Contents
Contents Installation Flow Chart ............................ 3 Run the DS-RX1 Version Up Tool execute file (*.EXE). .............. 4 1. Starting the Update .......................... 4 2. Finishing the update .......................... 5 3. Reboot the computer .......................... 6 ... -
Page 3: Installation Flow Chart
DSRX1 Firmware Update Manual Version Number: 1.10 Installation Flow Chart 3 ... -
Page 4: Run The Ds-Rx1 Version Up Tool Execute File (*.Exe)
(the printer LED should be green). Run the DS-RX1 Version Up Tool execute file (*.EXE). When running DS-RX1 Version Up Tool, if there are multiple printer ports, the following printer select window will open. Select the appropriate printer, and click “OK”. -
Page 5: Finishing The Update
Also, the printer LED will revert from flashing green to green. Confirm the New Firmware and New CWD Ver boxes are checked, and click the “END” button or close the window to end DS-RX1 Version Up Tool. 5 ... -
Page 6: Reboot The Computer
DSRX1 Firmware Update Manual Version Number: 1.10 3. Reboot the computer 6 ... -
Page 7: Driver Removal
1. Select “Start”, “Devices and Printers”. 2. From the “Devices and Printers” window, select the DS-RX1 printer, display the pull-down menu with the right click, and click on “Remove device”. ... -
Page 8: Remove The Driver
3. “Are you sure you want to remove this device?” appears, click on “Yes”. 4. Remove the driver. 5. After the DS-RX1 printer has been removed, select another printer (for example: Fax), and click on “Print server properties” in the menu bar. - Page 9 DSRX1 Firmware Update Manual Version Number: 1.10 button. 7. When the Remove Driver and Package window appears, select “Remove driver only”, and click on ”OK” button. 8. When the Print Server Properties confirmation window appears, click on the “Yes” button. 9 ...
- Page 10 1. Select “Start”, then “Control Panel”, and open the control panel. Click on “Uninstall a program” in the control panel 2. When the “Uninstall or change a program” window appears, double-click on “Windows Driver Package - Dai Nippon Printing DS-RX1 (mm/dd/yyyy x.x.x.x)” (mm/dd/yyyy = the date, x.x.x.x = the version). ...
-
Page 11: Turn Off The Rx1 Printer
DSRX1 Firmware Update Manual Version Number: 1.10 When the “Uninstall Driver Package” window appears, click on “Yes”. Uninstall will be completed. Turn off the RX1 Printer. Reboot the computer. Do not turn on the printer until the new driver has been installed. ... -
Page 12: Installing The New Driver
DSRX1 Firmware Update Manual Version Number: 1.10 Installing the New Driver ***Note if Windows 7 DO NOT CONNECT THE PRINTER until the driver is installed. 1. Open the driver package Start Explorer, and click on the corresponding drive. (If the AutoPlay function is on, select “Open folder to view files - using Windows Explorer”.) Select the following folders from the accessory CD. - Page 13 DSRX1 Firmware Update Manual Version Number: 1.10 The best Driver Package Installer for your operating system (32 or 64 bit) will automatically be selected. 2. If the User Account Control dialog appears, click on “Yes”. 3. When the “Welcome to the Device Driver Installation Wizard!” window appears, click on “Next>”.
-
Page 14: Finish Install
DSRX1 Firmware Update Manual Version Number: 1.10 4. If the Windows Security confirmation window appears, click on “Install this driver software anyway”. 5. This starts the Driver Package installation. Please wait until it is complete. When the “Completing the Device Driver Installation Wizard” window appears, 6. -
Page 15: Turn On The Printer
DSRX1 Firmware Update Manual Version Number: 1.10 7. Turn on the Printer 8. Reboot the computer Configuring the New Driver 1. Select “Start”, “Devices and Printers”. 2. Select Printer Preferences 3. Click the “Advanced Tab” 15 ... -
Page 16: Enable 2 Inch Cut
DSRX1 Firmware Update Manual Version Number: 1.10 4. Enable 2 Inch Cut 5. Click OK. 16 ... -
Page 17: Printing With 2 Inch Cut
DSRX1 Firmware Update Manual Version Number: 1.10 6. Click Ok Printing with 2 Inch Cut 1. Open Picture 17 ... - Page 18 DSRX1 Firmware Update Manual Version Number: 1.10 2. Select (6x4, 6x8 or PR 4x6) 3. Print 18 ...


Need help?
Do you have a question about the DS-RX1 and is the answer not in the manual?
Questions and answers