DNP DS-40 Basics Manual
Hide thumbs
Also See for DS-40:
- User manual (33 pages) ,
- Driver manual (33 pages) ,
- Quick reference (6 pages)
Table of Contents
Advertisement
Advertisement
Table of Contents

Related Manuals for DNP DS-40


Summary of Contents for DNP DS-40
- Page 1 DS-40, DS-80 Printer Basics...
- Page 3 CKNOWLEDGEMENTS The information contained in this document represents the current view of DNP Photo Imaging America Corp. on the issues discussed as of the date of publication. Because DNP Photo Imaging America Corp. must respond to changing market conditions, it should not be interpreted to be a commitment on the part of DNP Photo Imaging America Corp., and DNP Photo Imaging America Corp.
- Page 4 Acknowledgements DNP Photo Imaging America Corp.
-
Page 5: Table Of Contents
If the Power is Cut Mid Printing ........... 7 DNP Photo Imaging America Corp. - Page 6 Table of Contents DNP Photo Imaging America Corp.
-
Page 7: Printer Basics
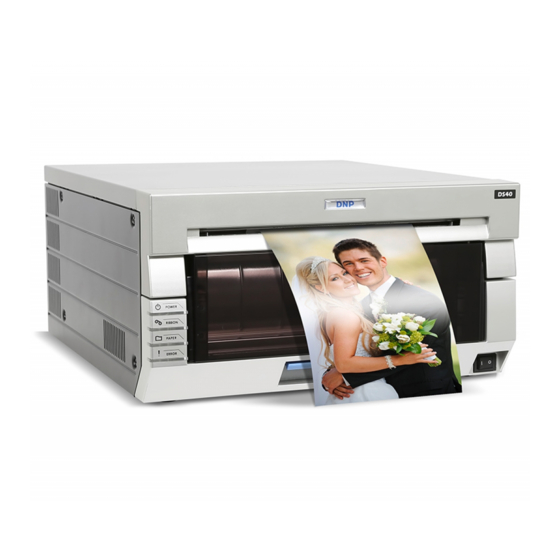
2. Using a small hand vacuum with a non-metallic extension and nozzle, vacuum all of the printers ventilation ports. 3. Vacuum the base of the system and external ventilation ports. 4. Power ON the system and remaining components. You have now performed basic maintenance on the printer. DNP Photo Imaging America Corp. - Page 8 The DS-40 and DS-80 printers are quite similar. The instructions written for one will work for the other. The main difference is in paper size; DS-40 printers print 4x6 size prints, and DS-80 printers print 8x10 size prints.
-
Page 9: Installing Media
1. Pull out the mechanism unit by lifting the blue handle beneath the scrap box, and pulling gently. Figure 2. Pulling the Mechanism Unit 2. Free the paper release lever. Figure 3. Paper Release Lever DNP Photo Imaging America Corp. - Page 10 DS-40 and DS-80 Printers Installing Media 3. Remove the scrap box, empty scraps into the trash. Set aside. Figure 4. Removing the Scrap Box 4. Remove the spool ends from the printer. 5. Set the spools into the paper, ensuring there is no gap between the paper and the spool.
- Page 11 DS-40 and DS-80 Printers Installing Media 7. Set the paper so that it is in the direction shown. Figure 6. inserting paper into cassette 8. Remove the seal 9. Advance the paper in the direction indicated. When it is inserted far enough, the buzzer will beep and the paper LED (orange) will stop blinking.
- Page 12 DS-40 and DS-80 Printers Installing Media No t e It is easier to set if you press down on the spool lightly while advancing the paper. 10. Set a new ribbon into the ribbon cassette. Advance the ribbon in the direction shown and take up any slack in the ribbon.
- Page 13 1. Pull out the mechanism unit by lifting the blue handle beneath the scrap box, and pulling gently. Figure 10. Pulling the Mechanism Unit 2. Free the paper release lever. Figure 11. Paper Release Lever DNP Photo Imaging America Corp.
-
Page 14: Maintaining The Printers
You may need to unplug the power or network cables to completely access the back of the printer. If you will have to disconnect power, make sure you power down the unit previous to unplugging the unit. DNP Photo Imaging America Corp. -
Page 15: Cleaning The Platen Roller
There could be powder, paper scraps, or other debris stuck to the roller. 1. Pull out the mechanism unit by lifting the blue handle beneath the scrap box, and pulling gently. Figure 13. Pulling the Mechanism Unit DNP Photo Imaging America Corp. - Page 16 2. Free the paper release lever. Figure 14. Paper Release Lever 3. Remove the scrap box, empty scraps into a proper receptacle... Figure 15. Removing the Scrap Bin 4. Remove the paper cassette. Figure 16. Removing the Paper Cassette DNP Photo Imaging America Corp.
- Page 17 Clean the area again with an alcohol pad. 6. Replace the paper cassette. Make sure the casette is firmly seated. Figure 17. replacing the paper cassette. DNP Photo Imaging America Corp.
- Page 18 Figure 18. Advancing the paper 8. Replace the scrap bin and close the top of the mechanism. 9. Gently slide the mechanism back in place. The printer will re-initialize. You have now cleaned the platen roller. DNP Photo Imaging America Corp.
-
Page 19: Troubleshooting
ROUBLESHOOTING RROR ESSAGES DNP Photo Imaging America Corp. -
Page 20: Resolving Media Errors
Figure 22. Removing the Ribbon Cassette 3. Pull any paper remaining in the printer in the direction indicated, and cut off any wrinkled or partially printed areas evenly with scissors. Figure 23. Pulling and Trimming the Paper DNP Photo Imaging America Corp. - Page 21 5. Cut off any partially printed, wrinkled, or otherwise inferior paper evenly with scissors and reset the paper. No t e If wrinkles or partially printed areas are left, it could cause the paper to jam again. Figure 25. Cutting the Paper DNP Photo Imaging America Corp.
-
Page 22: If The Ribbon Is Torn Or Has Been Pulled Into The Mechanism
1. Pull out the mechanism unit by lifting the blue handle beneath the scrap box, and pulling gently. Figure 27. Pulling the Mechanism Unit 2. Carefully remove the ribbon cassette by pulling up and out. Figure 28. Removing the Ribbon Cassette DNP Photo Imaging America Corp. - Page 23 If the ribbon is torn or left in the printer, it could affect print quality. You may need to clean the platen roller (see Cleaning the Platen Roller). Figure 30. Removing the Ribbon 5. Reattach the ribbon using clear or cellophane tape. Figure 31. Placing the tape DNP Photo Imaging America Corp.
- Page 24 Make sure the ribbon is placed in the printer correctly, inserting the take-up side first. If the cassette is inserted improperly, the mechanism will not close. Figure 33. Replacing the Cassette. 8. Close the mechanism. The printer will re-initialize. You have now repaired a torn ribbon. DNP Photo Imaging America Corp.
-
Page 25: If The Printer Is Stopped Mid-Action
2. Once the cutter has returned to the ready position, the mechanism can be pulled out. 3. Check that there is no partially printed paper in the mechanism unit. If there is, see: “if there is a paper jam.” DNP Photo Imaging America Corp. - Page 26 PN: 35-3024, 35-3020-DS Rev: 0208 PO B , TX 78667 ARCOS DNPPHOTO...
Need help?
Do you have a question about the DS-40 and is the answer not in the manual?
Questions and answers