DNP DS40 Maintenance Manual
Hide thumbs
Also See for DS40:
- User manual (33 pages) ,
- Driver manual (33 pages) ,
- Basics manual (26 pages)
Advertisement
Quick Links
ON SET PRINTER MAINTENANCE – DS40 PHOTO PRINTERS
This procedure is to be completed in conjunction with the
following additional modules:
•
112 – Setting up a Santa set – POS Case
•
121 – Software required to operate a Santa Set -
TEPS
All locations use DNP DS40 printers.
DNP DS40 printers use a technique called Dye-Sublimation printing in which the ink
from a roll of coloured ribbon is transferred to the print substrate (paper) using heat,
followed by a clear, UV protective layer being laid on top of the finished image. This
produces a long lived & vibrantly coloured image that can be produced instantly, on
site.
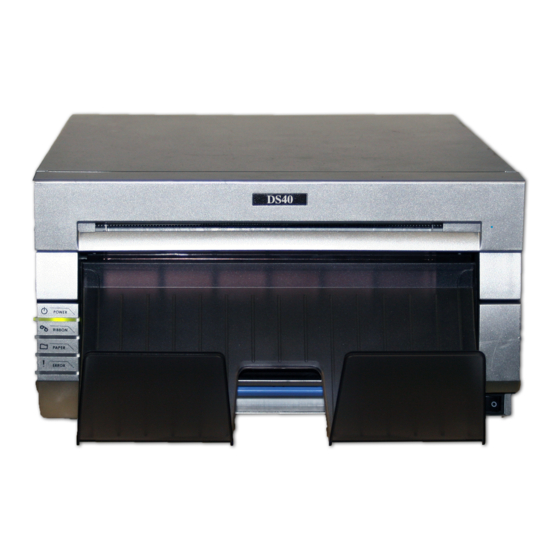
The power switch for a DS40 printer is located on the bottom right of the front panel of
the printer (Figure 1).
When a printer requires a media change the orange lights on the front left-hand panel
of the printer will light up.
the paper it is ESSENTIAL that both the paper roll & ribbon are changed together, as
a set.
Even if it appears there is some paper remaining, this should be discarded along
with the used ribbon.
Standard Operating Procedure |
Even though there are separate lights for both the ribbon &
Module 114
Figure 1 – DNP DS40 Printer
Advertisement

Related Manuals for DNP DS40


Summary of Contents for DNP DS40
- Page 1 & vibrantly coloured image that can be produced instantly, on site. The power switch for a DS40 printer is located on the bottom right of the front panel of the printer (Figure 1). When a printer requires a media change the orange lights on the front left-hand panel of the printer will light up.
- Page 2 Procedure – Changing Media Paper To access the paper roll, open printer by lifting the blue handle under scrap box and pulling gently forward (Figure 2). Push blue paper release lever, located on the left- hand side of the printer (Figure 3). The top panel of Figure 2 –...
- Page 3 Ribbon Once the paper has been changed & the lid closed you will be able to access the ribbon tray. Grasp the black ‘handle’ of the ribbon tray & pull upwards (Figure 5). Remove & discard the used ribbon from the ribbon tray.
- Page 4 Troubleshooting Other than media changes, the 3 most likely errors on a DS40 printer are either paper or ribbon jams or dirt/dust getting into the mechanism. Each of these errors can be corrected on set, quickly & easily without any intervention from tech support. Below is a guide for how to identify the errors you may experience &...
- Page 5 Paper Jam Open the Front panel as per changing paper instructions & remove the ribbon tray. You should be able to see the jammed paper feed below where the ribbon tray was mounted. Gently pull the paper upwards until the jammed paper is released & you can see smooth, undamaged paper feeding through the feed (Figure Cut the damaged paper away, ensuring the cut is a straight as possible.
- Page 6 Dirty Platen Roller The Platen roller is responsible for feeding the paper roll through the printer at the correct tension to ensure the correct feed rate of the paper. If prints are coming out with marks on them, it is often dust on the platen roller that causes this. To clean: Remove the paper spool as per the instructions above.
Need help?
Do you have a question about the DS40 and is the answer not in the manual?
Questions and answers