Aivia A-MIP 200 Installation And User Manual
Hide thumbs
Also See for A-MIP 200:
- Installation and operating manual (12 pages) ,
- Installation and user manual (32 pages)
Table of Contents
Advertisement
Quick Links
Advertisement
Table of Contents

Related Manuals for Aivia A-MIP 200


Summary of Contents for Aivia A-MIP 200
- Page 1 A-MIP 200 Installation and user guide...
- Page 2 • To avoid risk of fire or electric shock, the AIVIA should not be exposed to any naked flame. THE AIVIA CONTAINS BATTERIES. • Leave a space of at least 13 cm around the AIVIA to THERE IS A RISK OF EXPLOSION IF THE assure proper ventilation.
-
Page 3: Table Of Contents
Contents Installation Important Aivia presentation Identification Label Initial opening Aivia installation Connect power to the Aivia Setting up the defibrillator Installing seals Pictograms Night mode operation Heating option operation Alarm operation Using the Aivia After using the defibrillator Aivia Maintenance... -
Page 4: Installation
Aivia reference and serial number available. Initial opening • To open the Aivia door before wall mounting, use a small screwdriver. • Slide the screwdriver between the door and the Aivia Electronic compartment. -
Page 5: Aivia Installation
• Installation must be carried out by a qualified operator who adheres to the Bornavie charter or authorized by the Aivia manufacturer • If the Aivia is installed in a public street or place with public access, install a fixed ground plate (abutment) or column. -
Page 6: Connect Power To The Aivia
Power connection Access door mounting screws. Electronics access door • Ensure that the Aivia is under power by checking that the red warning lights are blinking. • Unscrew the fixing screw with a phillips screwdriver and pull out the hatch from the top. -
Page 7: Setting Up The Defibrillator
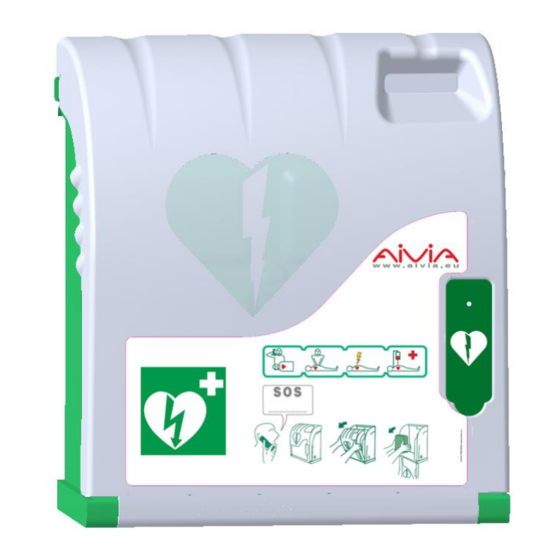
• Completely close the Aivia door. Be sure to pull the door base toward you before shutting the door Pictograms • The signs on the door of AIVIA inform you of what to do in an emergency. • The surfaces must be clean, dry and without any grease •... - Page 8 Notes...
-
Page 9: Use
• The fan allows the heat to be extracted from the Aivia. In hot weather, it is worthwhile checking that the alert temperature is not signaled by the flashing of the red... -
Page 10: In Case Of Malfunction
• Siren does not works when the door is opened. 1. Check the Siren option on the identification plate 2. Check the AIVIA power supply. 3. Contact your distributor. • Red lights flash (Aivia 200 W). Number of flashes Cause Solution... - Page 11 Notes...
-
Page 12: Aivia 200 W
Aivia 200 W • Connection to the AIVIANET server. After powering up, the connection to the AIVIANET The Aivia 200 W permits to verify and trace the AED server is automatic. monitoring information of the AIVIAnet server. Visit the supervision website : monitoring.aivia.eu... -
Page 13: Electrical Installation
• The main connection must include the primary phase, neutral, and earth. • The maximum full load secondary voltage drop must not exceed 2%, or 23.5V at the Aivia terminal. • The power block must be dust and water proof, and ventilated**. -
Page 14: Specifications
Specifications • Operating temperatures and humidity: Mechanical properties Minimum: -4°F (-20°C) Maximum: 131°F (55°C) Relative humidity: 95% without condensation. • Temperature alarms: Low temperature alarm: 41°F (5°C) High temperature alarm: 104°F (40°C) • Heating option: (References: X2A200-XX001 or X2A200-XX101) Heating setpoint: 55°F (13°C) Ventilation setpoint: 81°F (27°C) •... - Page 15 Notes...
- Page 16 2019-02-20 *A-MIP200-EN-212* info@aivia.eu...
Need help?
Do you have a question about the A-MIP 200 and is the answer not in the manual?
Questions and answers