Table of Contents
Advertisement
Quick Links
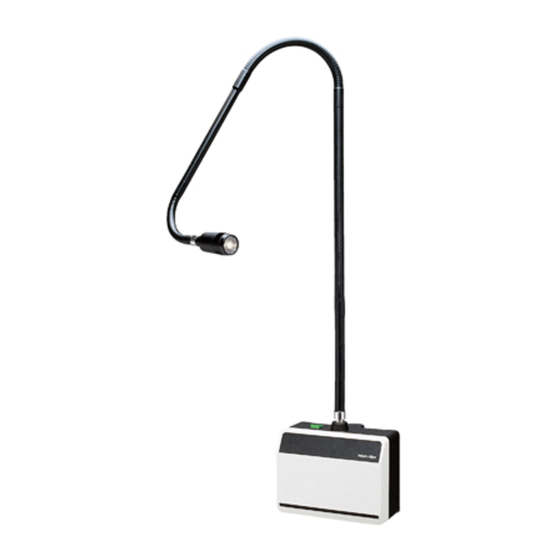
HALOGEN
EXAM LIGHT II
No. 48600
No. 48610
No. 48625
No. 48635
Thank you for purchasing the Welch Allyn
Halogen Exam Light II. We believe it is the
finest product of its kind available to you today.
By following the care and use guidelines found
in this booklet, you should be rewarded with
years of dependable, trouble-free service.
W
ARNING
The user of this equipment should be
thoroughly trained in the medical proce-
dures appropriate to the instrumentation.
Furthermore, time should be taken to read
and understand these instructions before
performing any procedures. Instructions
for other equipment used in conjunction
with the Exam Light II (e.g., electrosurgical
generators, suction machines, etc.) should
also be read and understood. Failure to
do so may result in injury to the patient
and/or damage to the instrument.
Advertisement
Table of Contents

Subscribe to Our Youtube Channel
Related Manuals for Welch Allyn Halogen Exam Light II 48600


Summary of Contents for Welch Allyn Halogen Exam Light II 48600
- Page 1 No. 48600 No. 48610 No. 48625 No. 48635 Thank you for purchasing the Welch Allyn Halogen Exam Light II. We believe it is the finest product of its kind available to you today. By following the care and use guidelines found in this booklet, you should be rewarded with years of dependable, trouble-free service.
- Page 2 OUNTING OUNTING • Choose appropriate mounting location. • Using mounting plate as template, mark drilling holes as needed for your wall type: Dry wall, paneling, thin plywood or plaster walls less than 1 inch (2.5 cm) thick. Drill four .31 inch (.79 cm) holes, insert hollow metal wall anchors making sure barbs are extended.
- Page 3 OUNTING OBILE OUNTING • Mount unit by fitting key hole slots on back of unit over screw heads. • Push unit against mounting plate while pushing down to lock screw heads into small end of key hole slots. Plug • Carefully remove plastic plug from light pipe holder on top of unit. •...
- Page 4 Over a period of time it is normal for the Light Pipe to soften and become less obedient. Abnormal softening or occurrence of noise should be reported to Welch Allyn. ARNING When pulling out the Light Pipe, push down on the light box to avoid lifting it off of the mounting plate and possibly dropping it.
- Page 5 EONATE RANSILLUMINATOR AUTION Use only Welch Allyn Transilluminator No. 48210 for neonatal transillumination. PERATION Refer to Set Up page for installation steps. EPLACEMENT ARNING Lamps operate at a high temperature and under pressure may shatter. Do not attempt to replace lamp while hot. Wait until lamp is cool.
- Page 6 LEANING ENSES • Remove the focusing sleeve from the fiber optic bundle by unthreading counter- clockwise. • Use a cotton swab soaked in warm water and mild detergent to clean both the distal end of the fiber optics and the proximal side of the small lens. (See diagram for locations.) •...
- Page 7 The resistance measured from the ground pin of the plug to the exposed metal on unit should be 1.6v max. EPAIR For repair by qualified personnel, contact your local authorized Welch Allyn distributor, or contact Welch Allyn directly at (315) 685-4560. PECIFICATIONS Model No.
- Page 8 IGHT The Light Box is guaranteed by Welch Allyn against all manufacturing defects. Welch Allyn will repair or replace, free of charge, any parts of its own manufacture proven to be defective through causes other than misuse, neglect, damage in shipment or normal wear.
Need help?
Do you have a question about the Halogen Exam Light II 48600 and is the answer not in the manual?
Questions and answers