Table of Contents
Advertisement
Available languages
Available languages
Quick Links
Advertisement
Table of Contents

Related Manuals for Steren INT-200


Summary of Contents for Steren INT-200
- Page 1 INT-200 Timbre intercomunicador V0.2 0617A Manual de instrucciones...
- Page 2 La información presentada sirve únicamente como referencia sobre el producto. Debido a actualizaciones pueden existir diferencias. Consulte nuestra página web www.steren.com para obtener la versión más reciente de este manual. PRECAUCIONES • Este producto no es un juguete; manténgalo fuera del alcance de los niños.
- Page 3 CONTENIDO Soporte de Intercomunicador Timbre intercomunicador Tornillos (x6) Taquetes (x6)
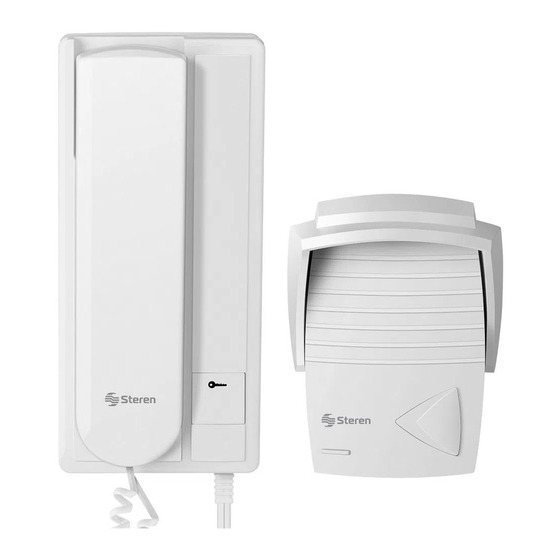
- Page 4 PARTES Bocina Auricular Micrófono Interruptor de volumen Botón de llamada Entrada para Botón de conectar el apertura de chapa auricular eléctrica Cable de corriente Cable telefónico...
- Page 5 CONEXIONES En el timbre instale un cable de 2 vías (se Intercomunicador recomienda que sea calibre 22). Oprima los botones hasta sujetar firmemente el cable. Timbre En el intercomunicador, una el cable del timbre de acuerdo con el número correspondiente. En caso de contar con una cerradura eléctrica (no incluida) conecte los cables en la entrada...
- Page 6 INSTALACIÓN DEL TIMBRE Recuerde hacer las conexiones de cables previamente Se recomienda que fije el timbre a una altura de 1,45 m a 1,6 m. 1. Retire el tornillo inferior para separar el timbre de la base. 2. Seleccione el lugar donde desee instalar el timbre y realice las perforaciones correspondientes de acuerdo con los orificios de la base.
-
Page 7: Instalación Del Intercomunicador
INSTALACIÓN DEL INTERCOMUNICADOR Se recomienda que fije el intercomunicador a una altura de 1,45 m a 1,6 m. 1. Retire la base del intercomunicador y realice las perforaciones correspondientes. 2. Fije la base de plástico a la altura deseada utilizando tornillos y taquetes. 3. -
Page 8: Especificaciones
ESPECIFICACIONES Alimentación: 110 V~ 60 Hz 8 W máx. Salida: 12 V - - - (chapa eléctrica) Consumo: 4 W/h Consumo en espera: 1,5 W/h... - Page 9 CONDICIONES 1.- Para hacer efectiva la garantía, presente esta póliza y el producto, en donde fue adquirido o en Electrónica Steren S.A. de C.V. 2.- Electrónica Steren S.A de C.V. se compromete a reparar el producto en caso de estar defectuoso sin ningún cargo al consumidor.
- Page 11 INT-200 Intercom door system V0.2 0617A Instruction manual...
- Page 12 The information presented serves only as a reference on the prod- uct. Due to updates there may be differences. See our website www.steren.com for the latest version of this manual. CAUTIONS • This product is not a toy; Keep out of children reach.
- Page 13 CONTENT Intercom Intercom Doorbell support Screws (x6) Stakes (x6)
- Page 14 PARTS Speaker Handset Microphone Volume switch Talk button Entry for Button connect the sheet opening handset electric Current cable Telephone cable...
- Page 15 CONNECTIONS On the doorbell install a 2-way cable (it is recom- mended that it be 22 gauge). Press the buttons Intercom until the cable is firmly held. Doorbell On the intercom, attach the bell wire according corresponding number. In case of an electric lock (not included), connect the cables to the S1 and S2 of the intercom.
- Page 16 RINGER INSTALLATION Remember to make pre-wired connections It is recommended that you set the doorbell to a height of 1.45 m to 1.6 m. 1. Remove the bottom screw to separate the doorbell from the base. 2. Select the location where you want to install the doorbell, and drill holes corresponding to the holes in the base.
-
Page 17: Installation Of Intercom
INSTALLATION OF INTERCOM It is recommended that you set the intercom to a height of 1.45 m to 1.6 m. 1. Remove the intercom base and drill holes. 2. Secure the plastic base to the desired height using screws and caps. 3. -
Page 18: Specifications
SPECIFICATIONS Input: 110 V~ 60 Hz 8 W max Output: 12 V - - - (Electric sheet) Consumption: 4 W/h Stand-by consumption: 1,5 W/h... - Page 19 Product: Intercom door system Model: INT-200 Brand: Steren WARRANTY This Steren product is warranted under normal usage against defects in workmanship and materials to the original purchaser for one year on the other parts from the date of purchase. CONDITIONS 1.
Need help?
Do you have a question about the INT-200 and is the answer not in the manual?
Questions and answers