Table of Contents
Advertisement
Quick Links
Operating Manual
Felling Lifter
61127
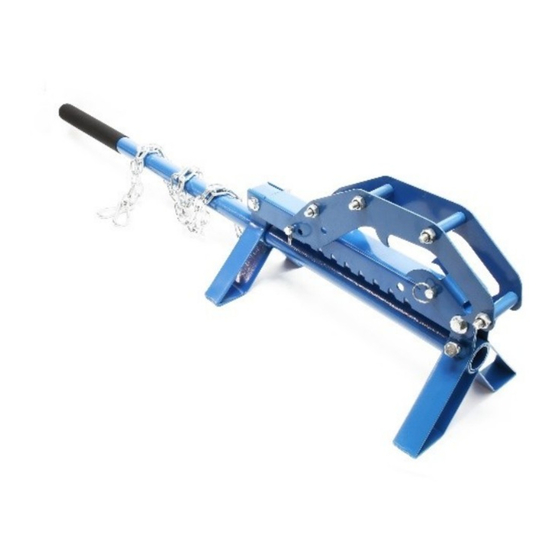
Illustration similar, may vary depending on model
Please read and follow the operating instructions and safety information prior to initial operation.
Technical changes reserved!
Illustrations, functional steps and technical data may deviate insignificantly due to continuous further
developments.
Advertisement
Table of Contents

Subscribe to Our Youtube Channel
Summary of Contents for WilTec 61127
- Page 1 Operating Manual Felling Lifter 61127 Illustration similar, may vary depending on model Please read and follow the operating instructions and safety information prior to initial operation. Technical changes reserved! Illustrations, functional steps and technical data may deviate insignificantly due to continuous further...
- Page 2 The information contained in this document may alter at any time without prior notice. No part of this document may be copied or otherwise duplicated without prior written consent. All rights reserved. WilTec Wildanger Technik GmbH cannot be held liable for any possible mistakes in this operating man- ual, nor in the diagrams and illustrations shown.
- Page 3 Non-slip shoes are recommended so that you have a secure footing in the work area and are able to keep your balance. • Wear safety shoes or shoes with steel toecaps to avoid injuries of your feet from falling objects. © by WilTec Wildanger Technik GmbH Item 61127 Page 3 http://www.WilTec.de http://www.aoyue.eu...
- Page 4 9.5×68 mm quick release pin. The two mounting holes are optional depending on the situation. • Finally, mount the end piece with the M10×65 screw on the mounting unit (see Fig. 6 and 7). © by WilTec Wildanger Technik GmbH Item 61127 Page 4 http://www.WilTec.de...
- Page 5 The hook assembly can be moved to the appropriate location according to actual use. • Finally, use the chain and the 10×65 mm pin to a fixed object, e.g., a tree trunk, to attach the log (see Fig. 12 and 13). © by WilTec Wildanger Technik GmbH Item 61127 Page 5 http://www.WilTec.de http://www.aoyue.eu...
- Page 6 The two mounting holes are optional depending on the respective situation (see Fig. 16). • Finally insert the steel handle into the mounting hole on one of the brackets (without end piece) (see Fig. 14). © by WilTec Wildanger Technik GmbH Item 61127 Page 6 http://www.WilTec.de http://www.aoyue.eu 2021-1 http://www.teichtip.de...
- Page 7 Then lock the hook assembly to the bracket assembly with the 9.5×68 mm quick release pin (see Fig. 20). Note! The hook assembly must snap into the second hole (see arrow in Fig. 20). © by WilTec Wildanger Technik GmbH Item 61127 Page 7 http://www.WilTec.de http://www.aoyue.eu...
- Page 8 Important Note: Reproduction and any commercial use (of parts) of this operating manual, requires a written permission of WilTec Wildanger Technik GmbH. © by WilTec Wildanger Technik GmbH Item 61127 Page 8 http://www.WilTec.de http://www.aoyue.eu...


Need help?
Do you have a question about the 61127 and is the answer not in the manual?
Questions and answers